Altering Dresses: Formal Lace-Up Back
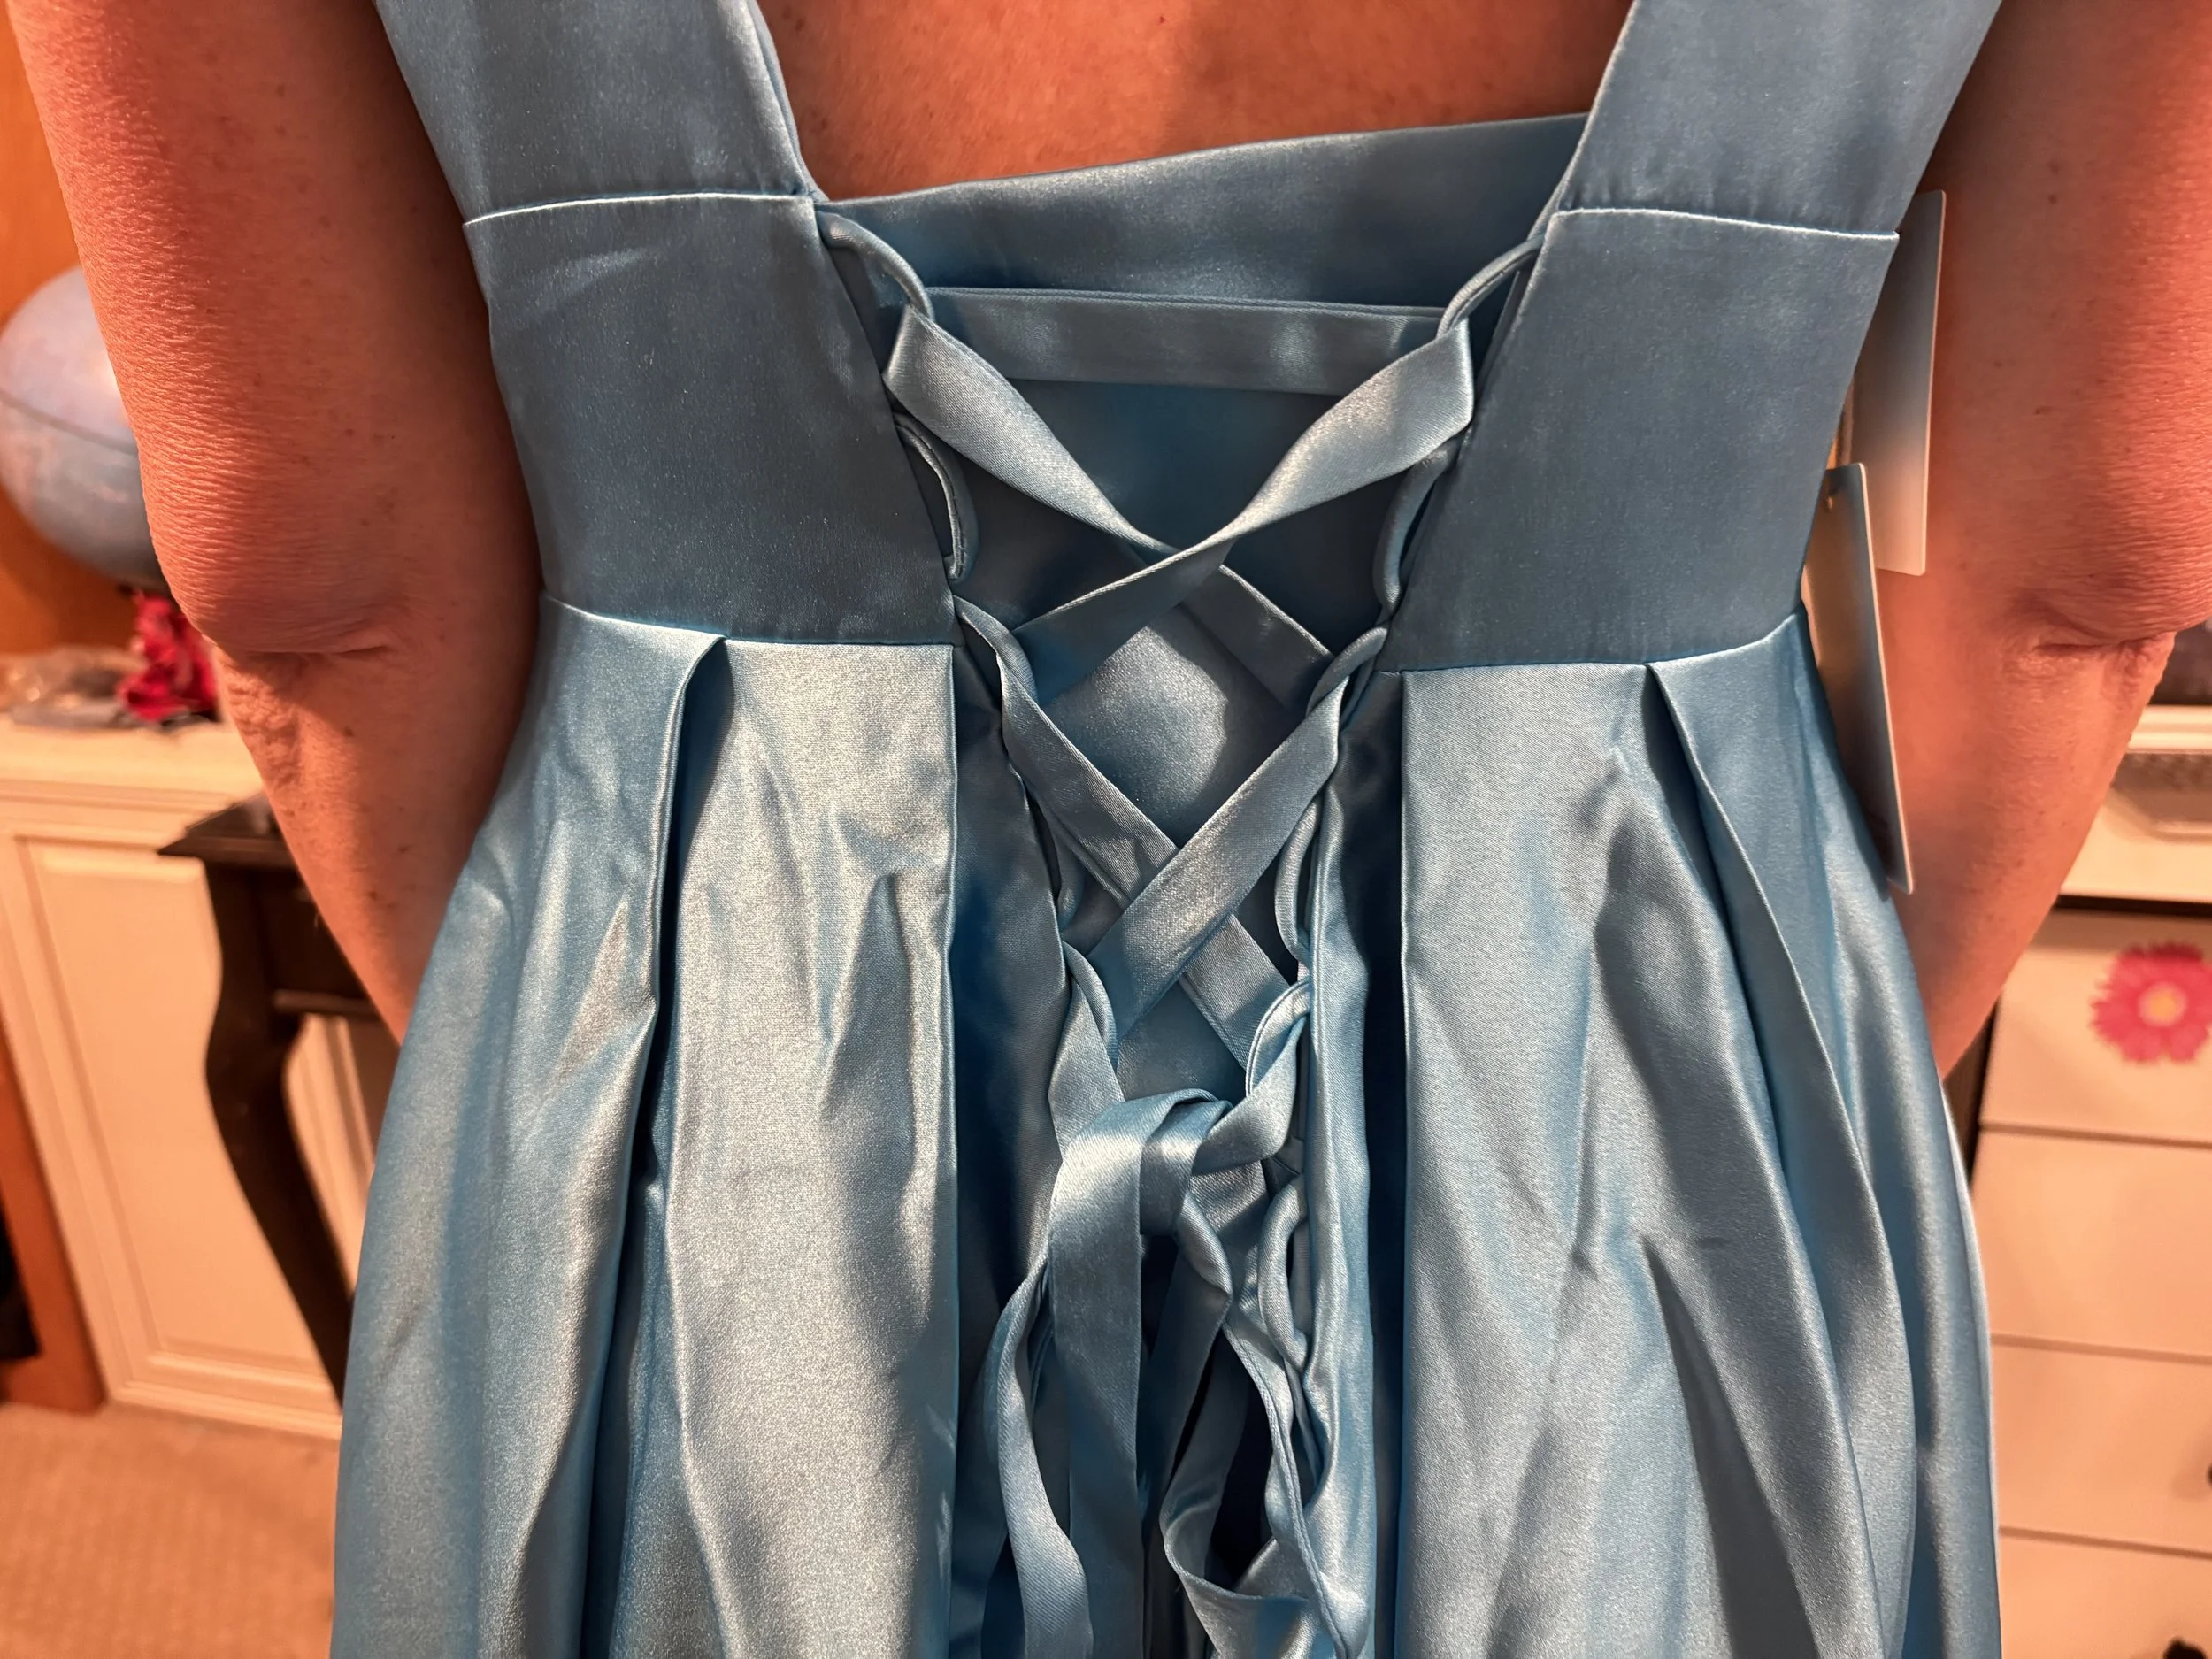
Before alterations
So, if you've been following me long enough, you probably already know that I'm not too fond of doing alterations anymore. It was a great way to help pay for books and labs during school, but over the past couple of years it's just lost some of its luster for me. Part of that is because of the extremely unrealistic expectations a lot of folks have (I'm talking about "Joe Roe" specifically... but that's another story for another day).
And, fun(ish?) fact about me, part of it has to do with losing my dad so suddenly. Without going too deep into that sad backstory, I pretty much wanted to quit altogether:
no sewing, no crocheting, no patterning. Nothing.
But, when I finally decided to really go for this career full-time, I realized that alterations were going to have to factor into the equation. Even at a basic level.
And, I'll be honest, when I get clients such as this young lady, I start to remember why I got into this work in the first place.
I'd like to post something about that later (how to be the "perfect" alterations' customer), but for now, let's just break down this latest job for the sake of future prosperity... you'll never know when you need to remove a panel and reset a lace-up enclosure!
Quick note: I have to apologize in advance for this latest entry. I'm a 110% certain that this dress came from a questionable online store, and it triggered my unyielding hatred for all things fast-fashion. There are tangents scattered about, reflecting my own personal feelings on the larger subject, so just bare with me a little bit or feel free to skip over them if you want... I have no chill about this topic in general.
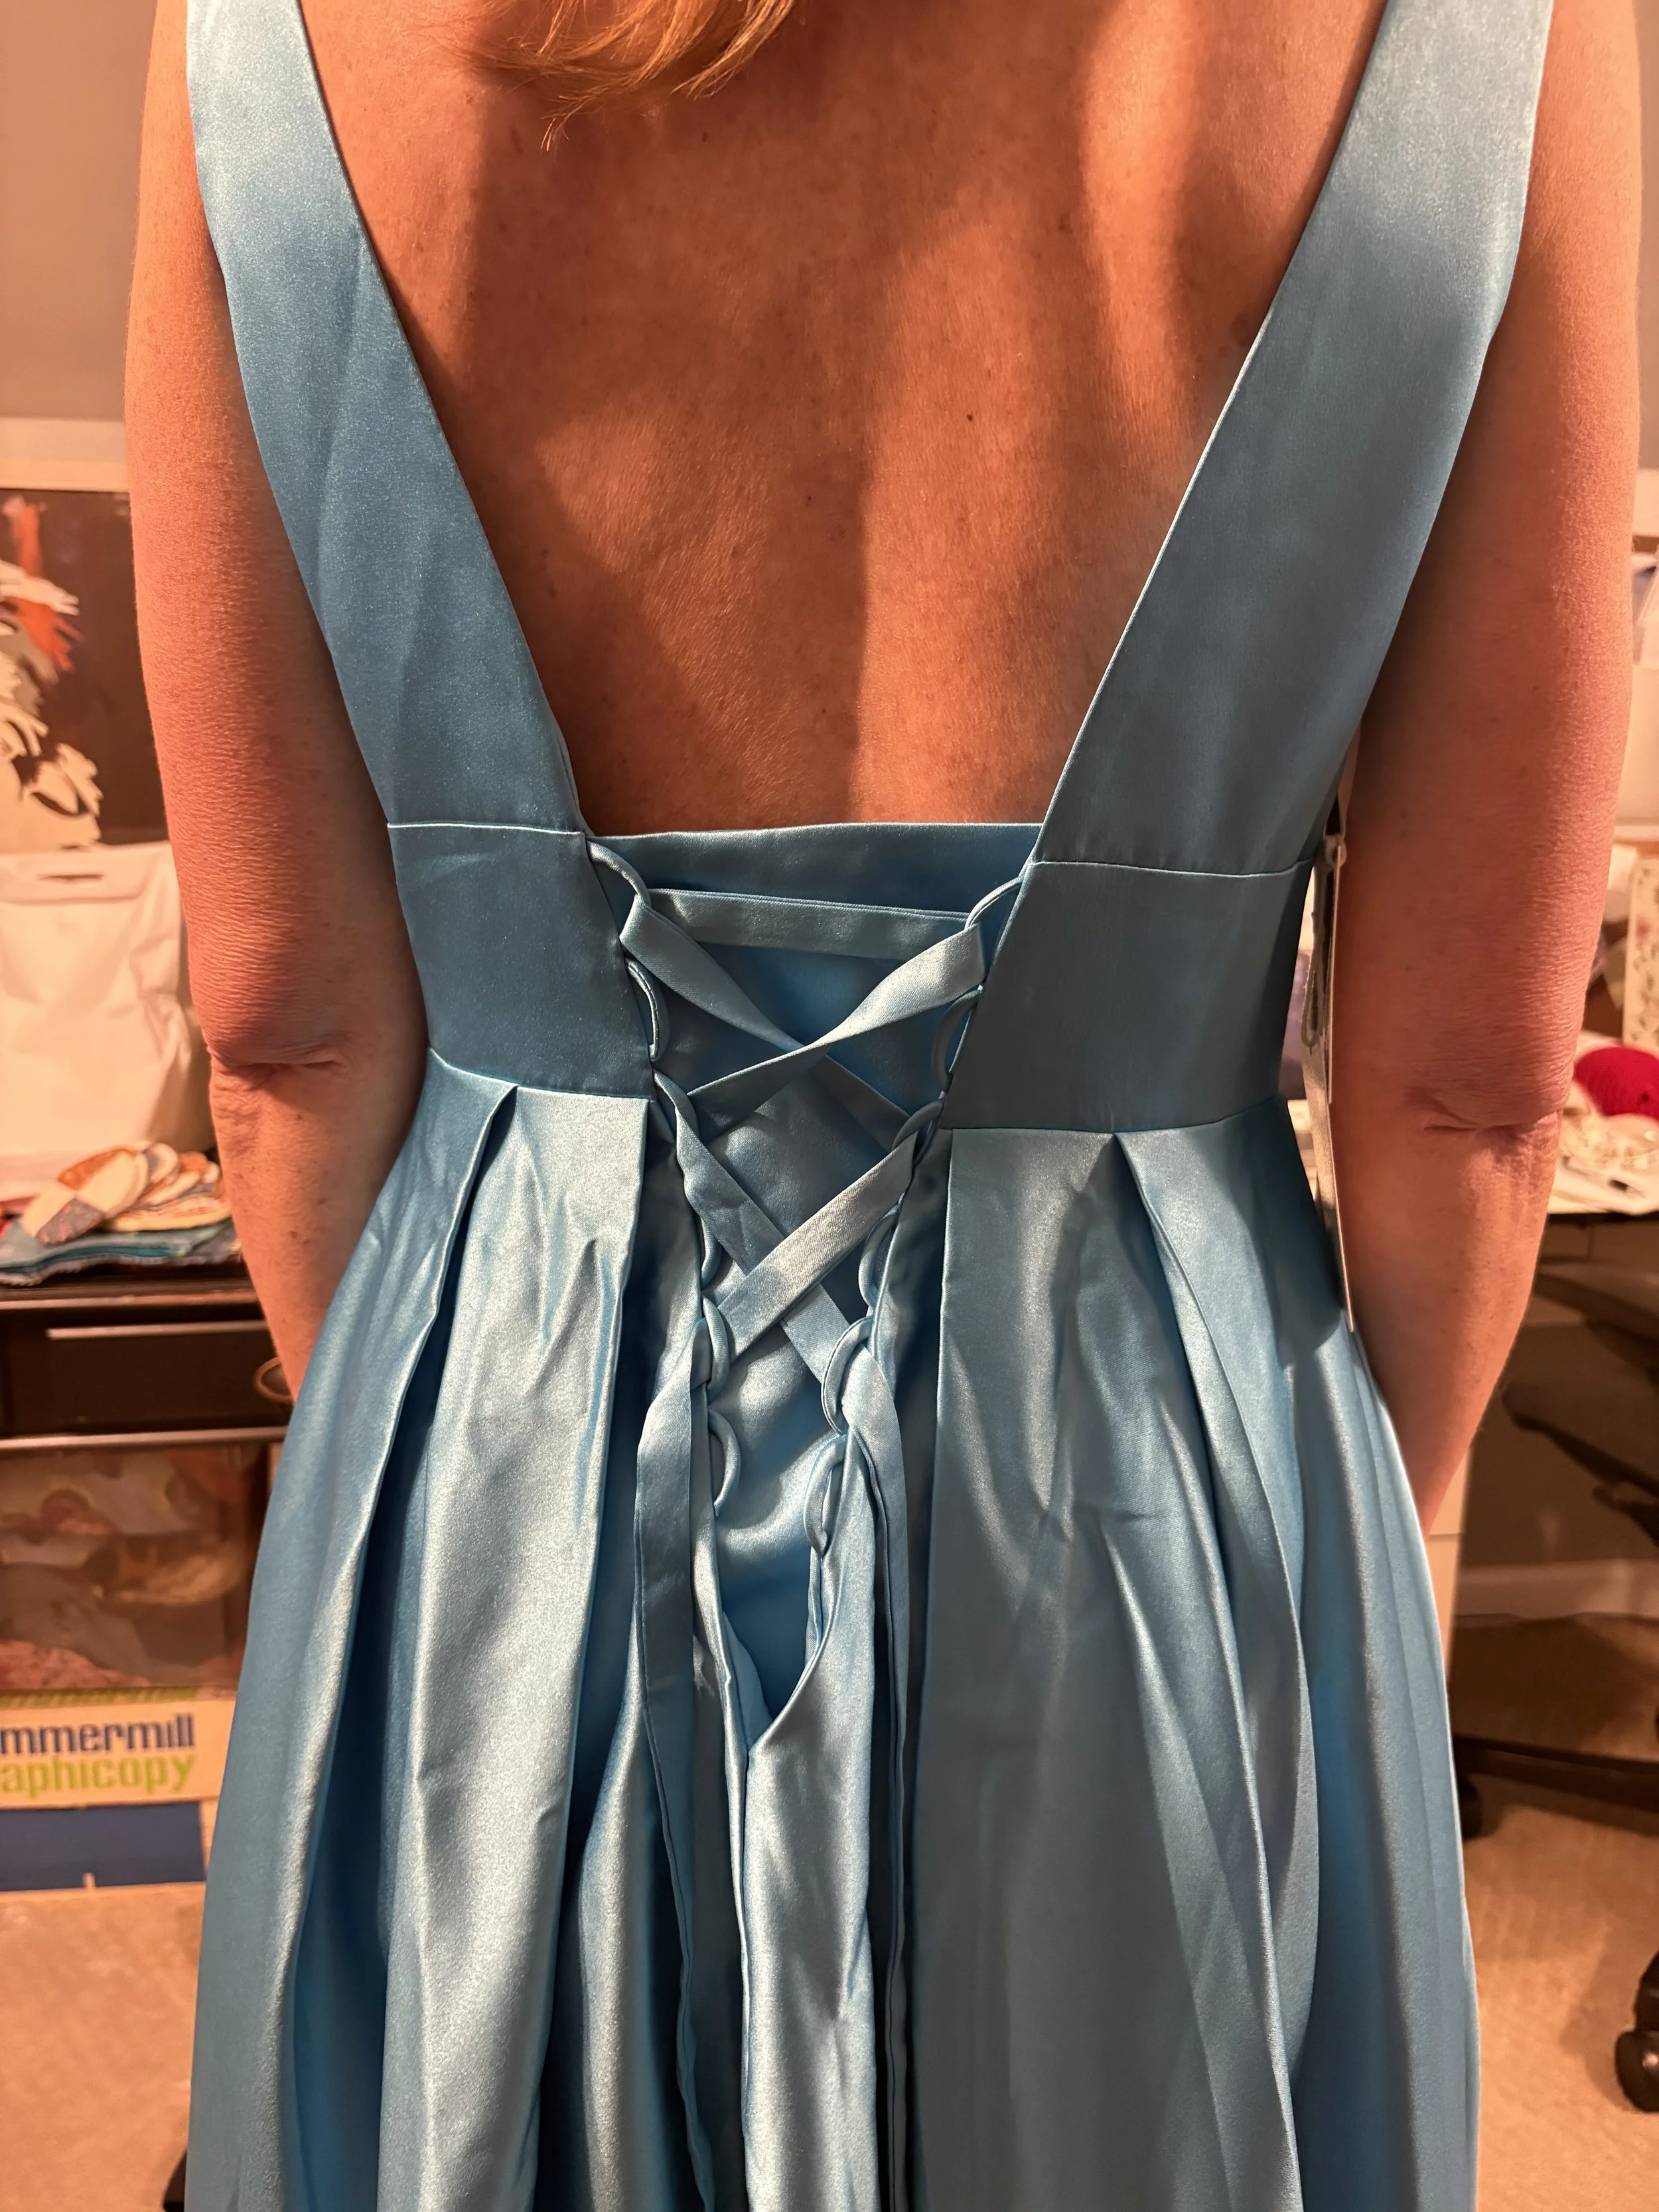
Before alterations #2; Notice how the very point of the opening juts out away from the body, when it should be laying against the body; this was a clear indication from the get-go that there was way too much material!
So - the first big red-flag about this dress, according to my client, is the seller would not communicate with her after she attempted to exchange or return the dress - because it didn’t fit properly.
The back lace-up was certainly the biggest challenge:
for one thing, the opening where the laces came together ended in a “point” that jutted away from the body… and looking, very un-stylishly, like rhino’s horn on her backside.
This was from a combination of a couple of different things:
the material the dress was made of was surprisingly thick. Not the kind that really requires elements like boning that was found in the side-seams of the opening; this material and it’s lining could literally stand on it’s own and didn’t need the extra structuring.
there was simply too much extra material worked into the pleats of the skirt. In fact, I’m tempted to argue that there didn’t need to be any pleats in the skirt.
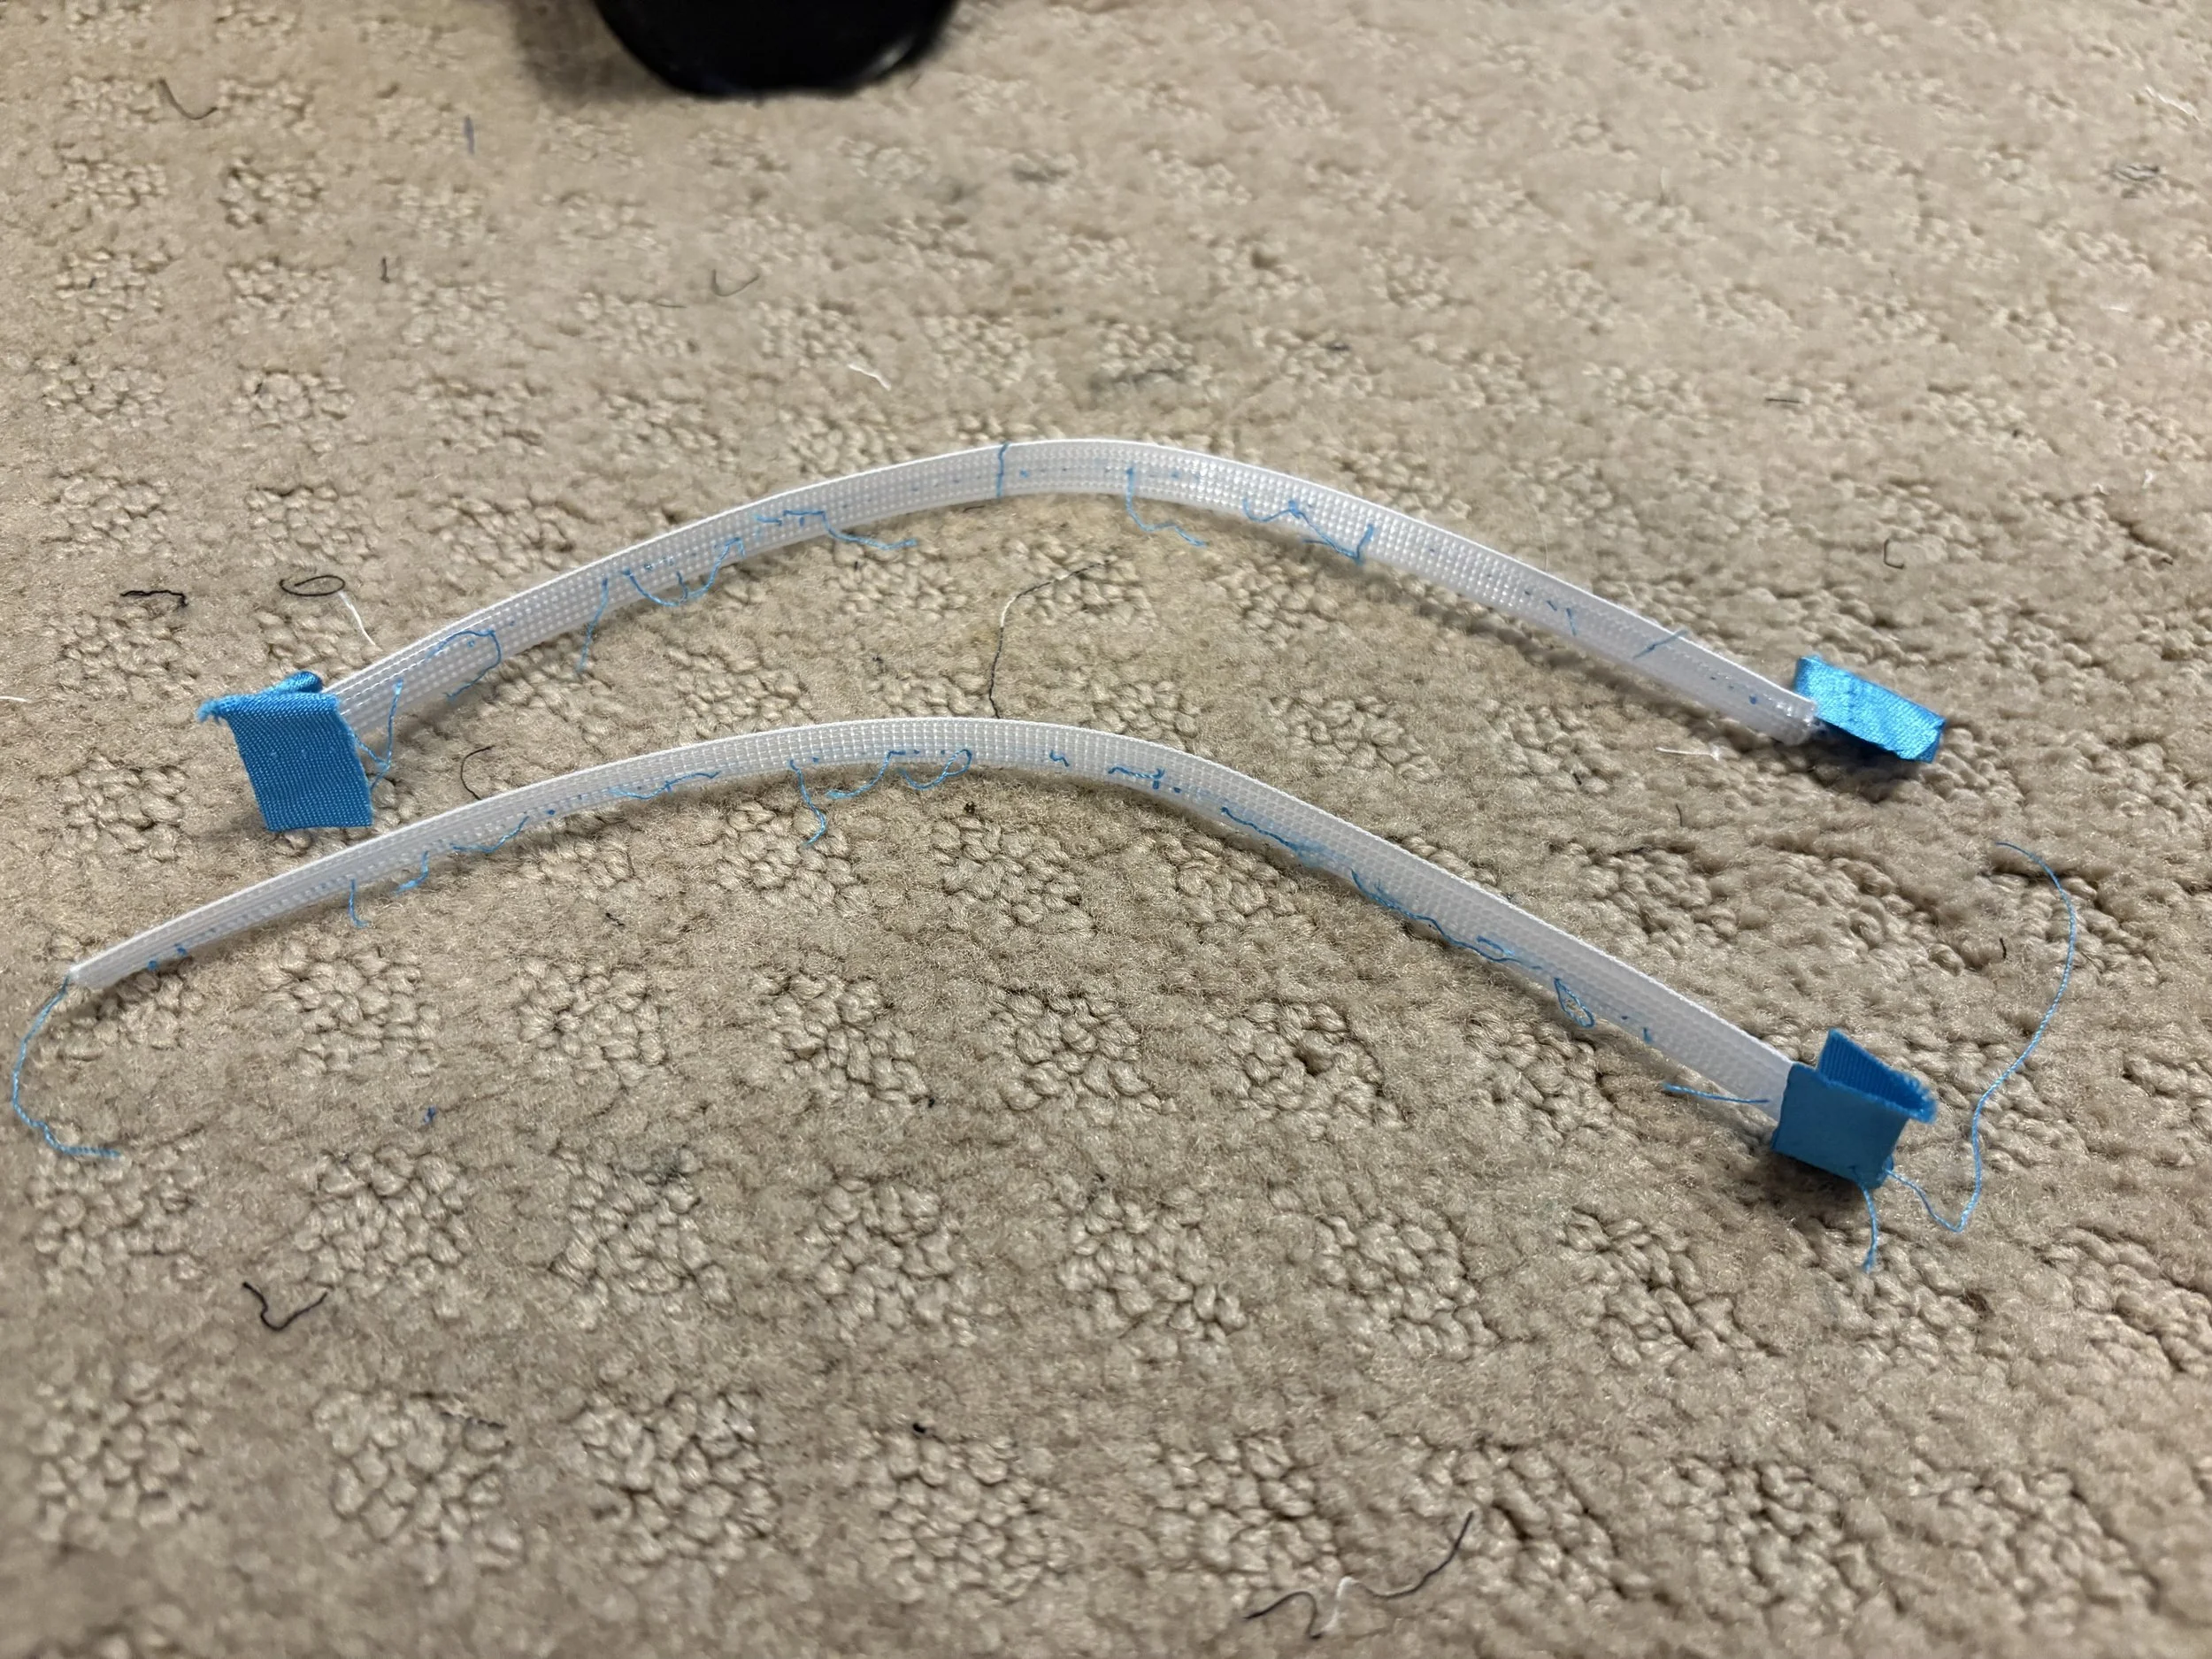
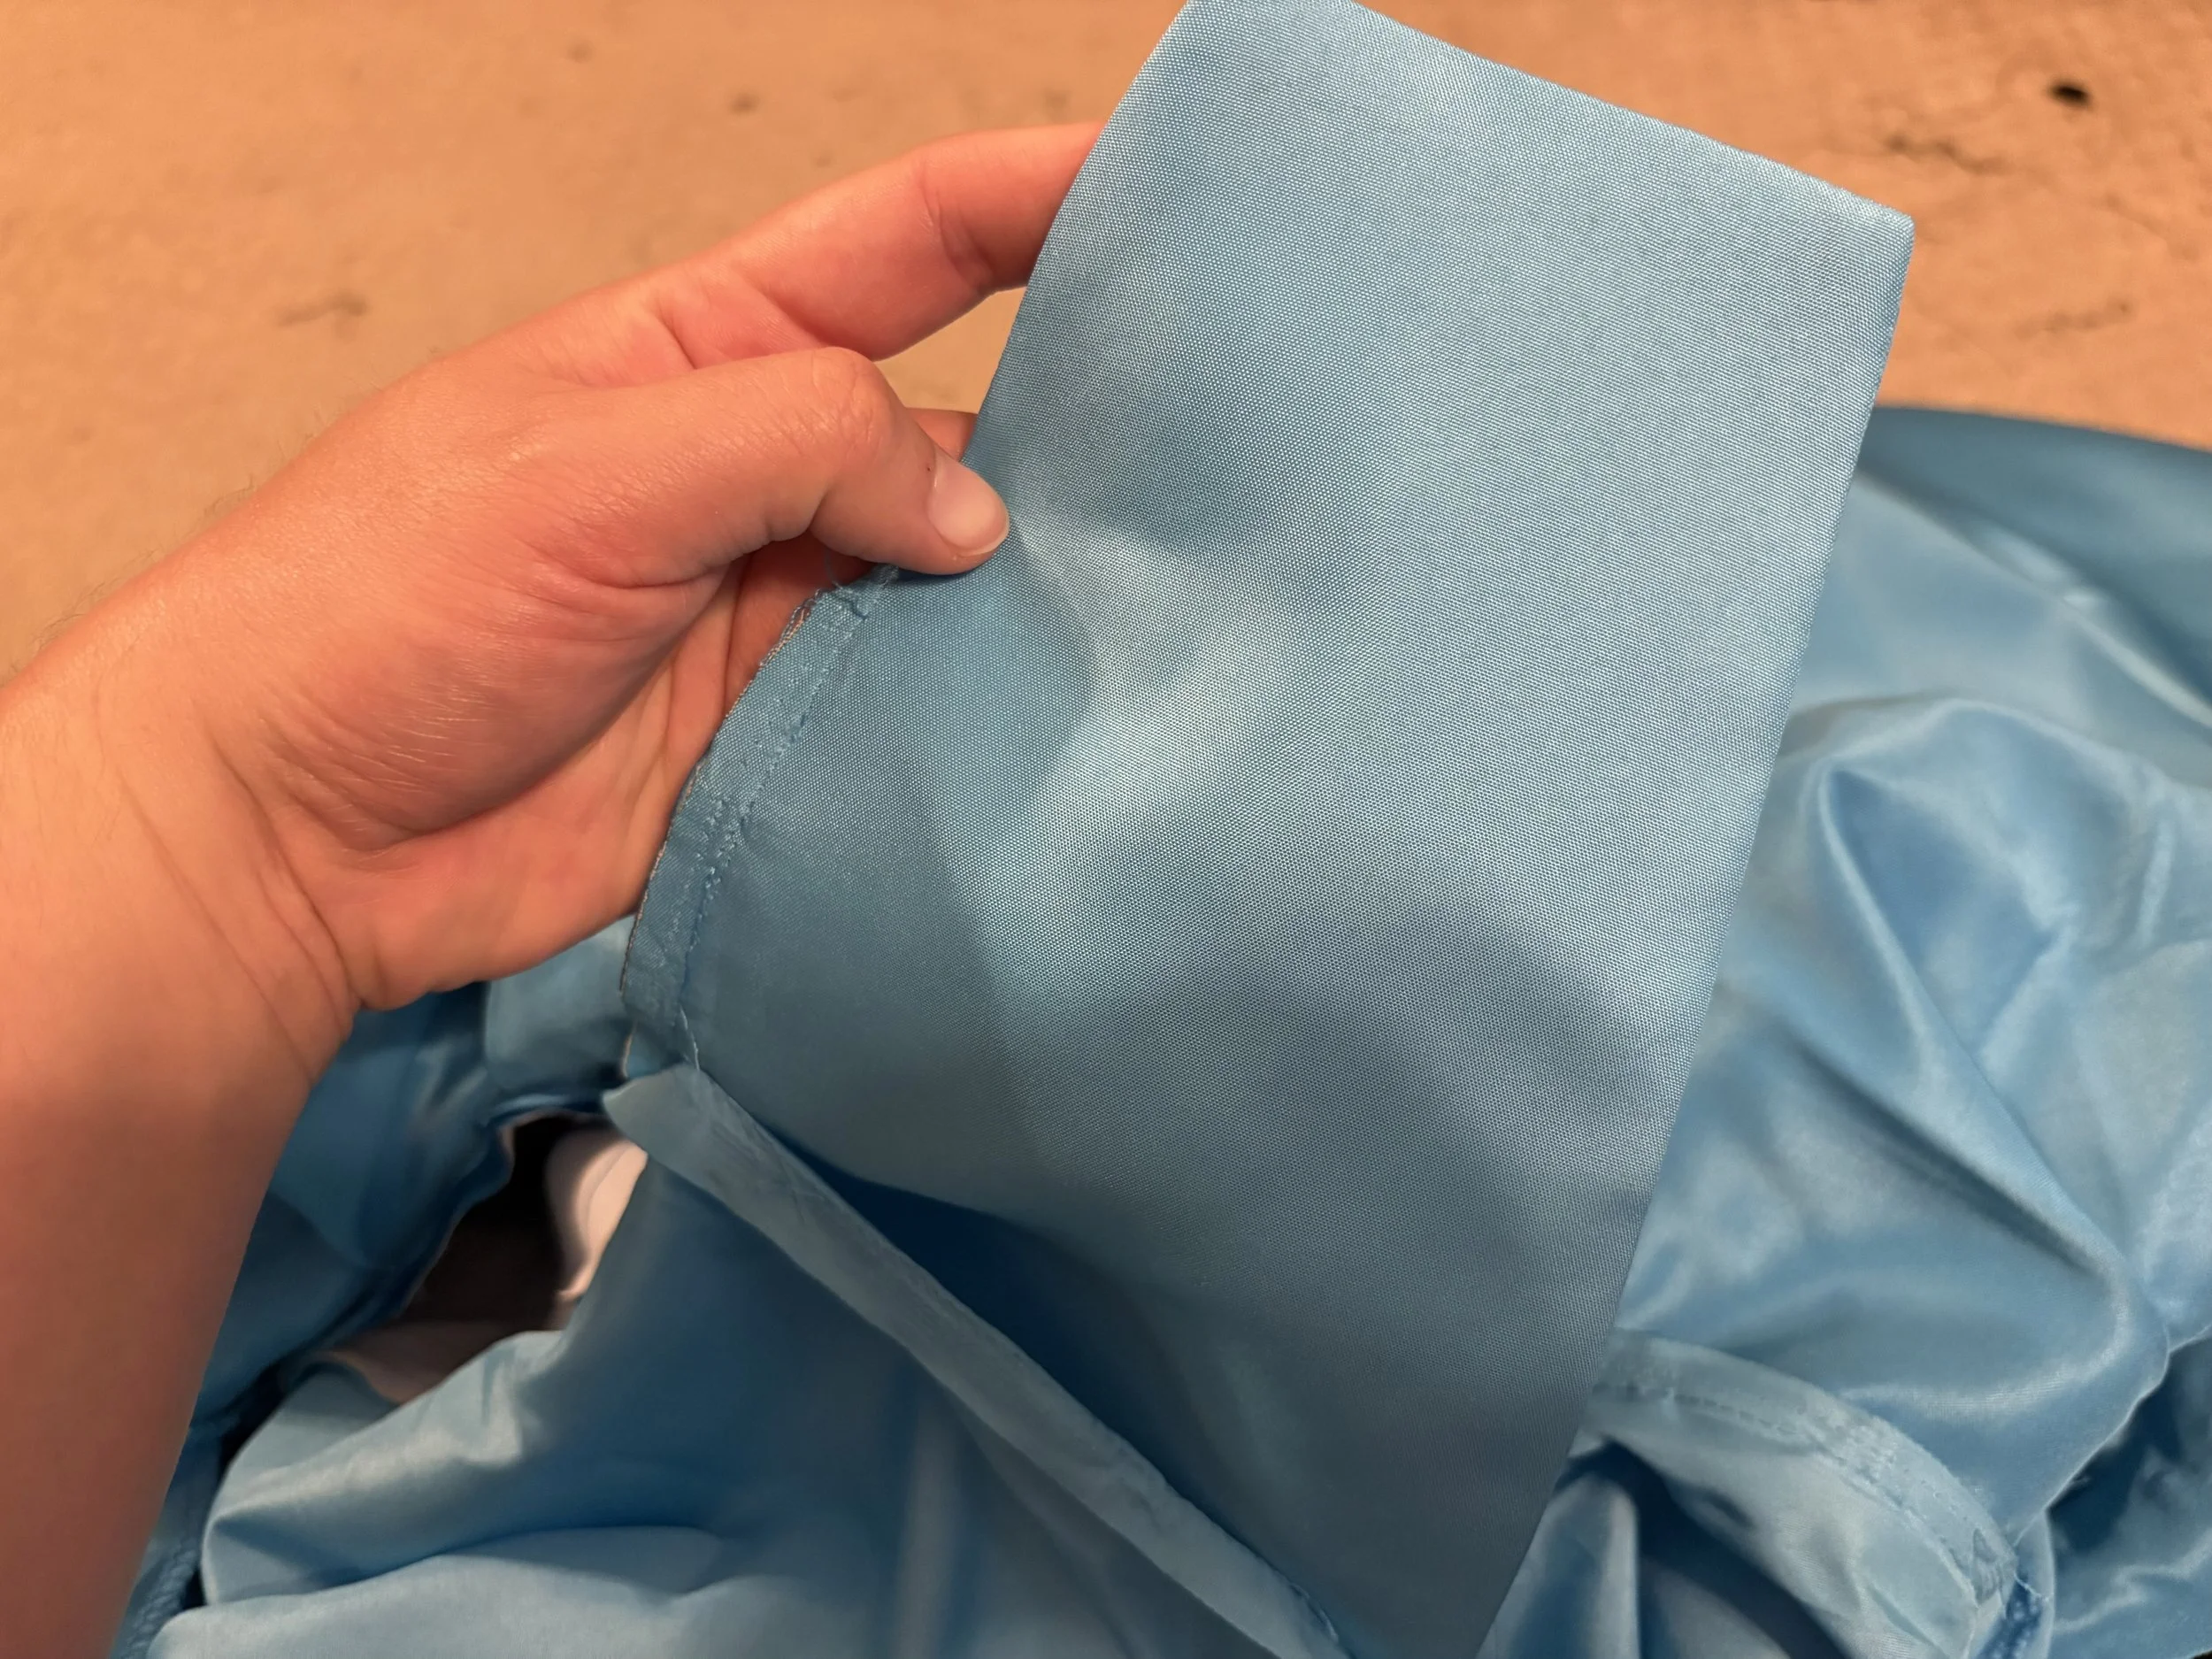

So, the first step was to remove the “problem children” of the dress- i.e: the cheap boning and poorly fitted modesty panel.
Again, there really was no need for the boning as the lining, interfacing, and material pretty much gave the opening all the support it needed to function properly.

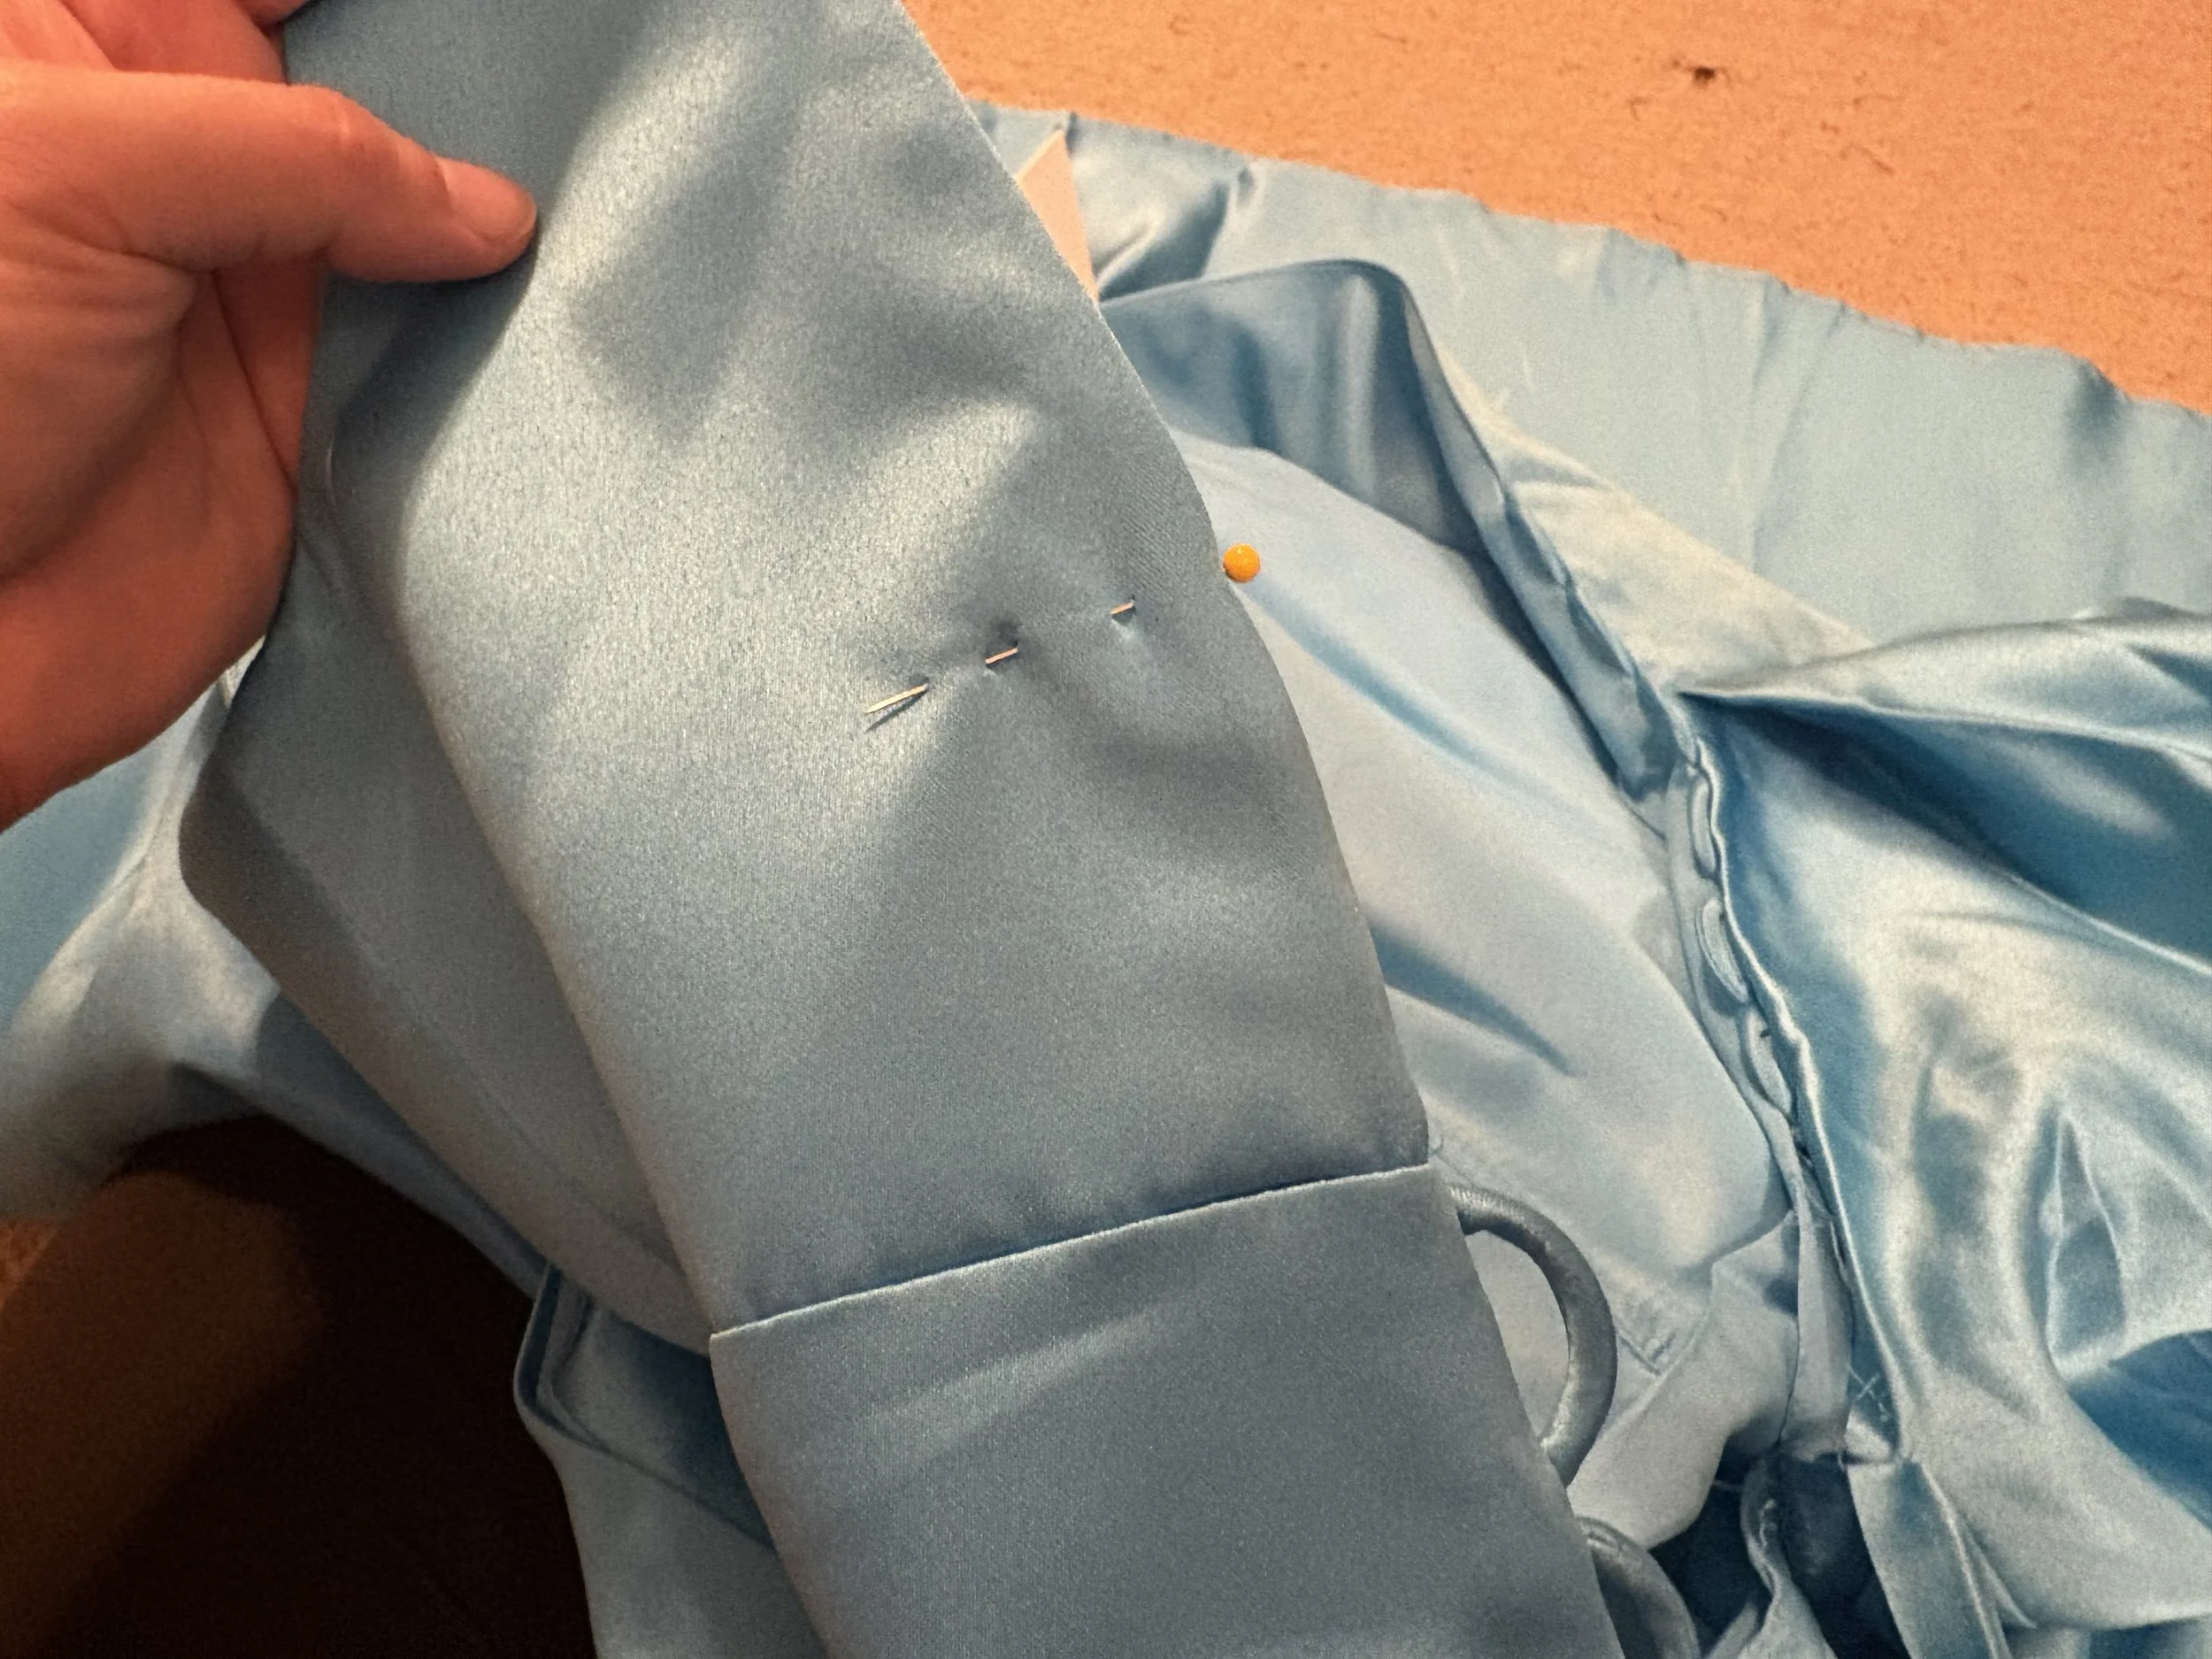
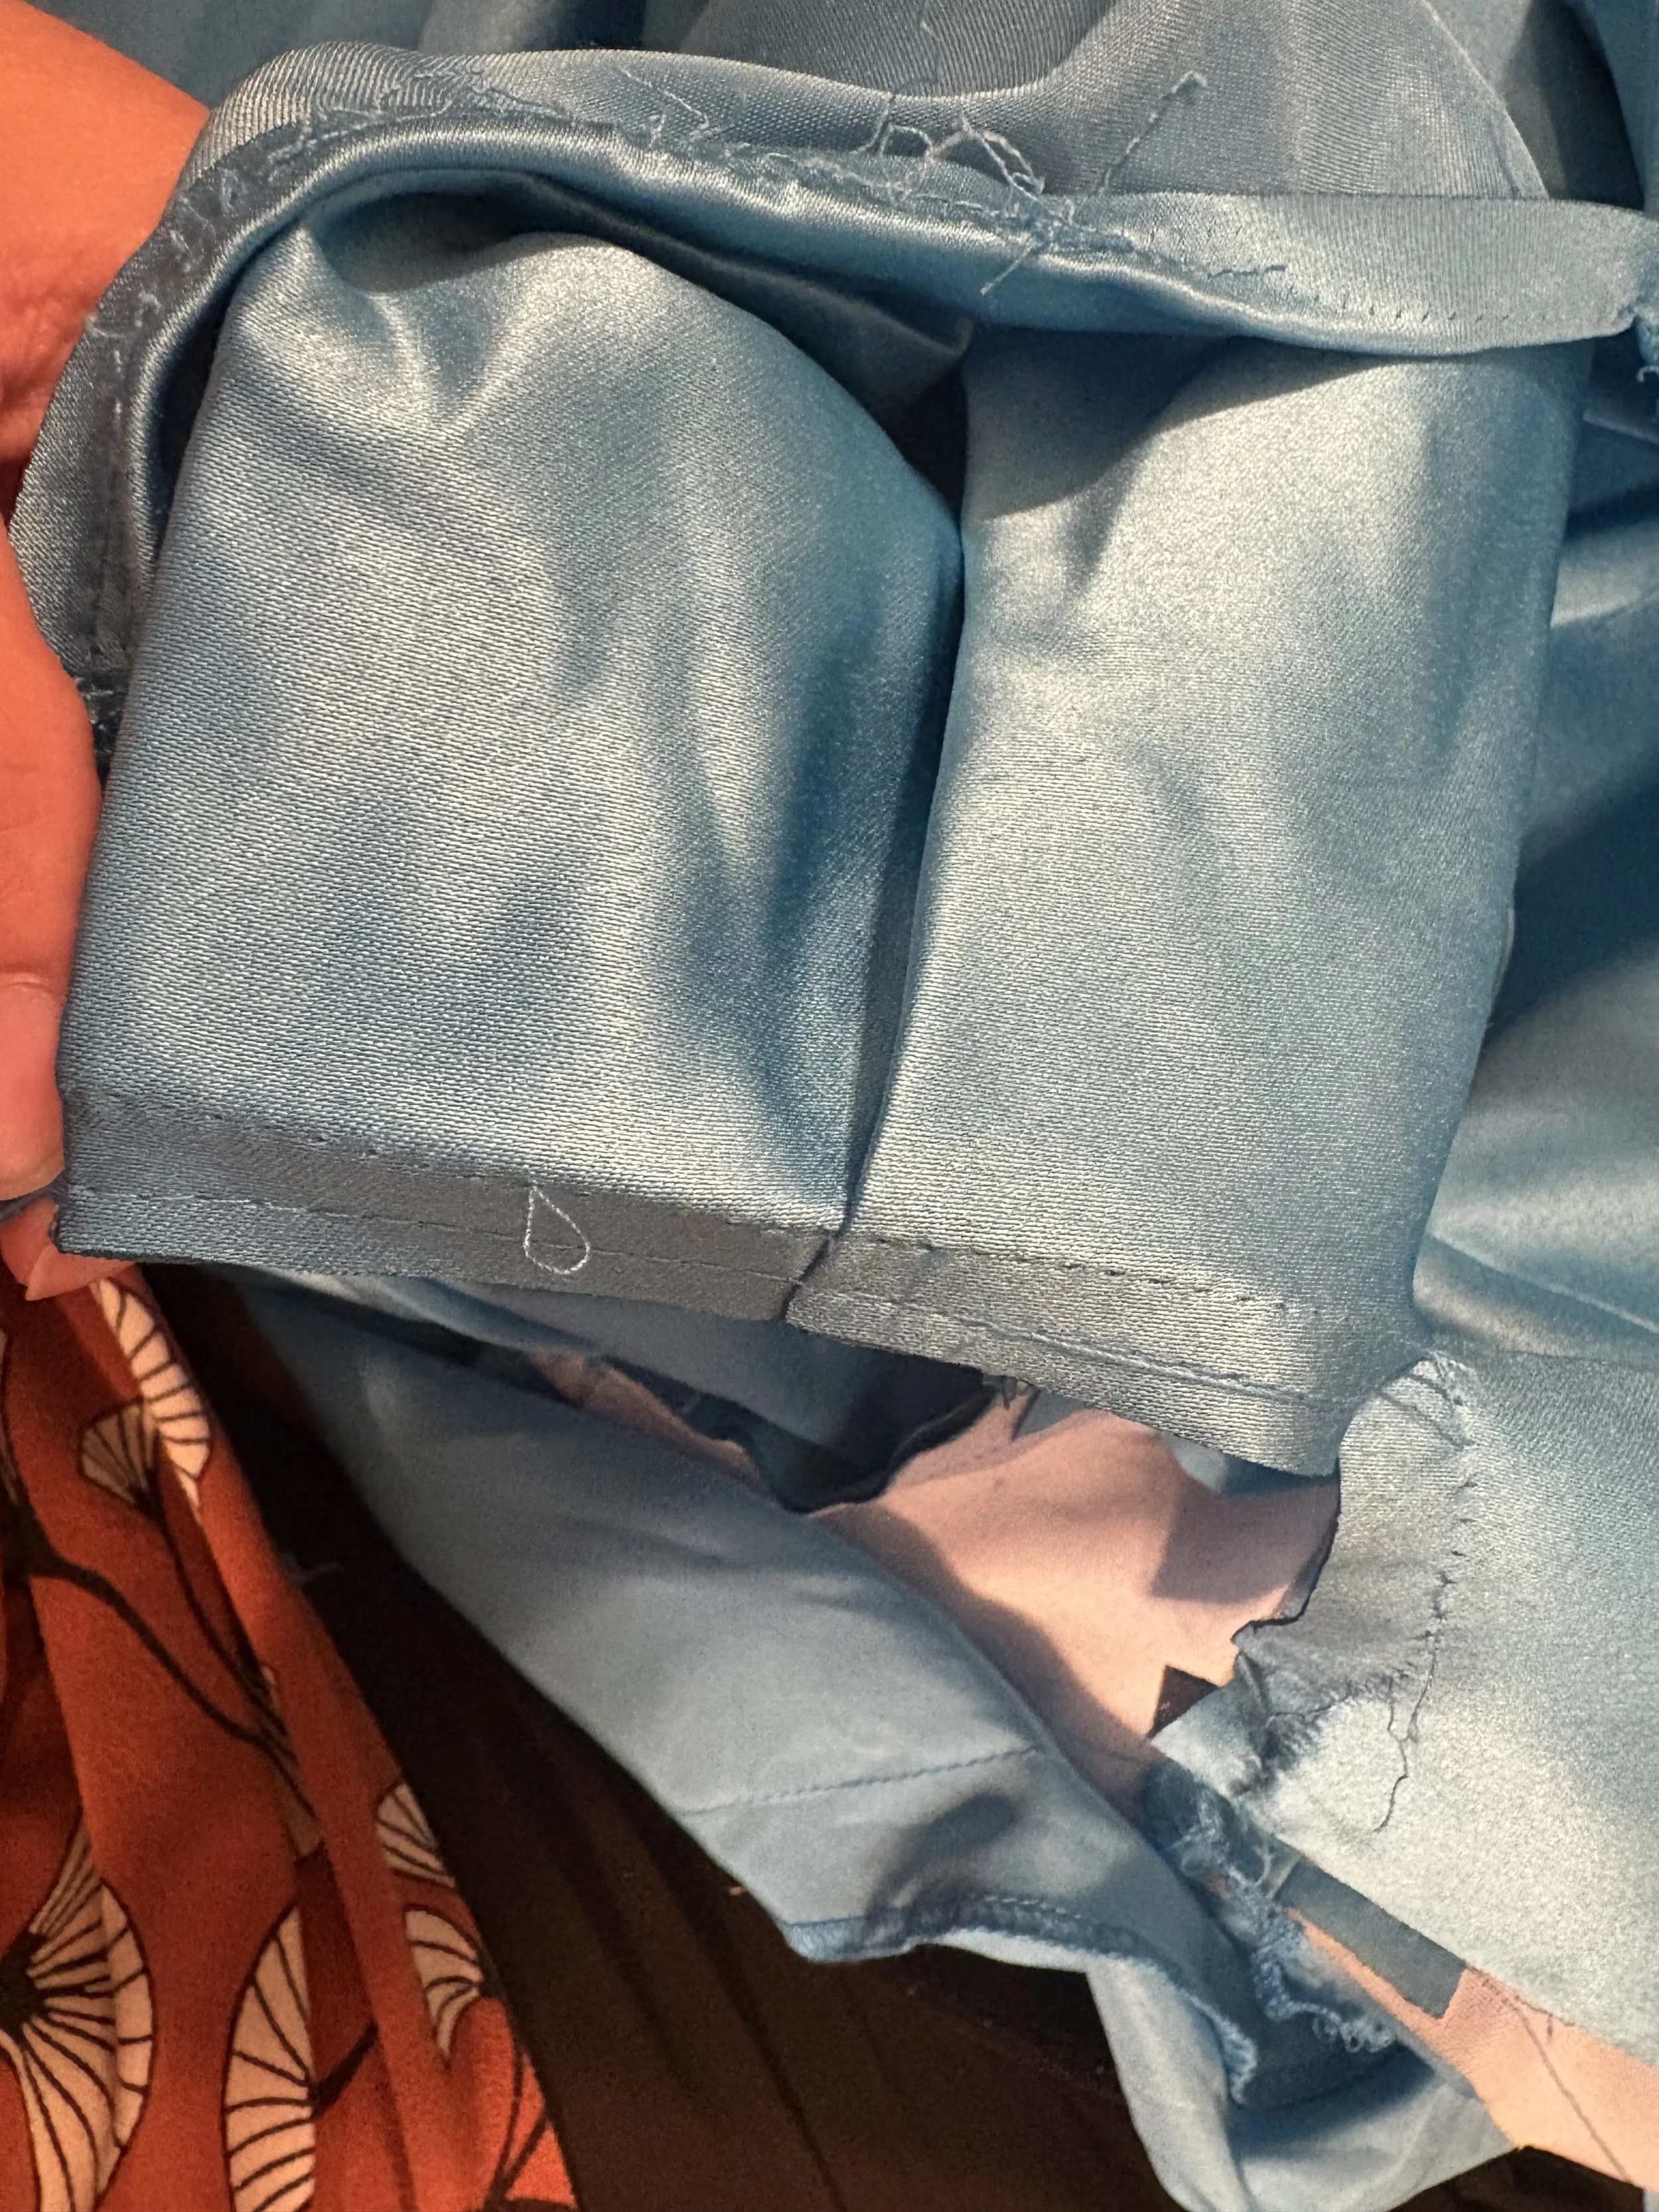

Next, came the trickier step of the process: shifting the loops up to their new position, in order to bring in the dress and close the opening just enough so that it didn’t need a modesty panel.
It was required a little more “surgery” to line them up just right and then to re-sew them into their new positions. But it was well worth it to correct that fit on the waist that was really driving me crazy.
Additionally, temporarily removing the loops gave me the opening I needed to remove the extra yardage from the pleated outer-skirt; it went a long way to creating a more flattering A-Line by removing all the extra bulk and smoothing the drape.
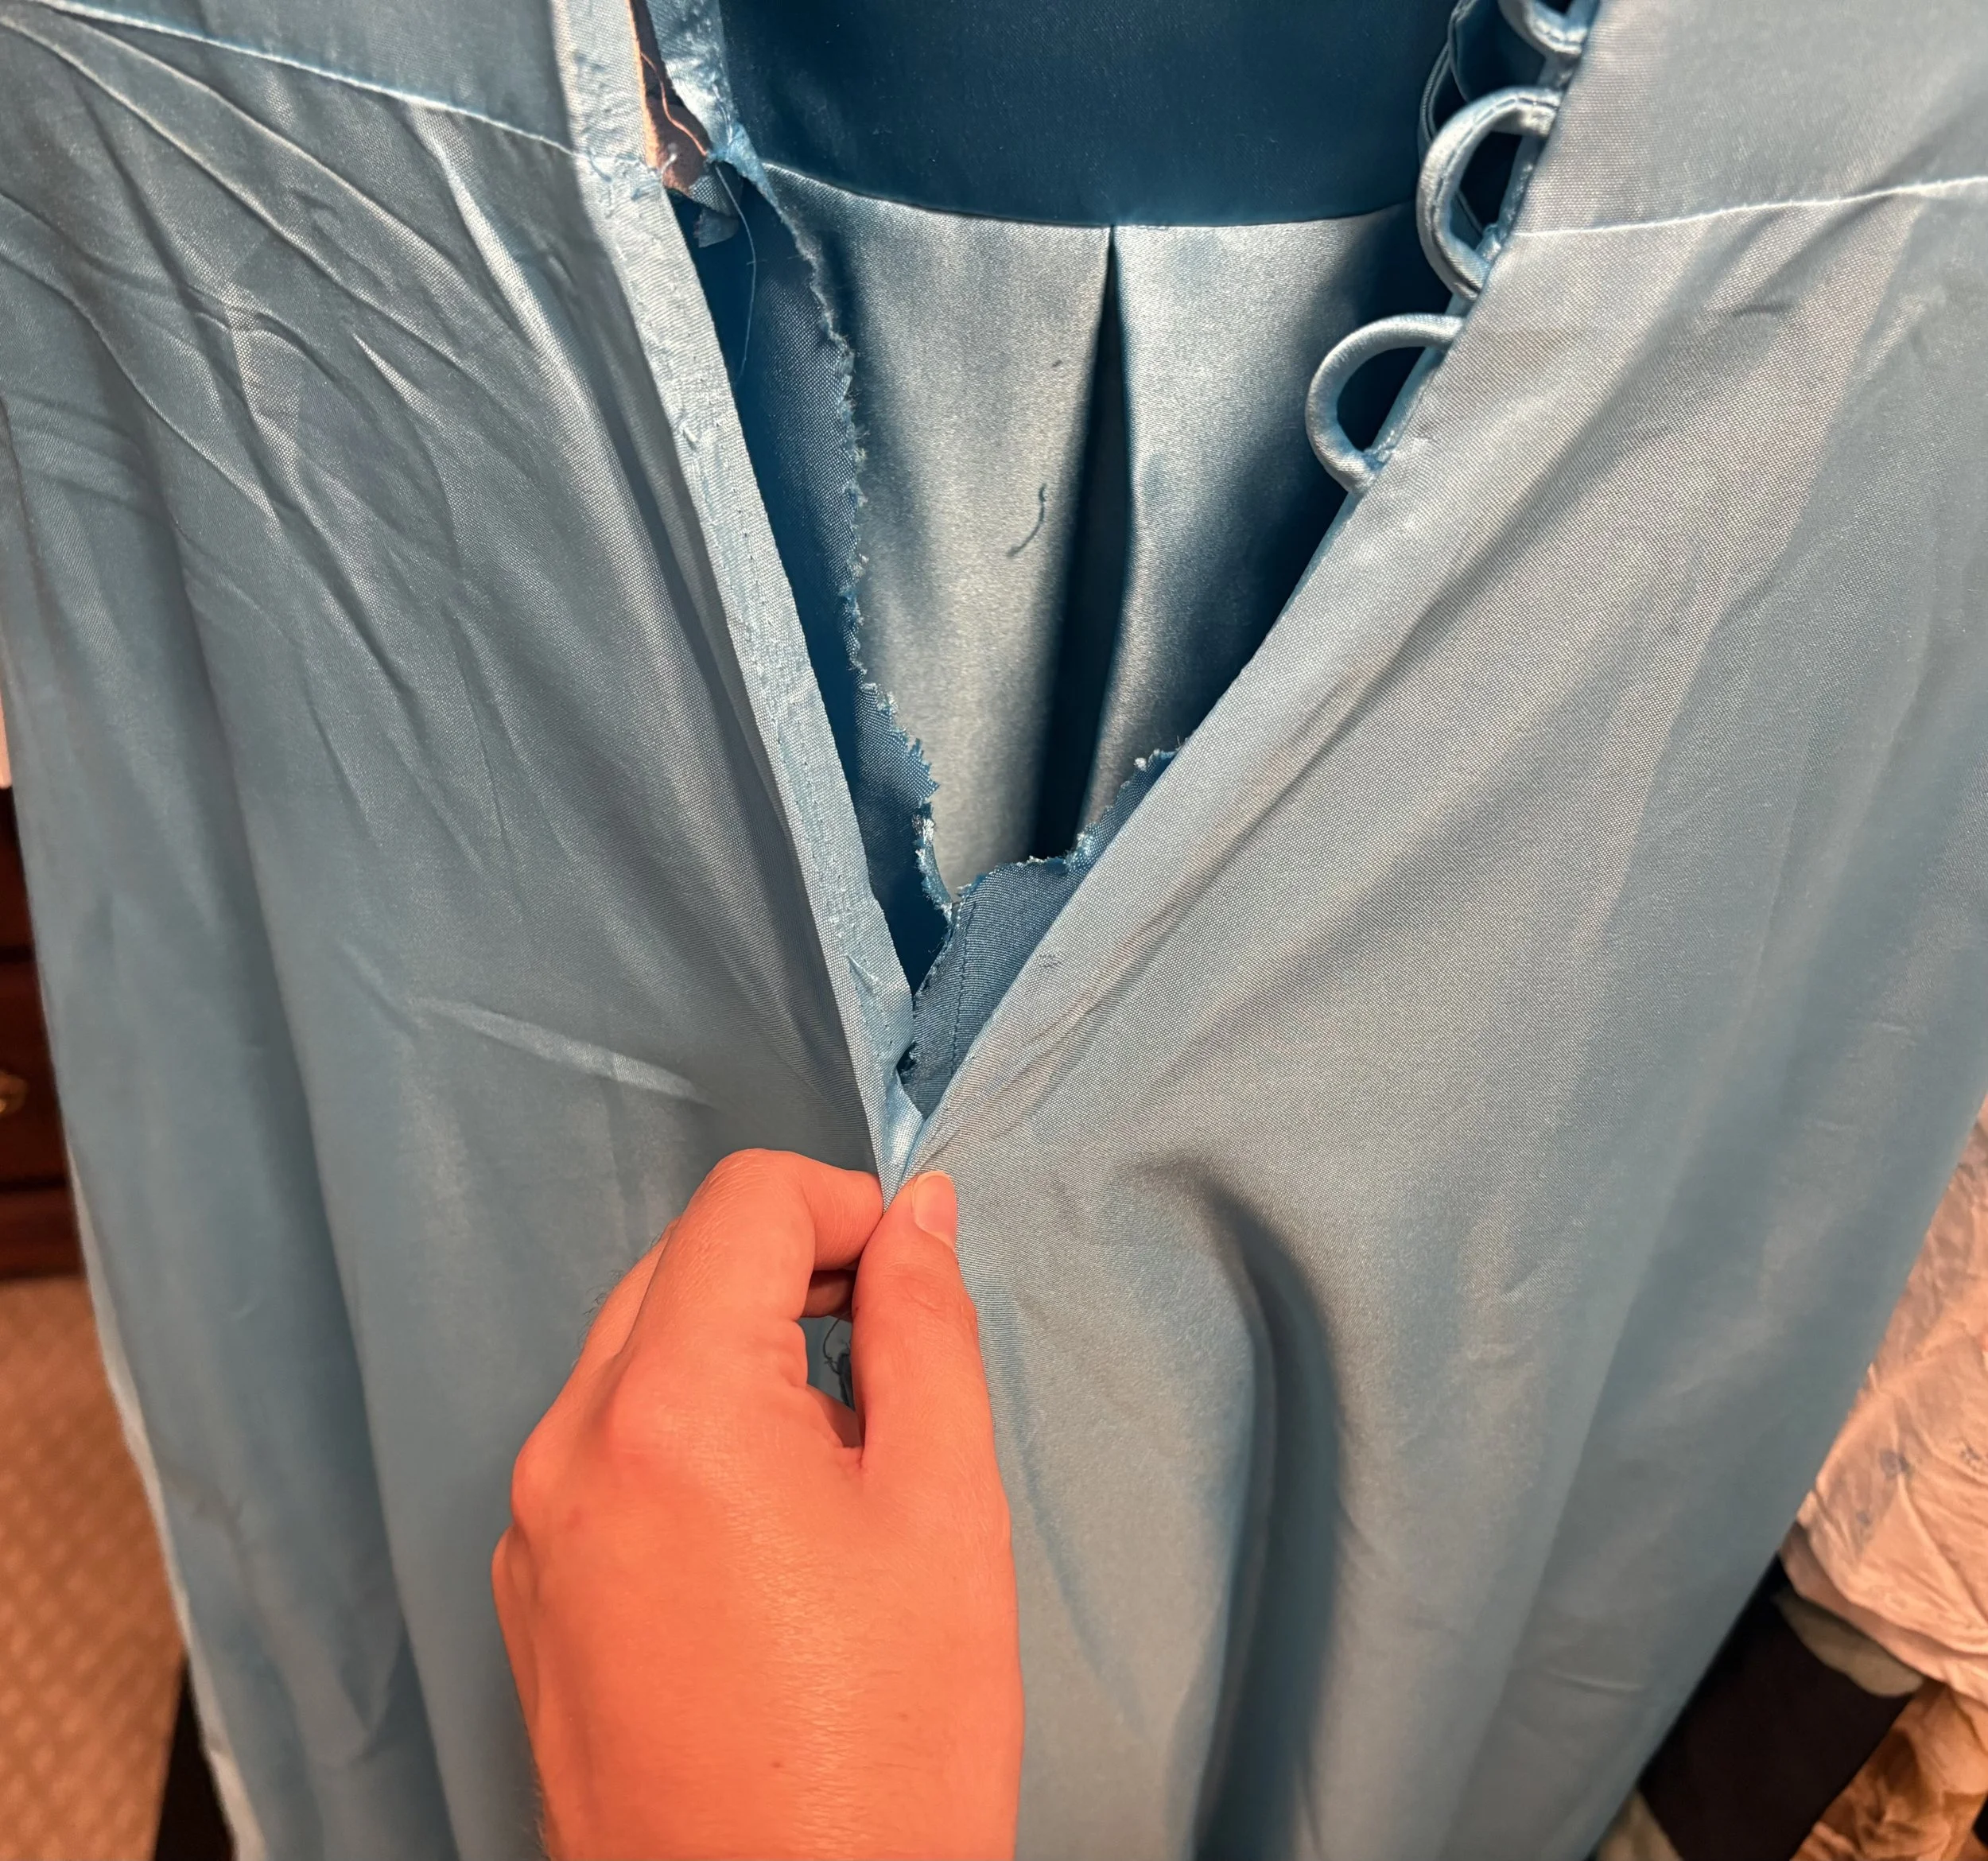
To make that drape a little more polished, I also tapered the new seams with a back-stitch before putting them back under the sewing machine. It let me hang the dress from my dressing form a few times so that I could get the dress to fall in just the right way.
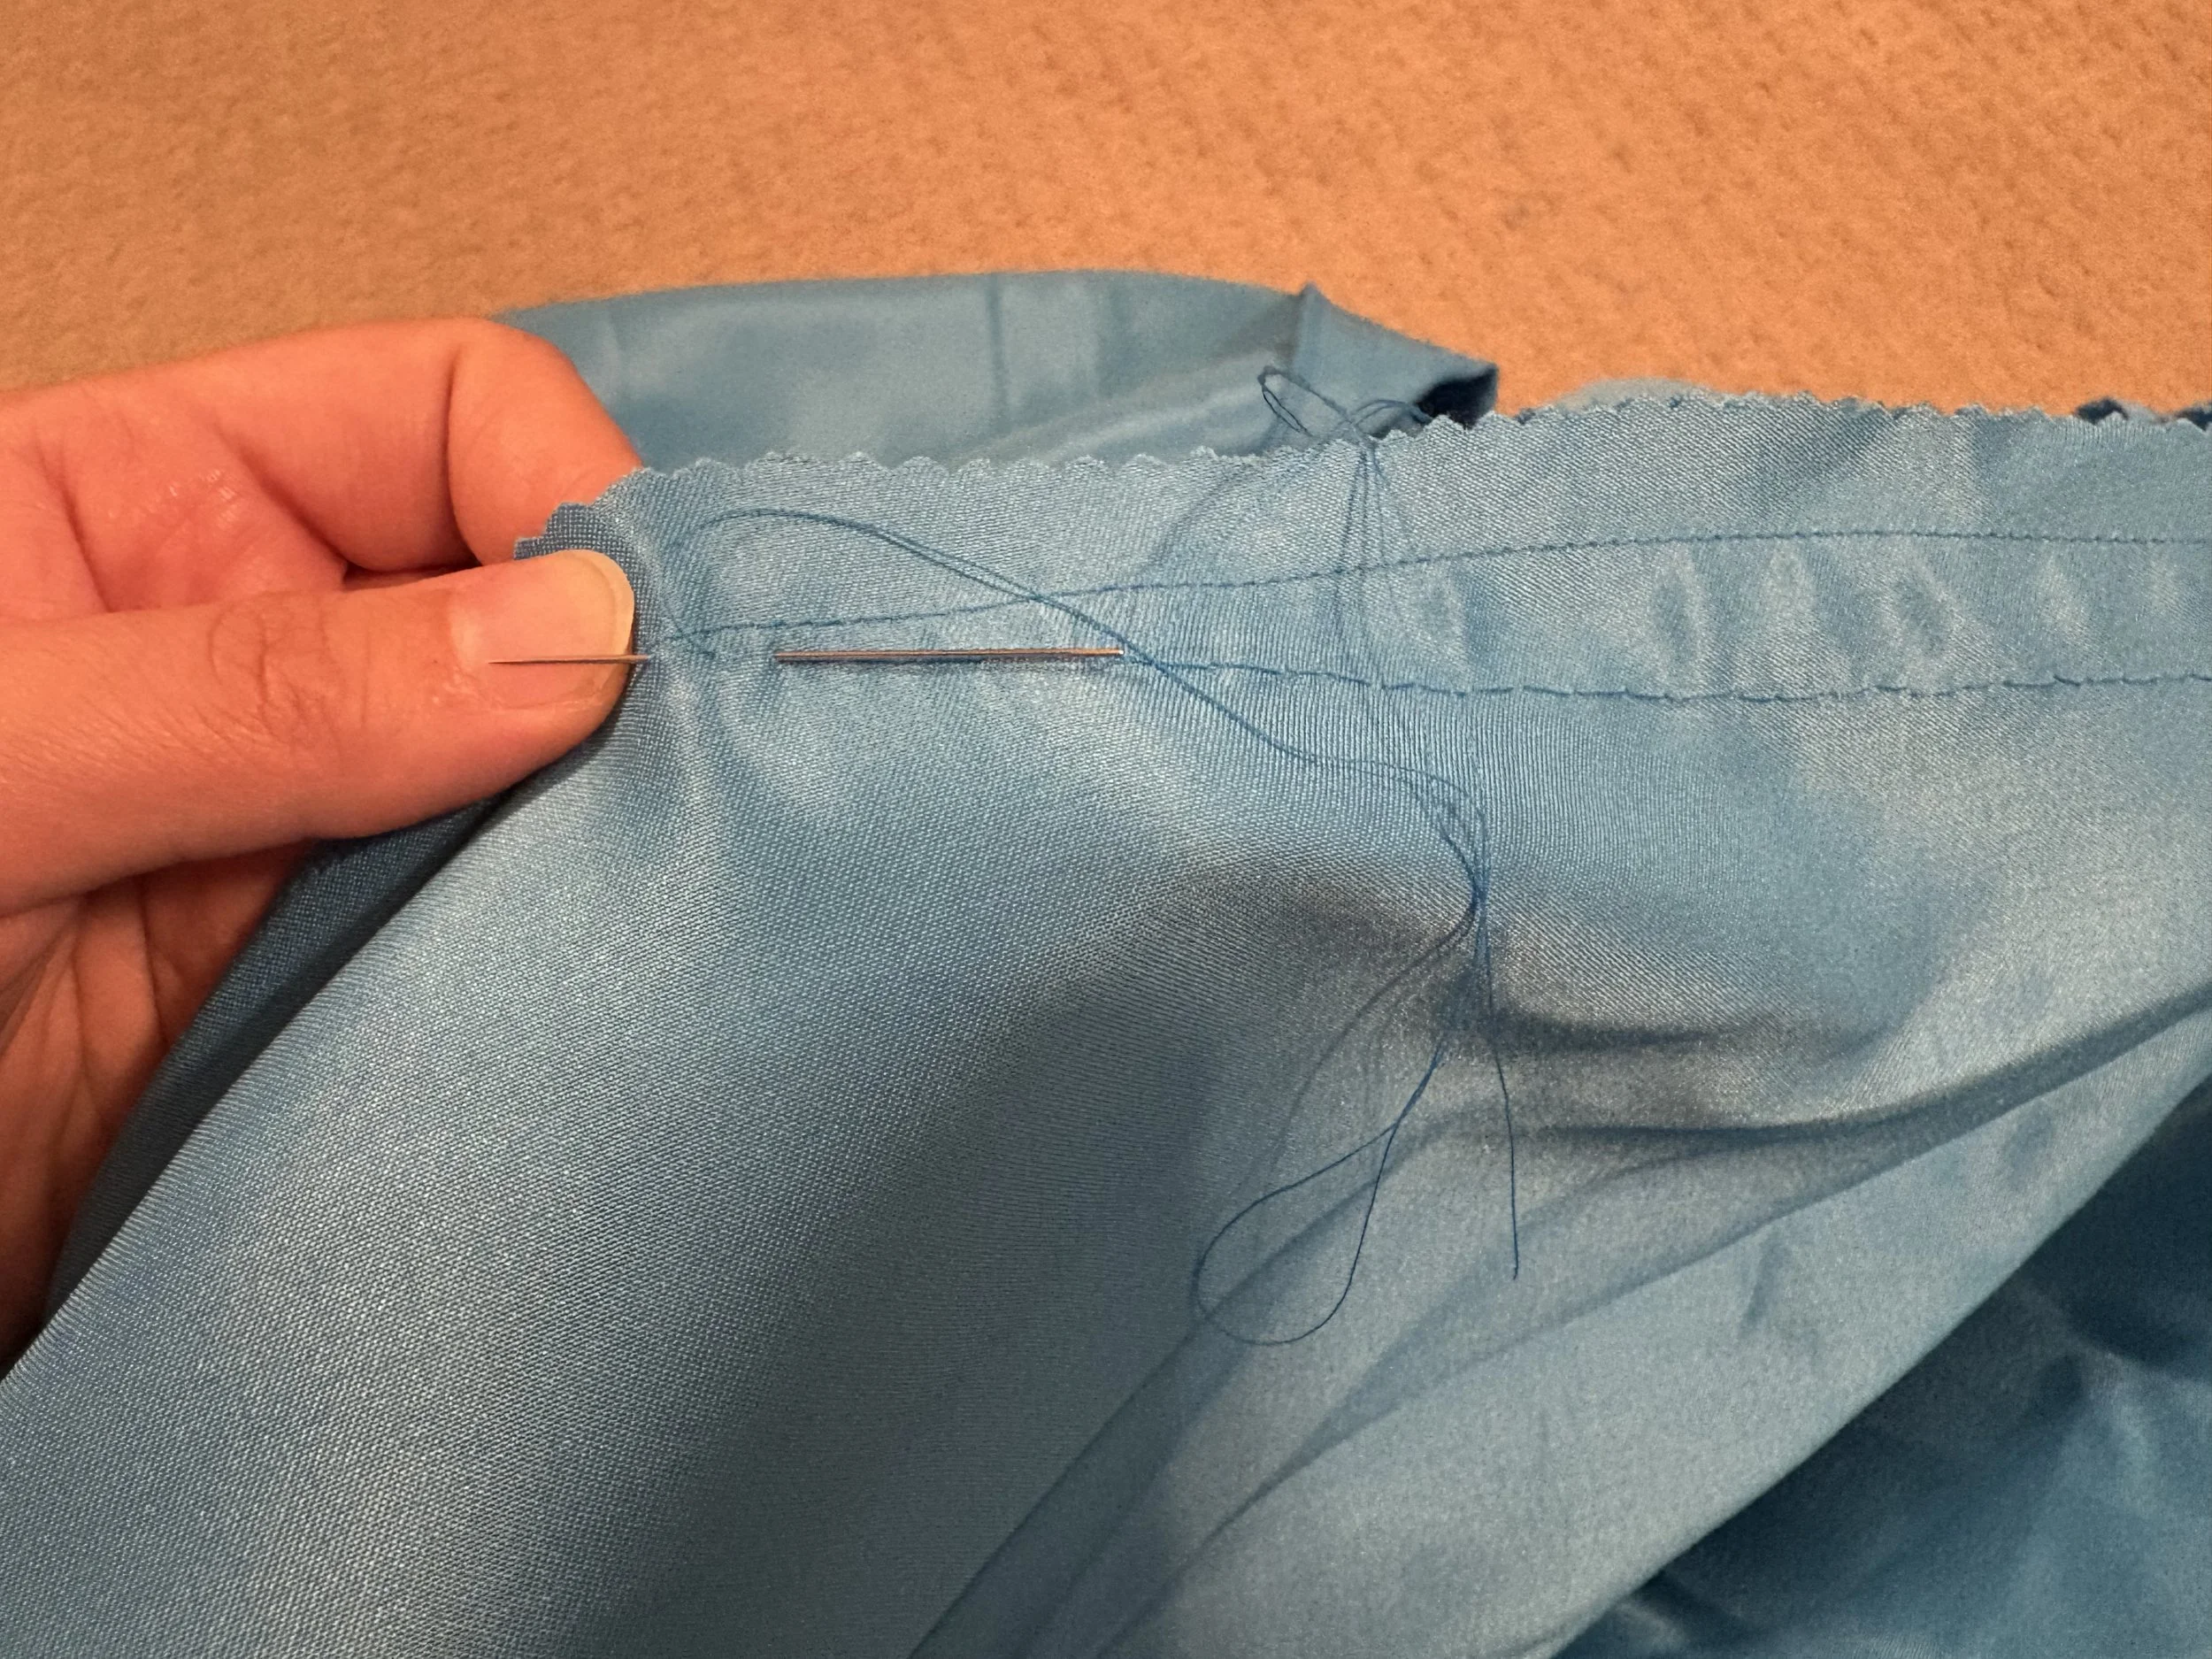
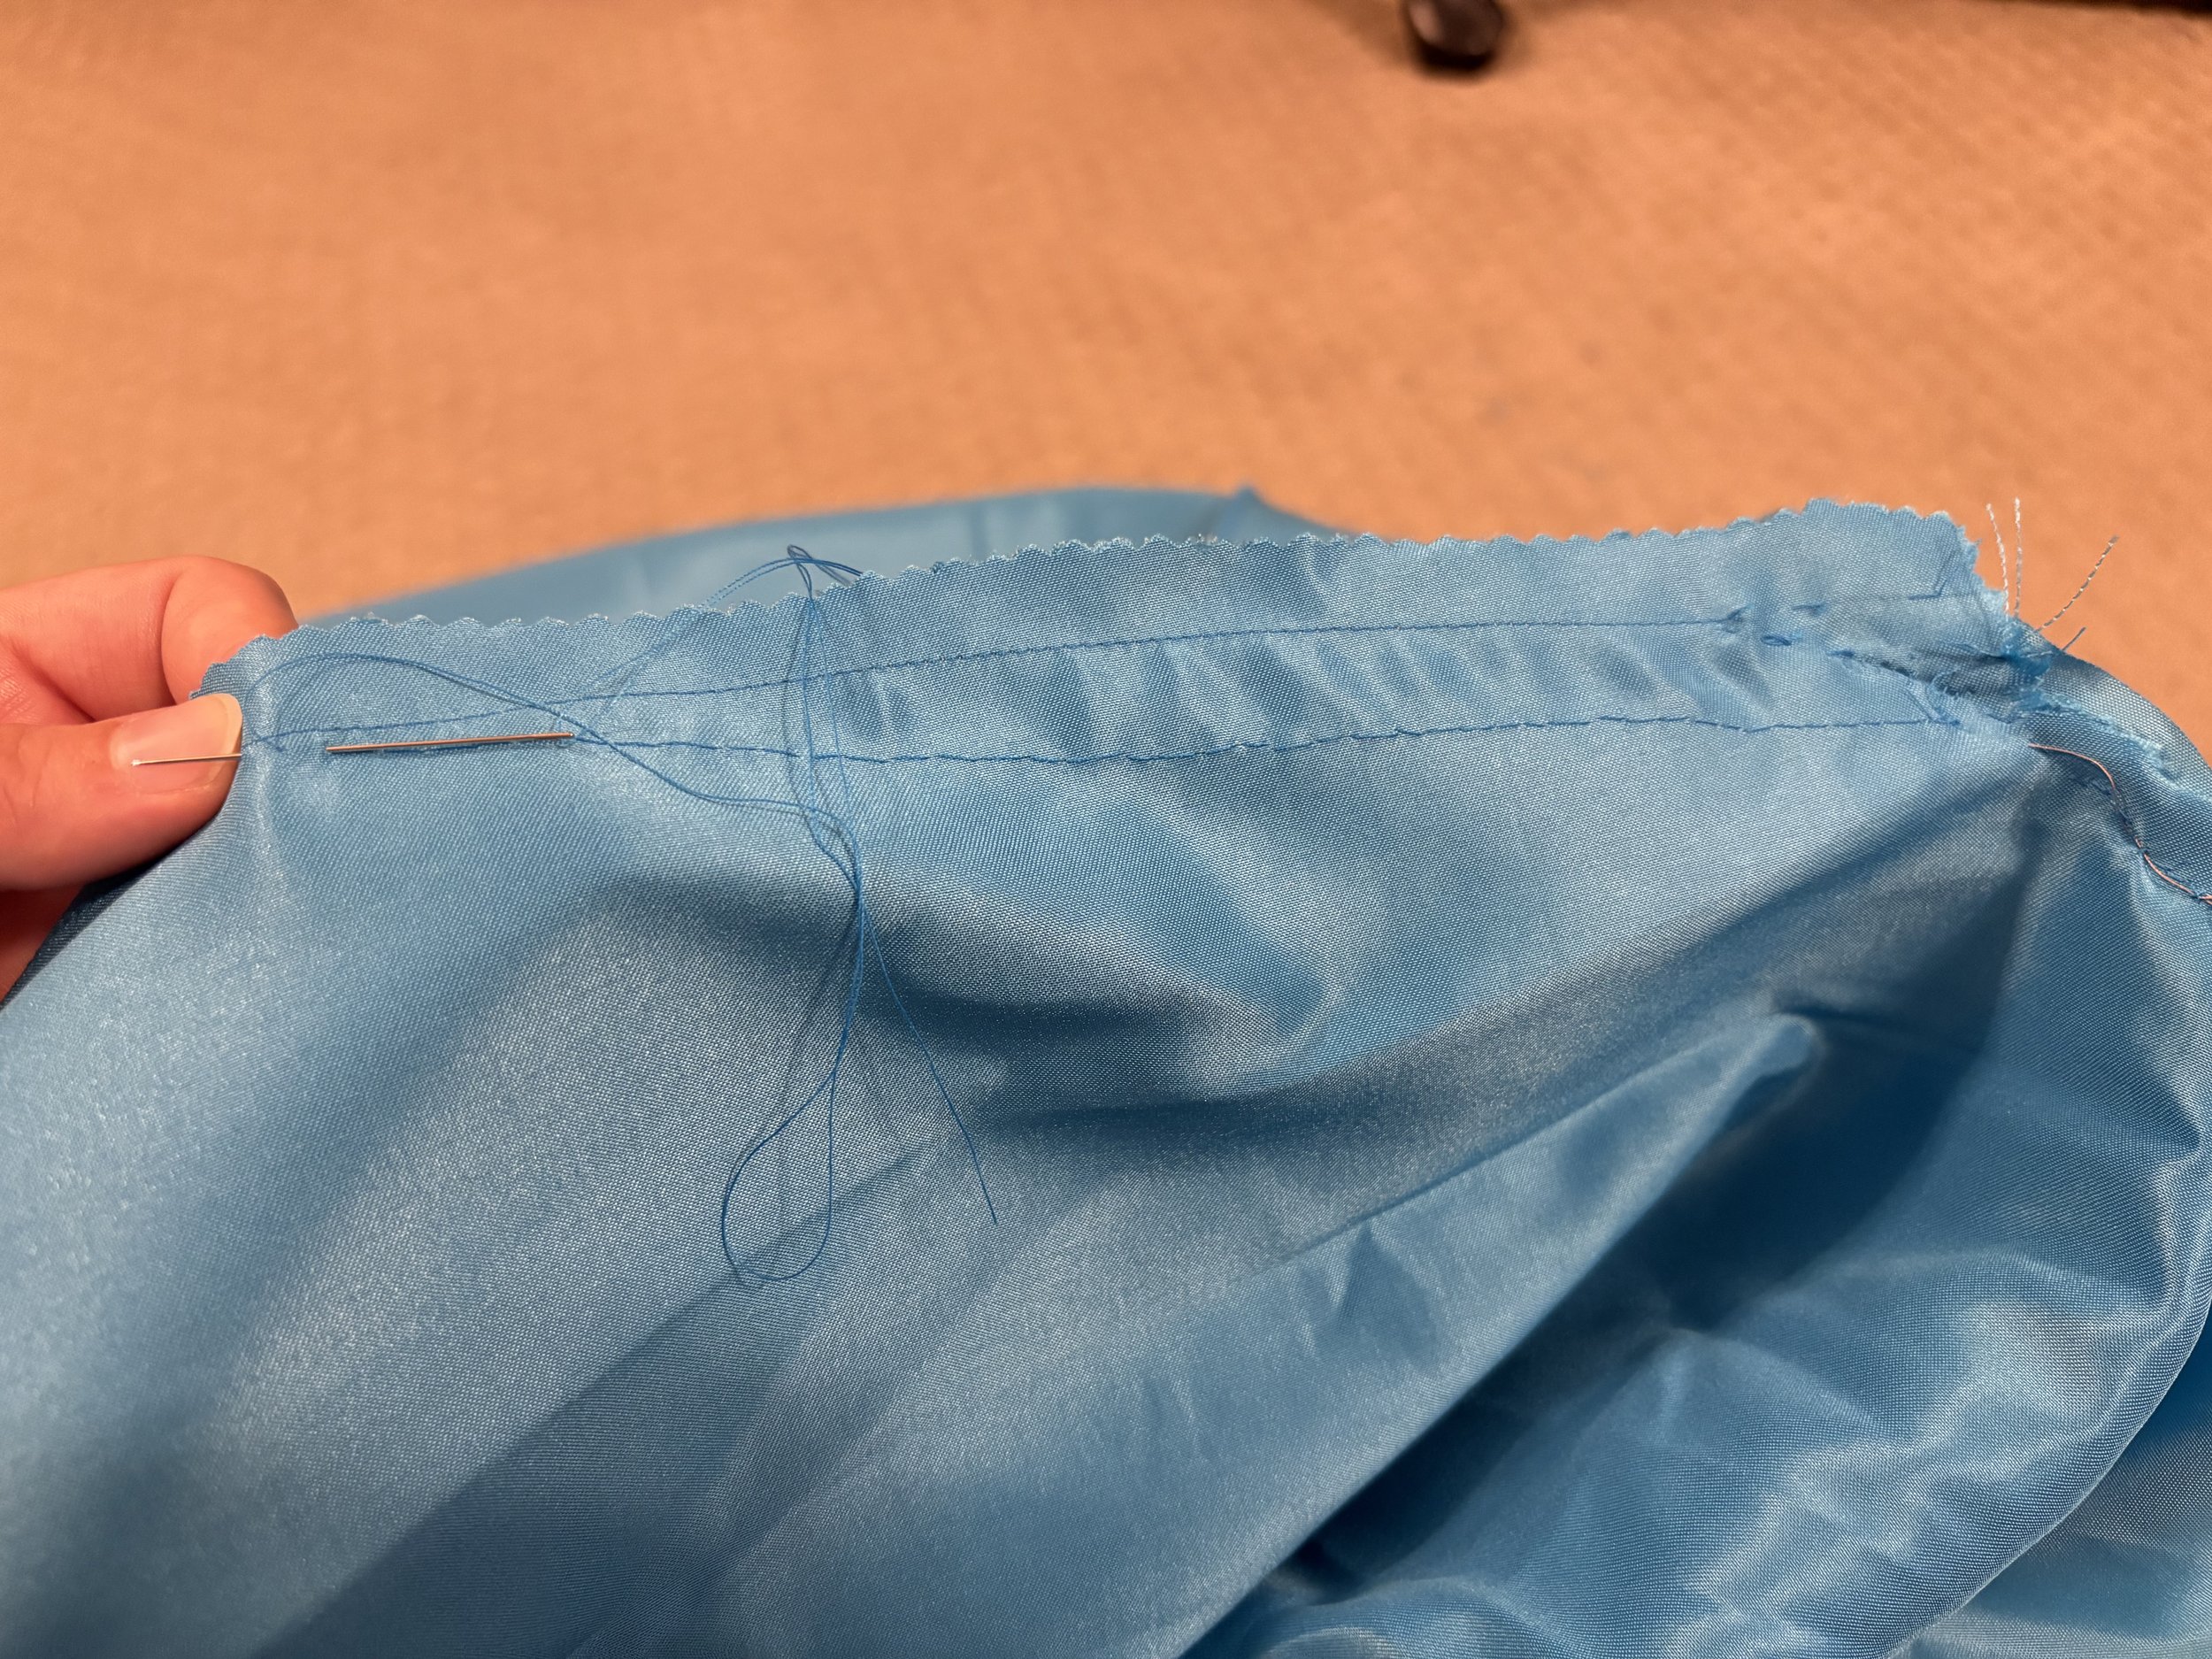
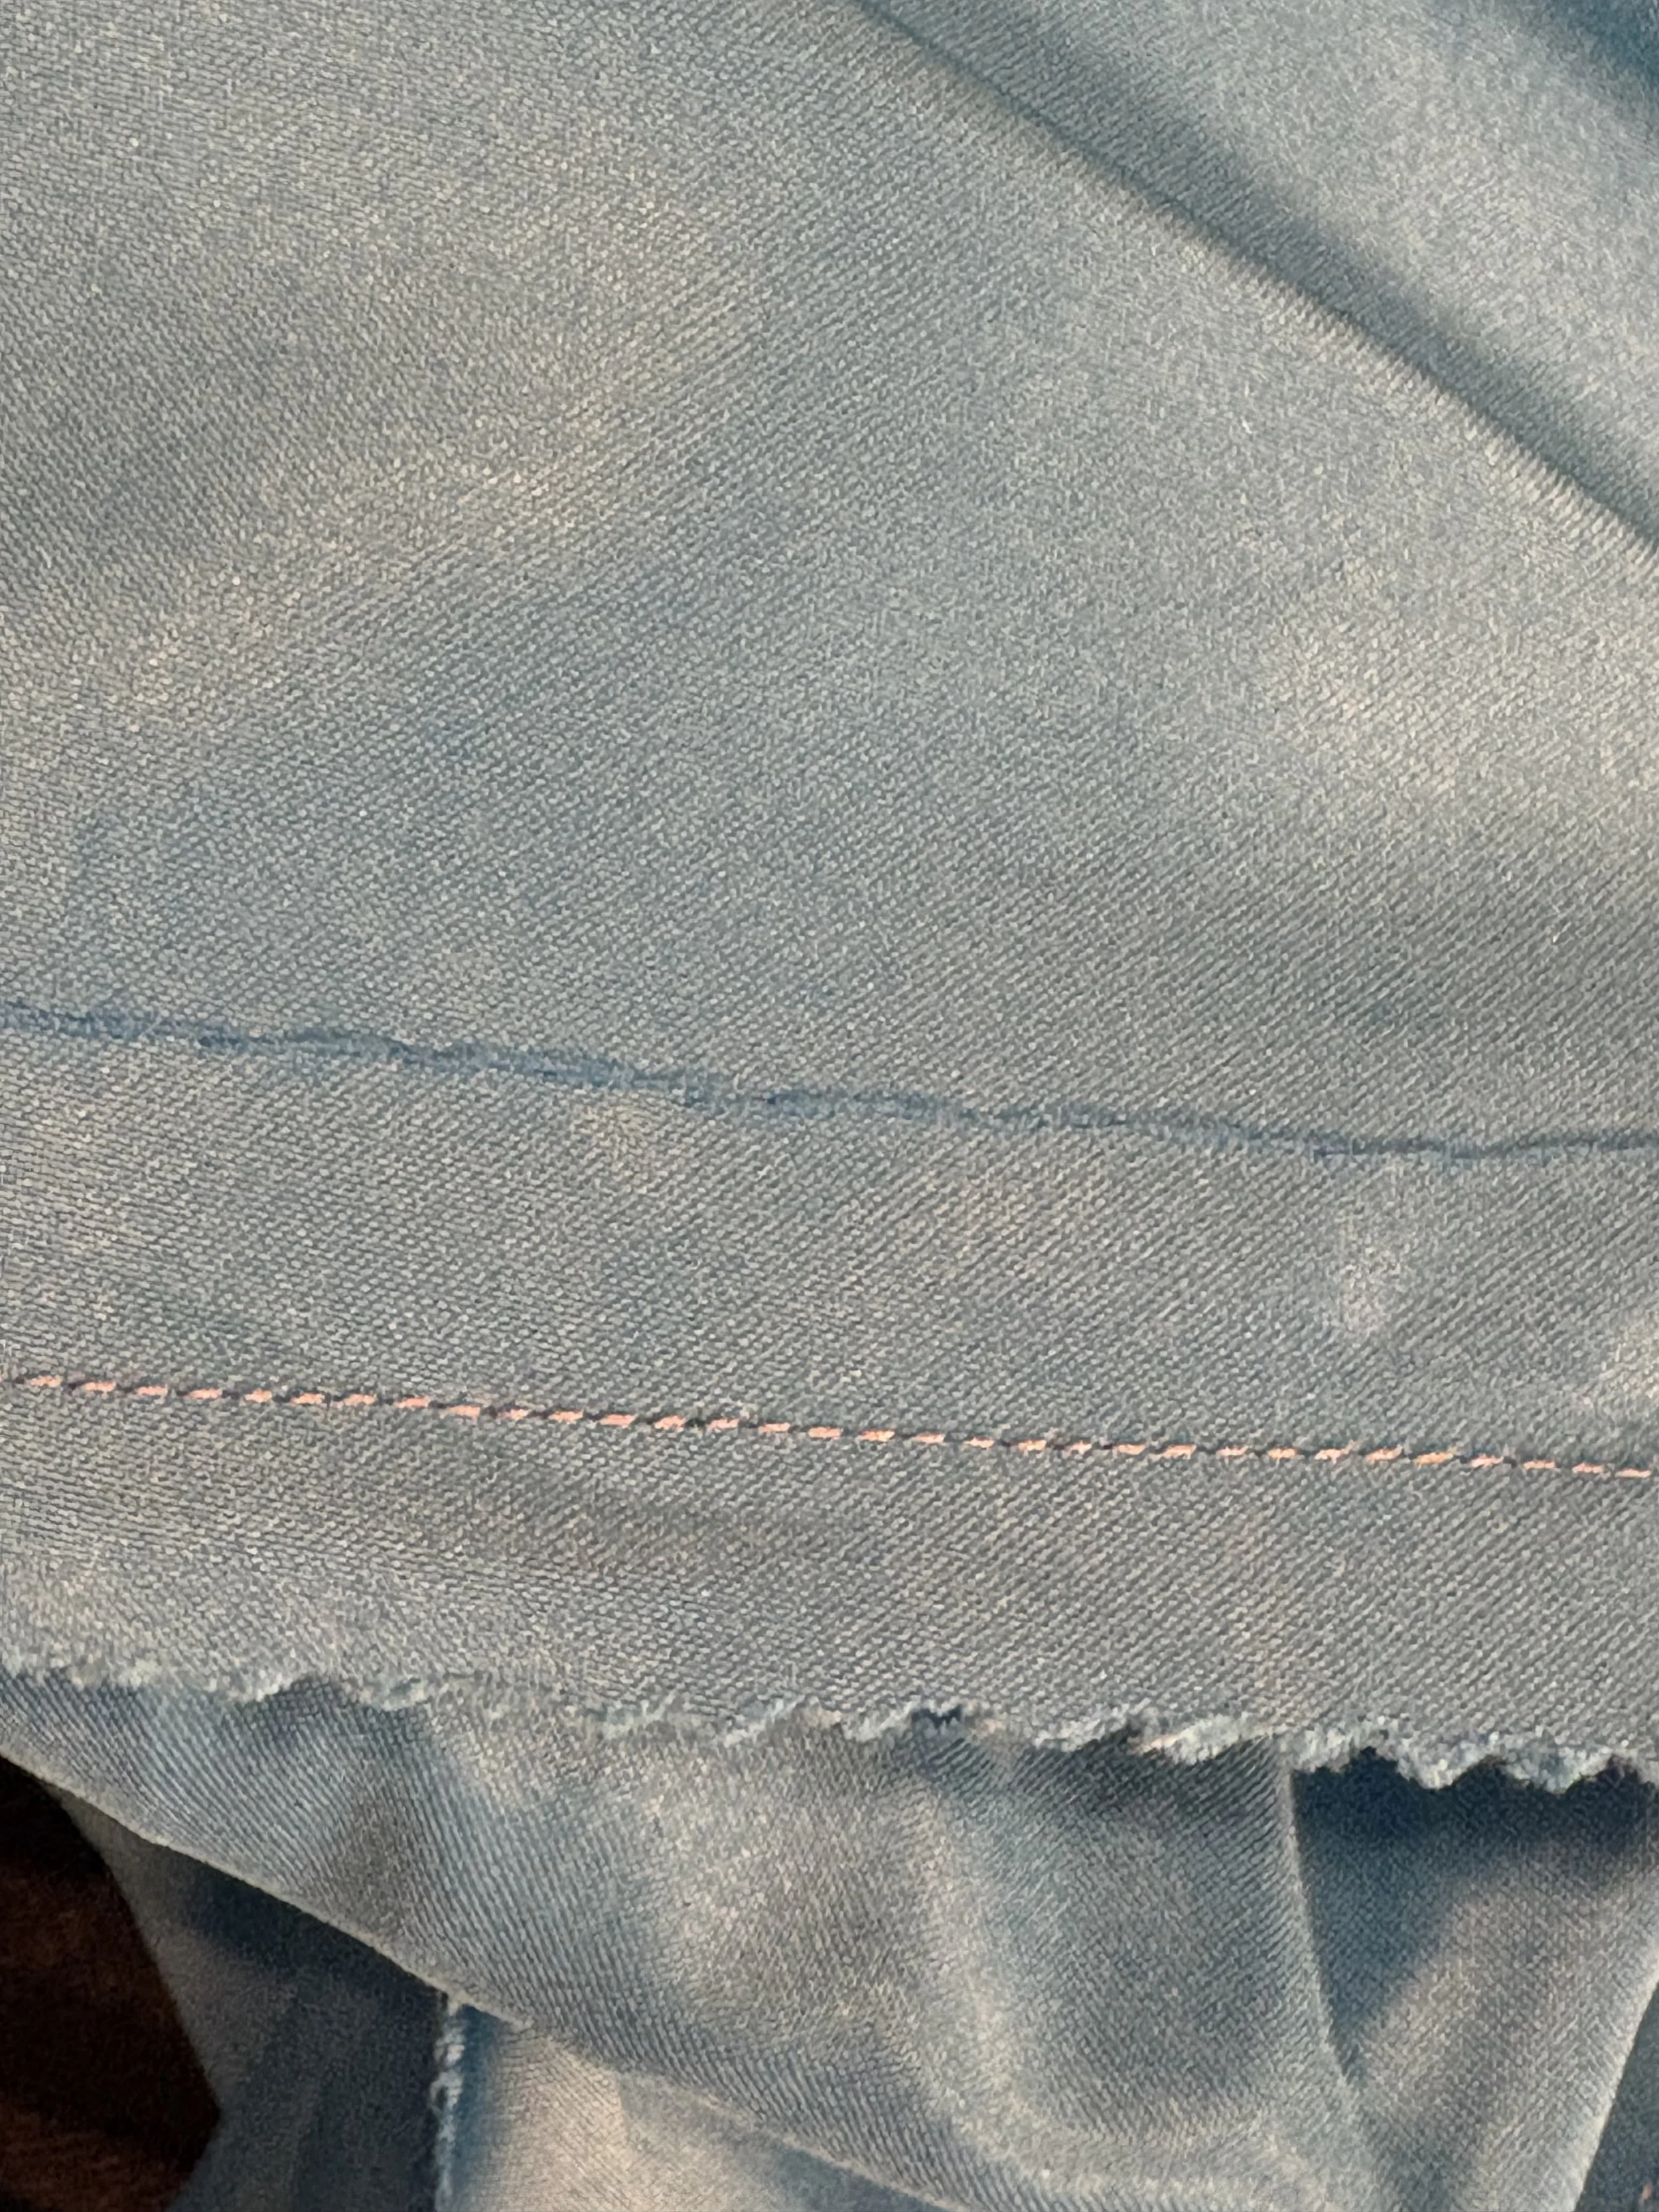
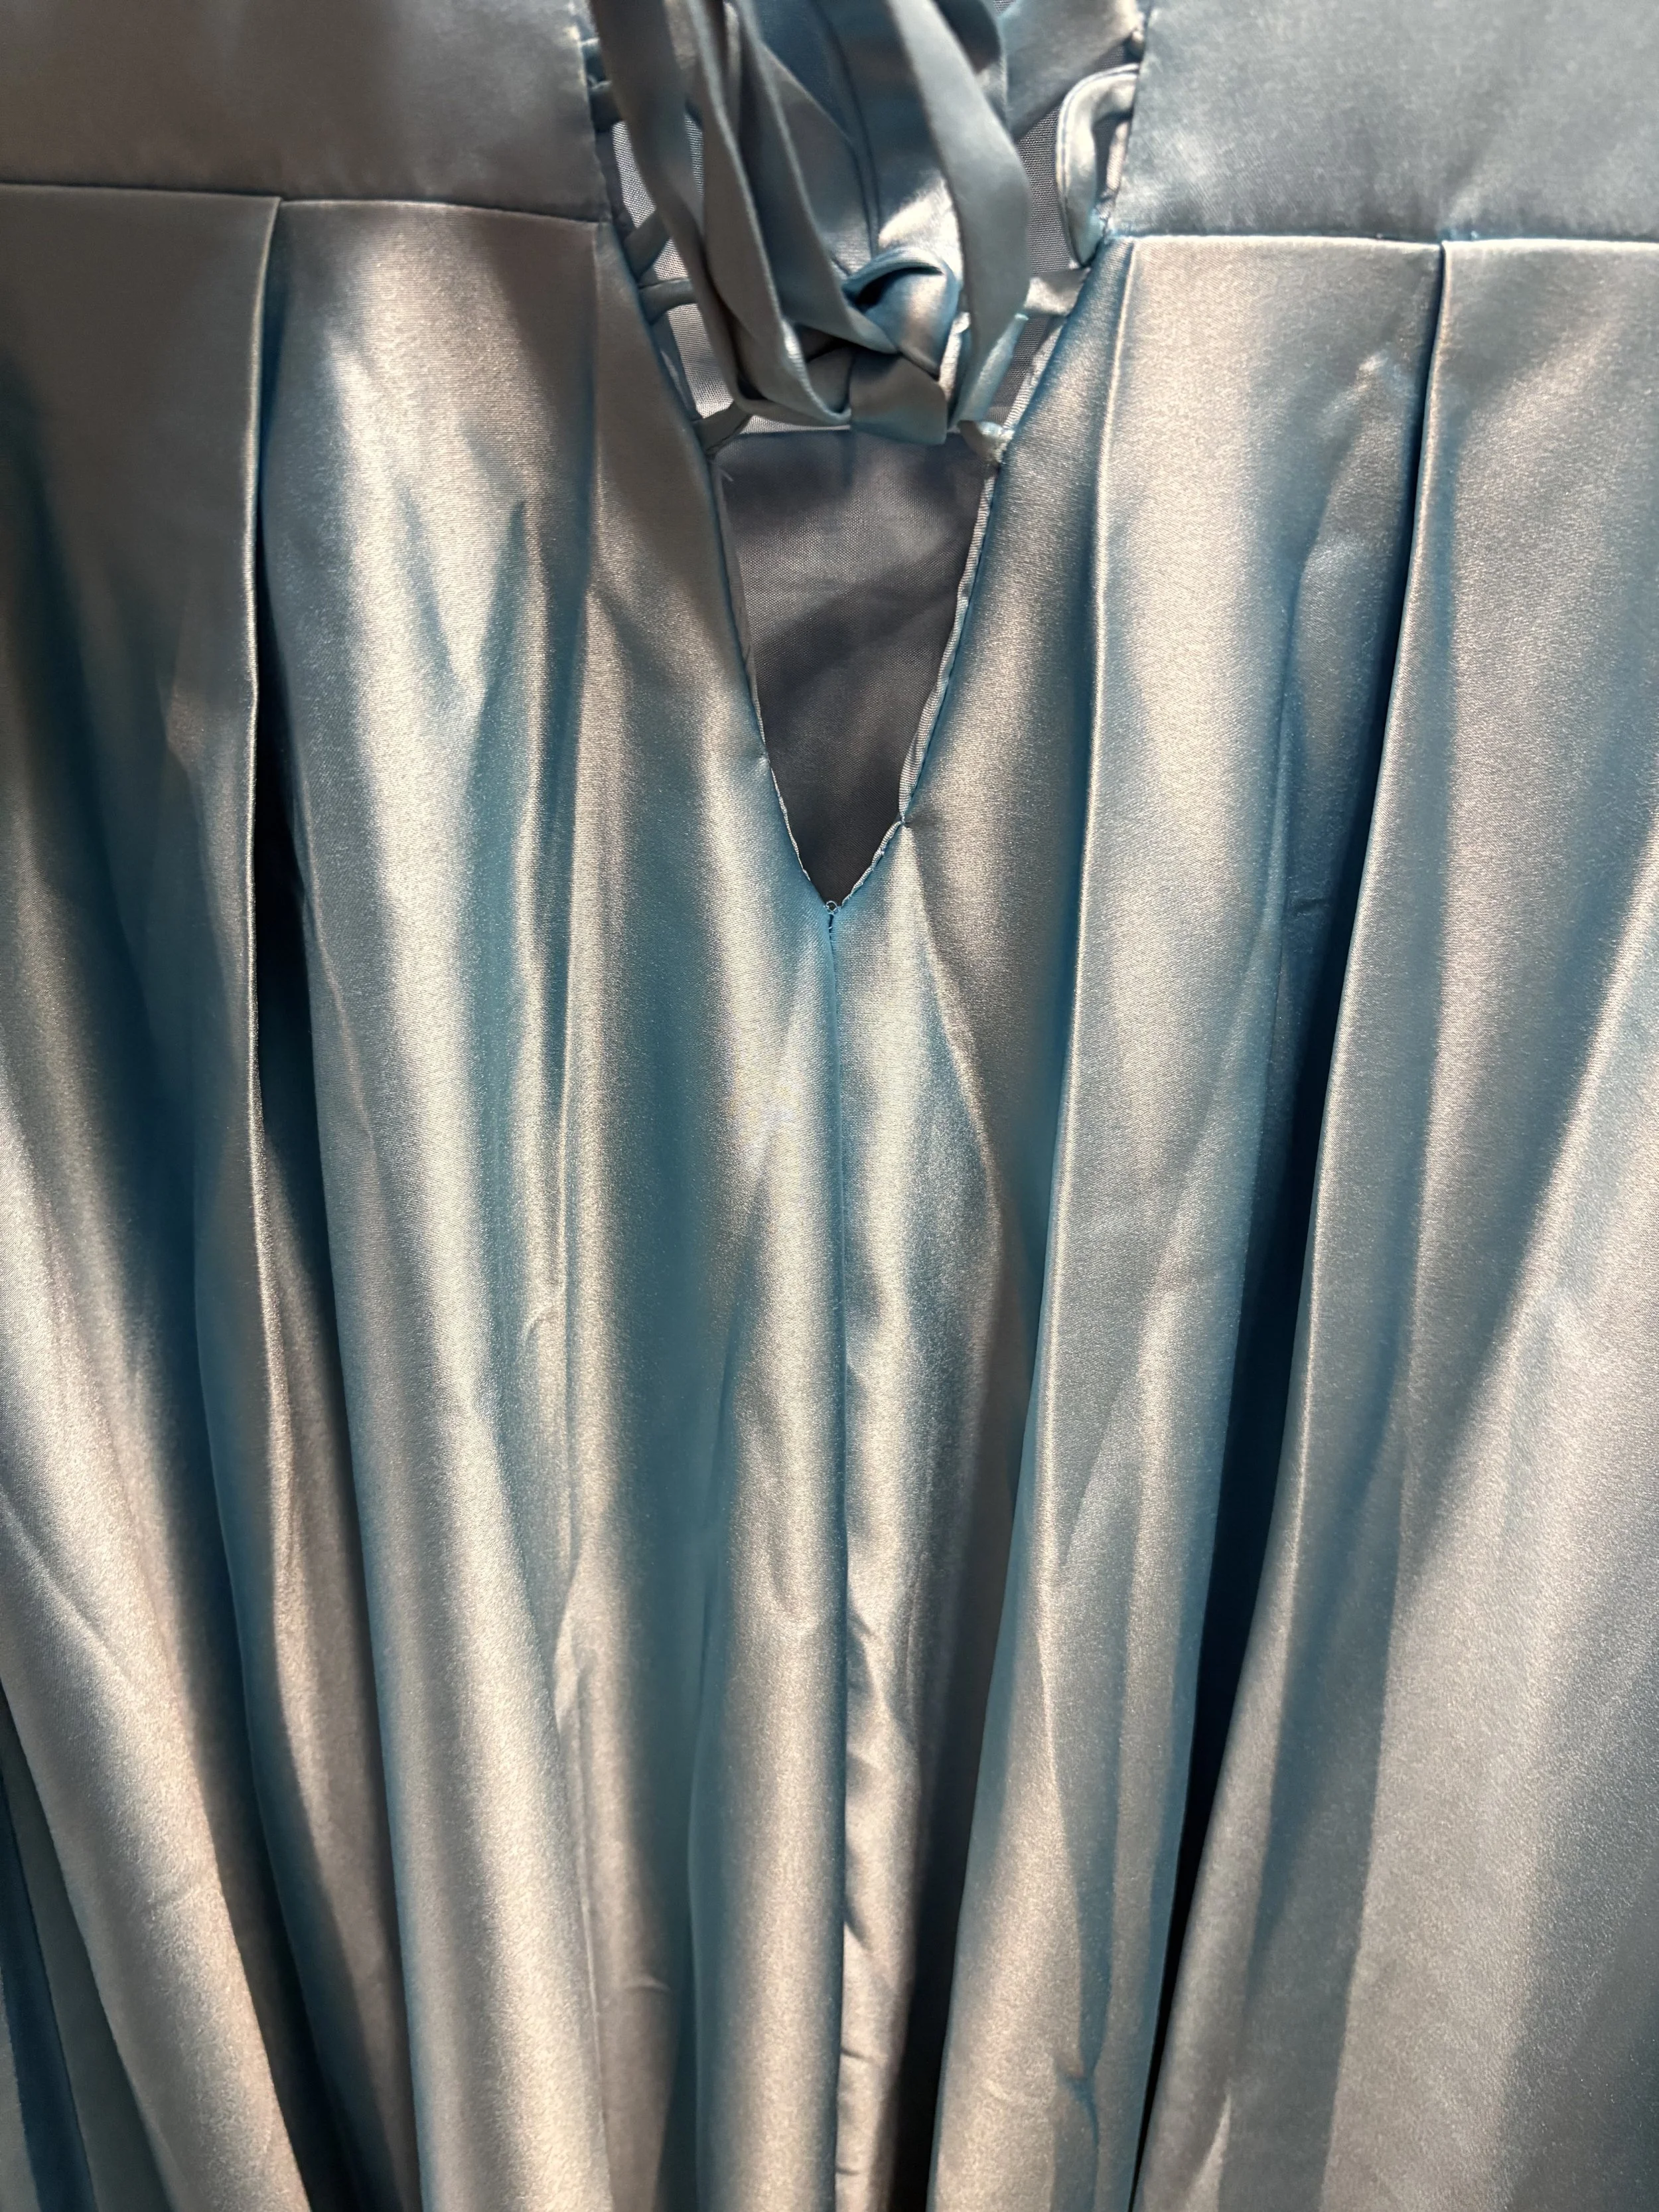
From there, it was a matter of just closing up the new seams and re-threading the laces.
Now, the only hiccup to closing up the dress, even by a few inches, was that it still left a tiny patch of skin exposed… and just above an area you really don’t want exposed at a formal function!
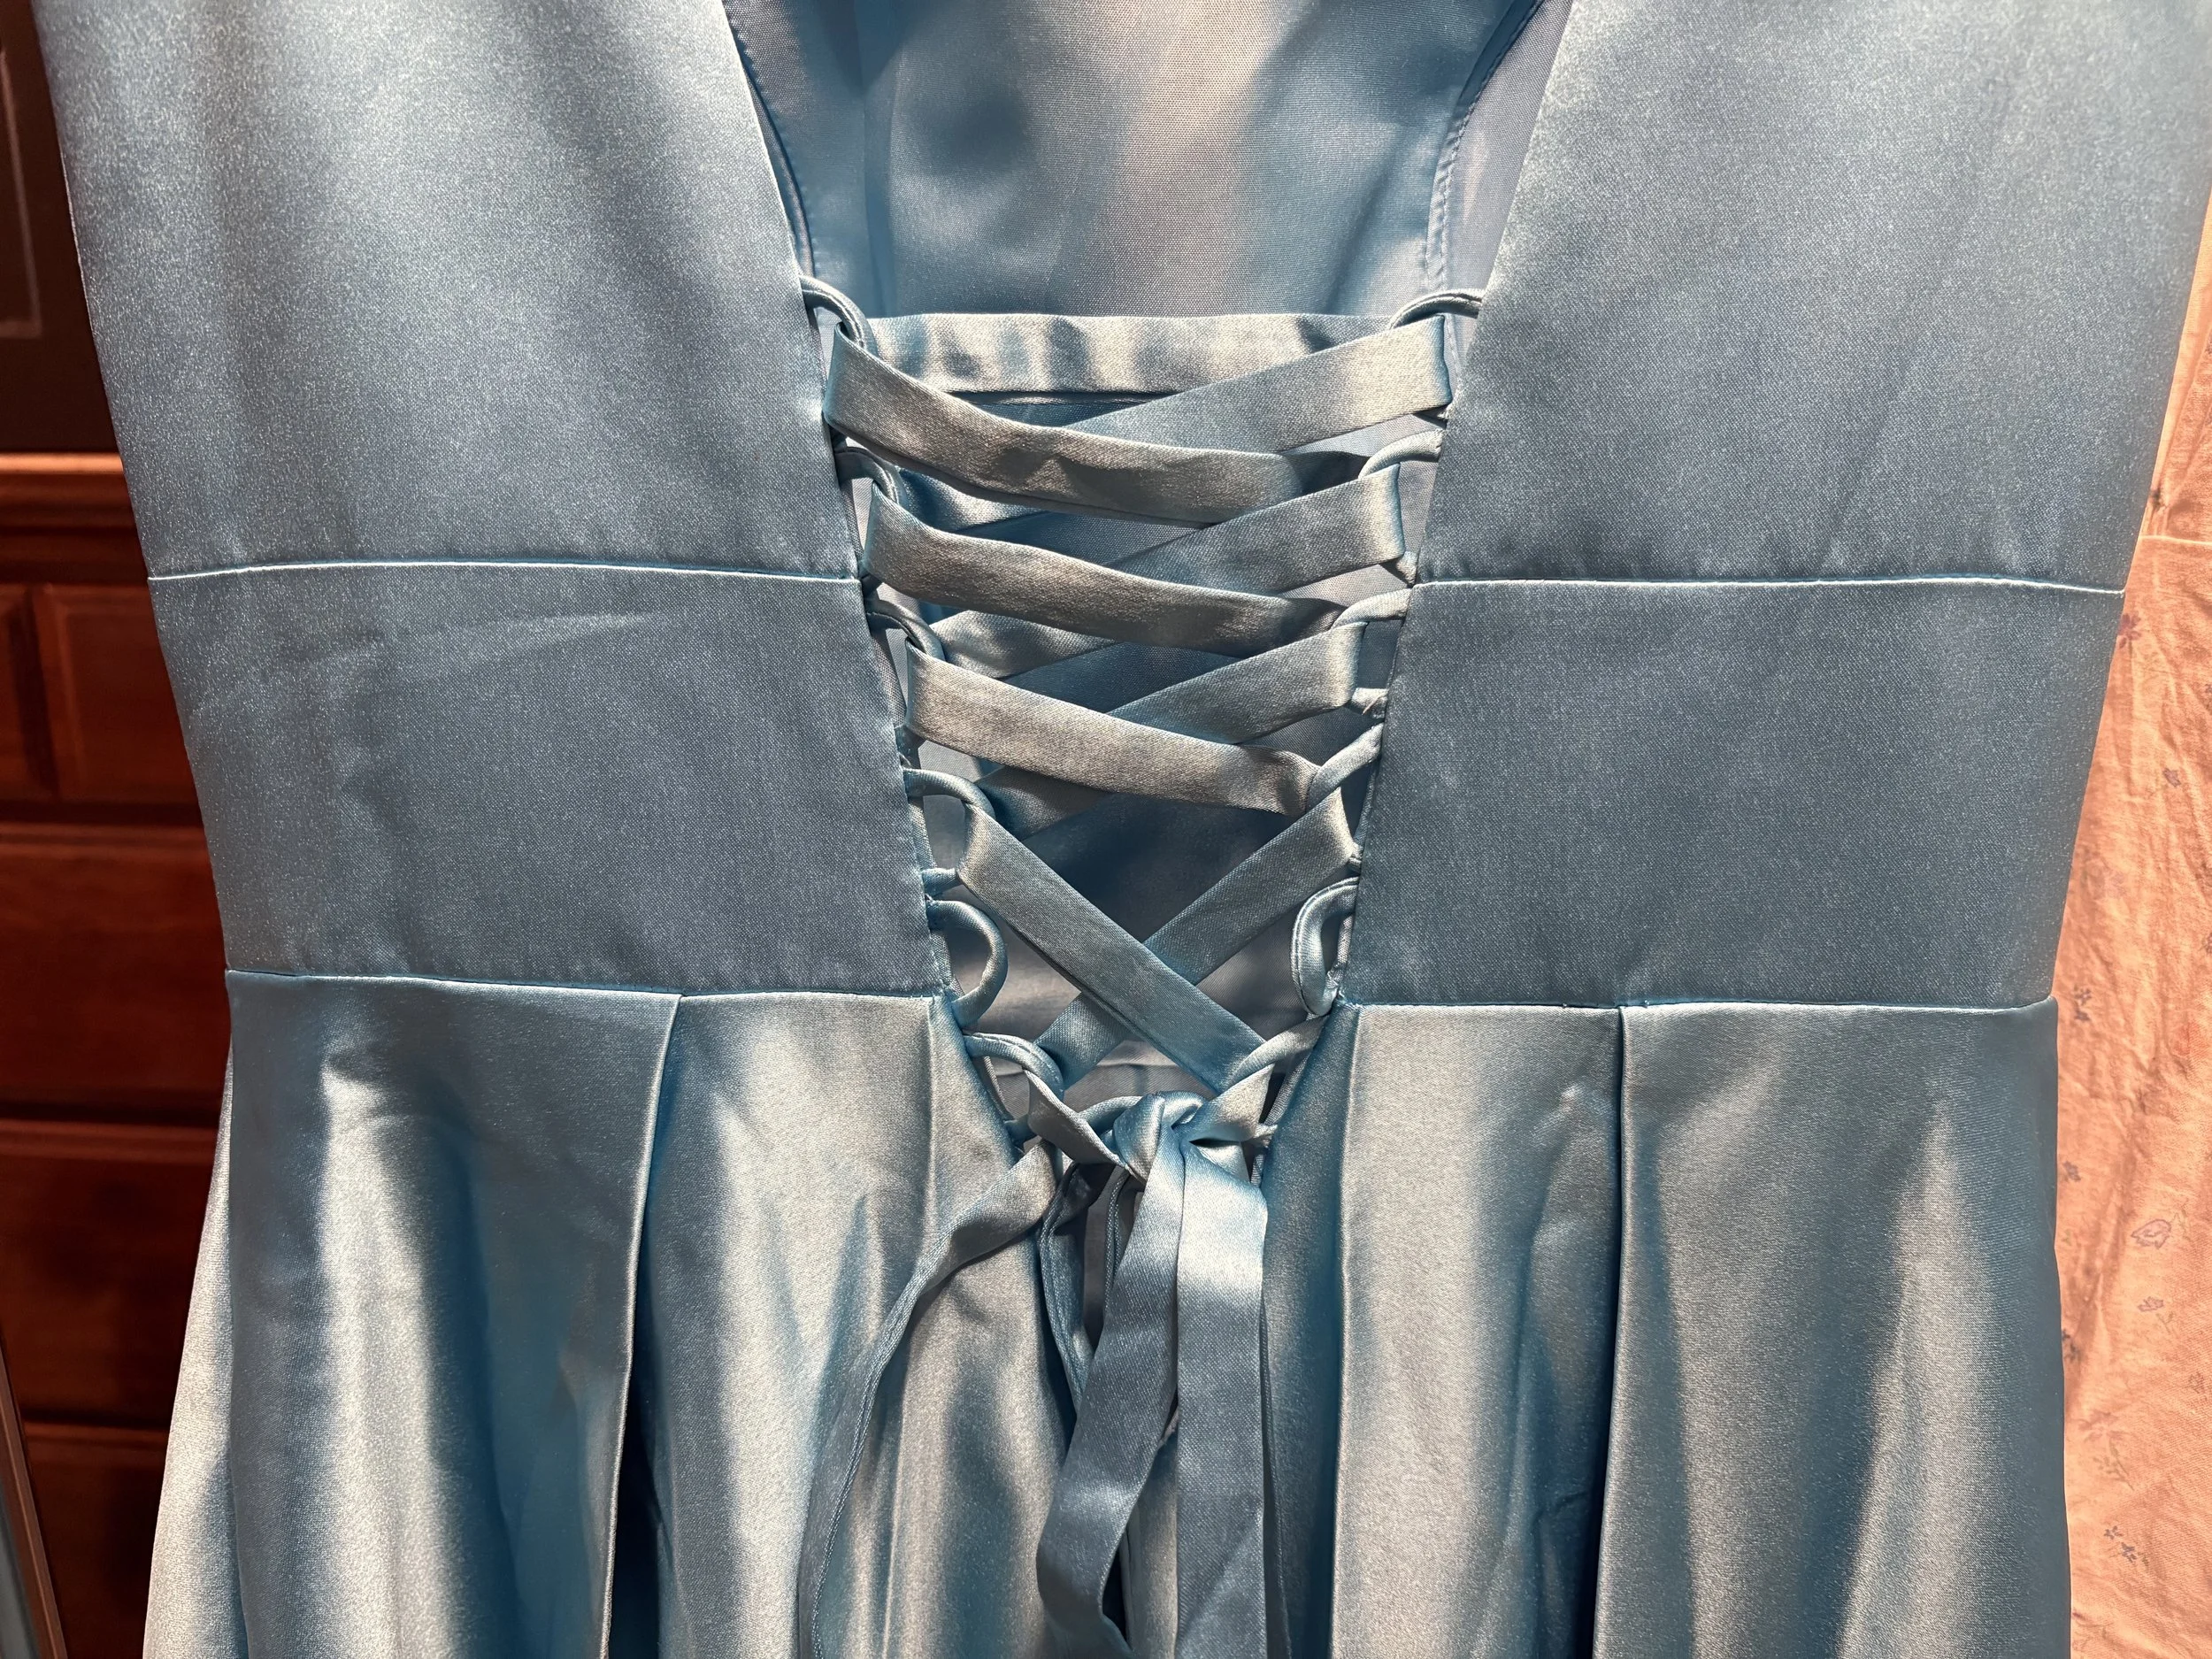
Now, on one hand we could’ve modified the modesty panel and then re-inserted into its new position (as it was, it was simply too big after the dress-alterations).
But the solution my client and I came up with was simple: we inserted a single hook-enclosure to close up the extra opening.
It was a simple as just stitching it on during her last fitting so we could see where it could comfortably go.
And, for extra measure - as I am a paranoid little gremlin when it comes to formals - I packed her an extra safety-pin inside her pocket, just in case.