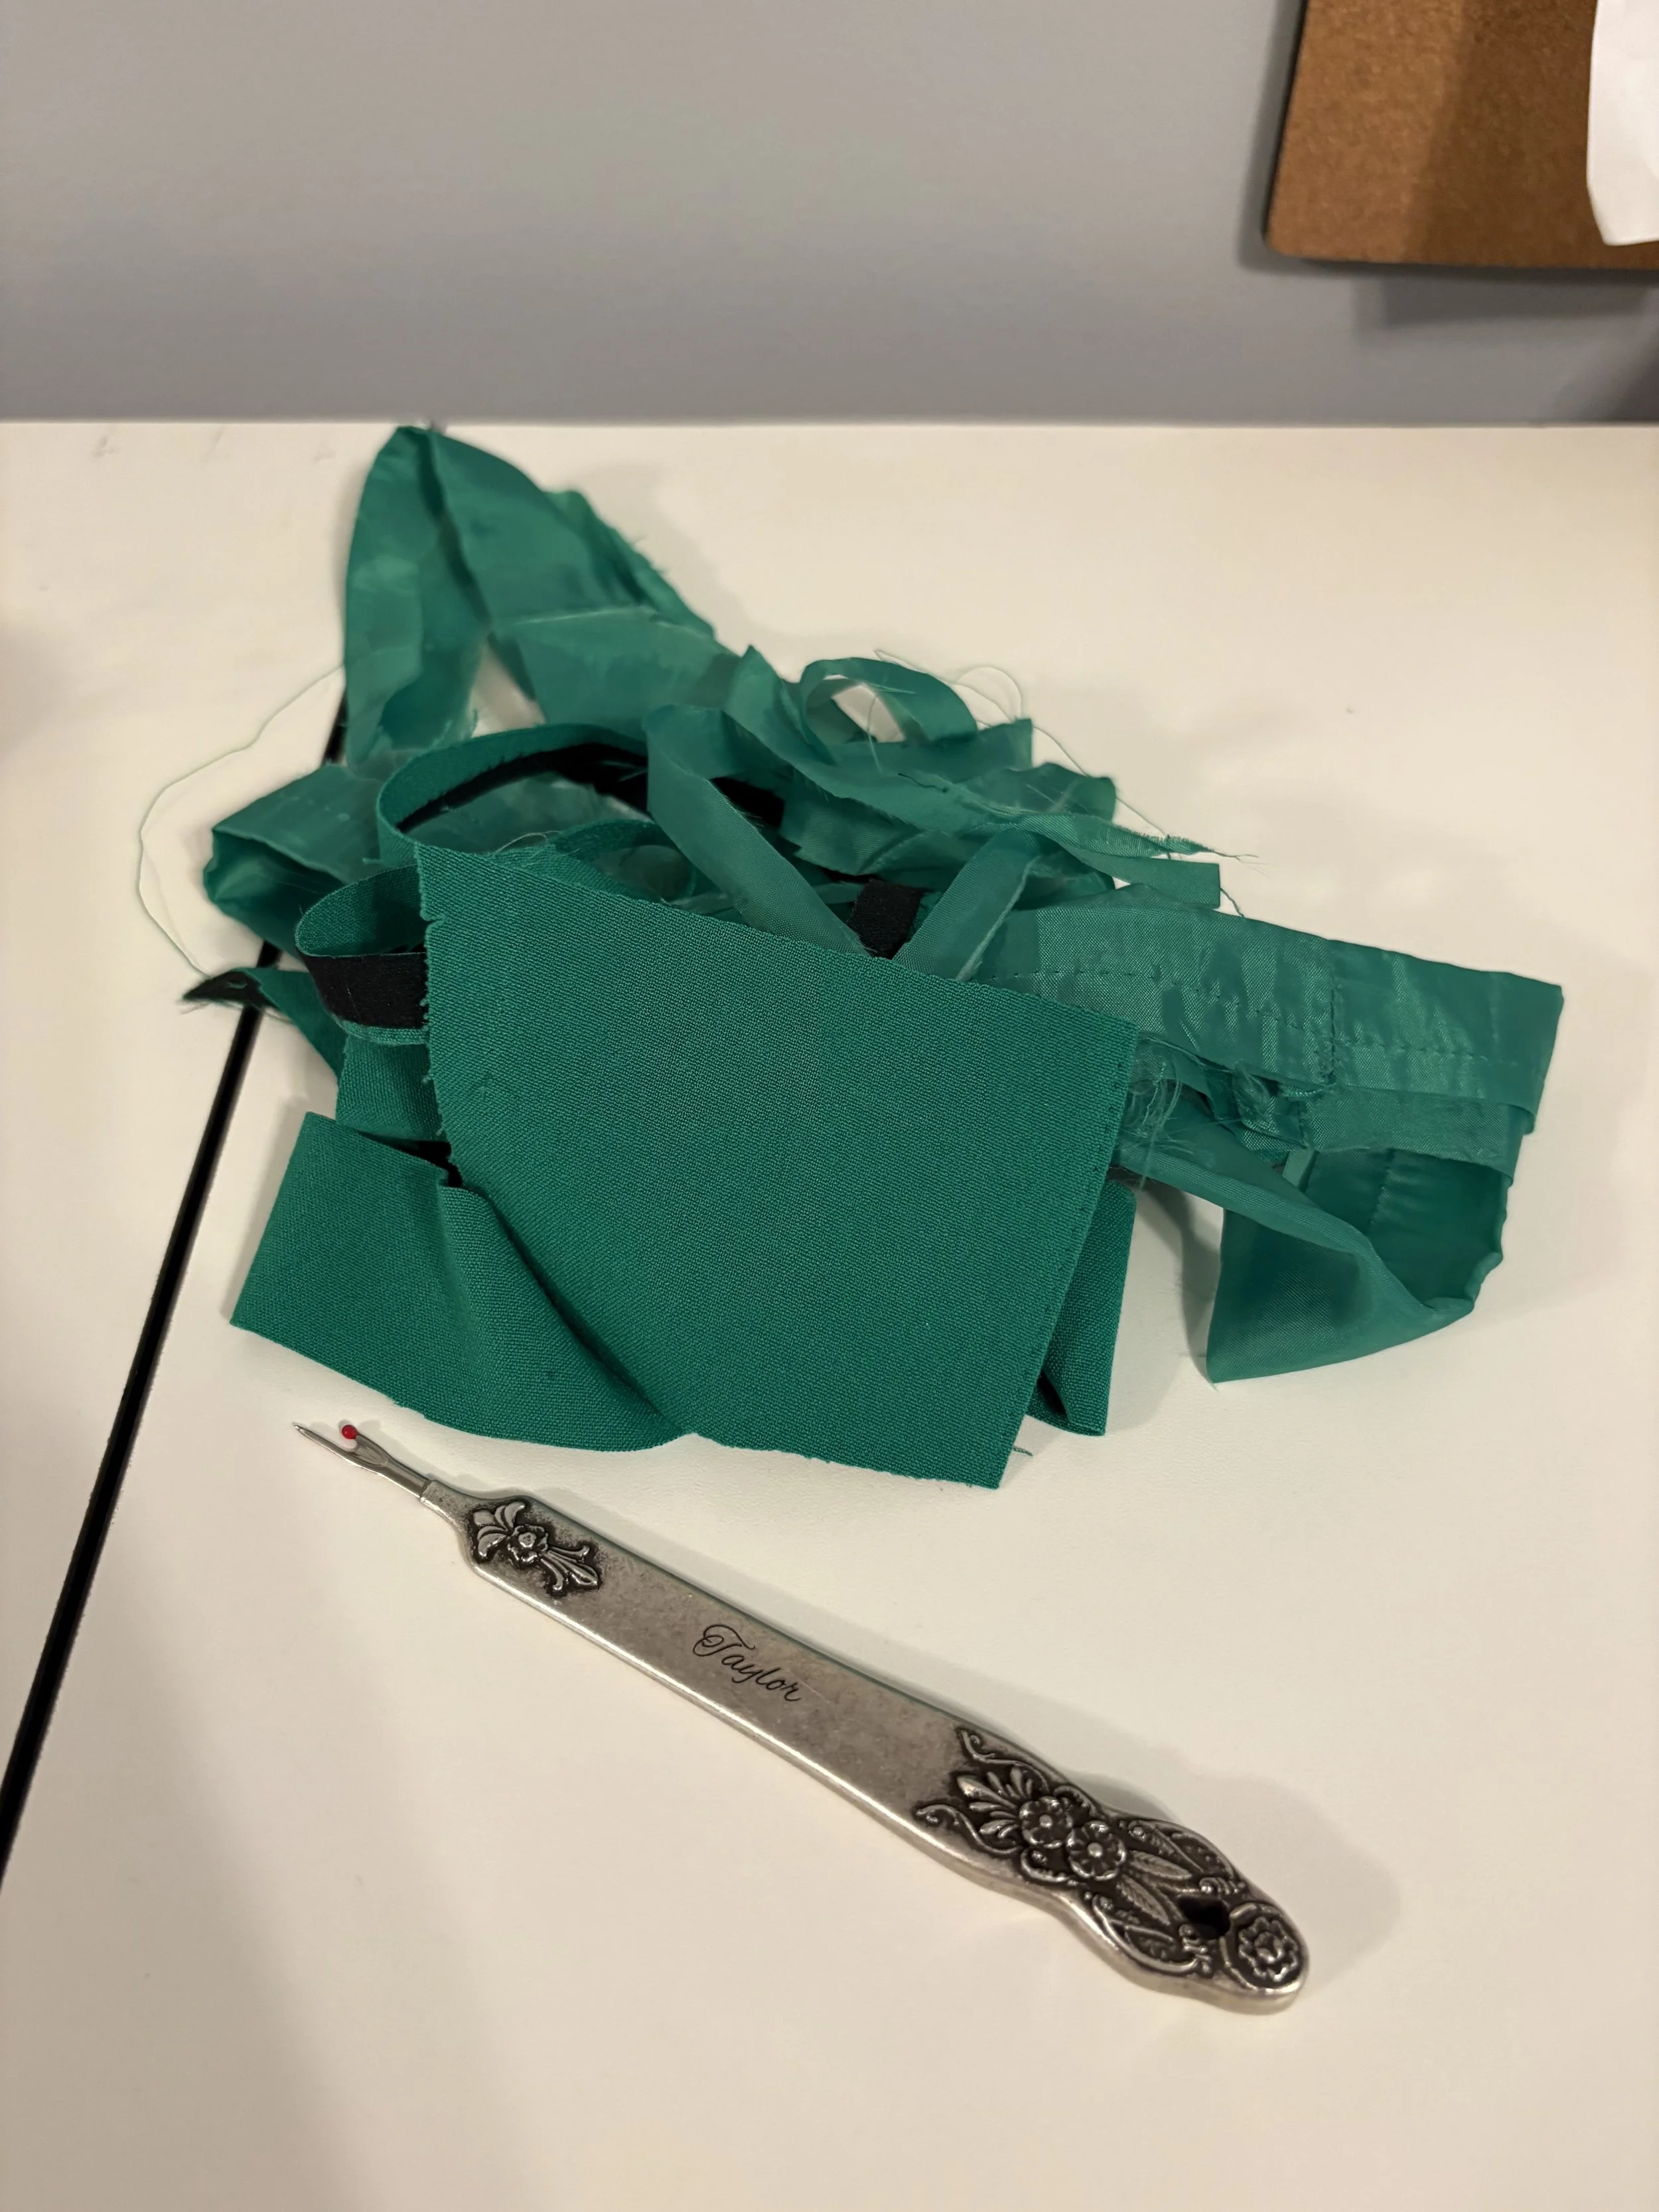
Altering Jackets: hem w/ lining
So this month, I’ve had a bit of a tedious project in the form of raising the hem of a lined blazer jacket…
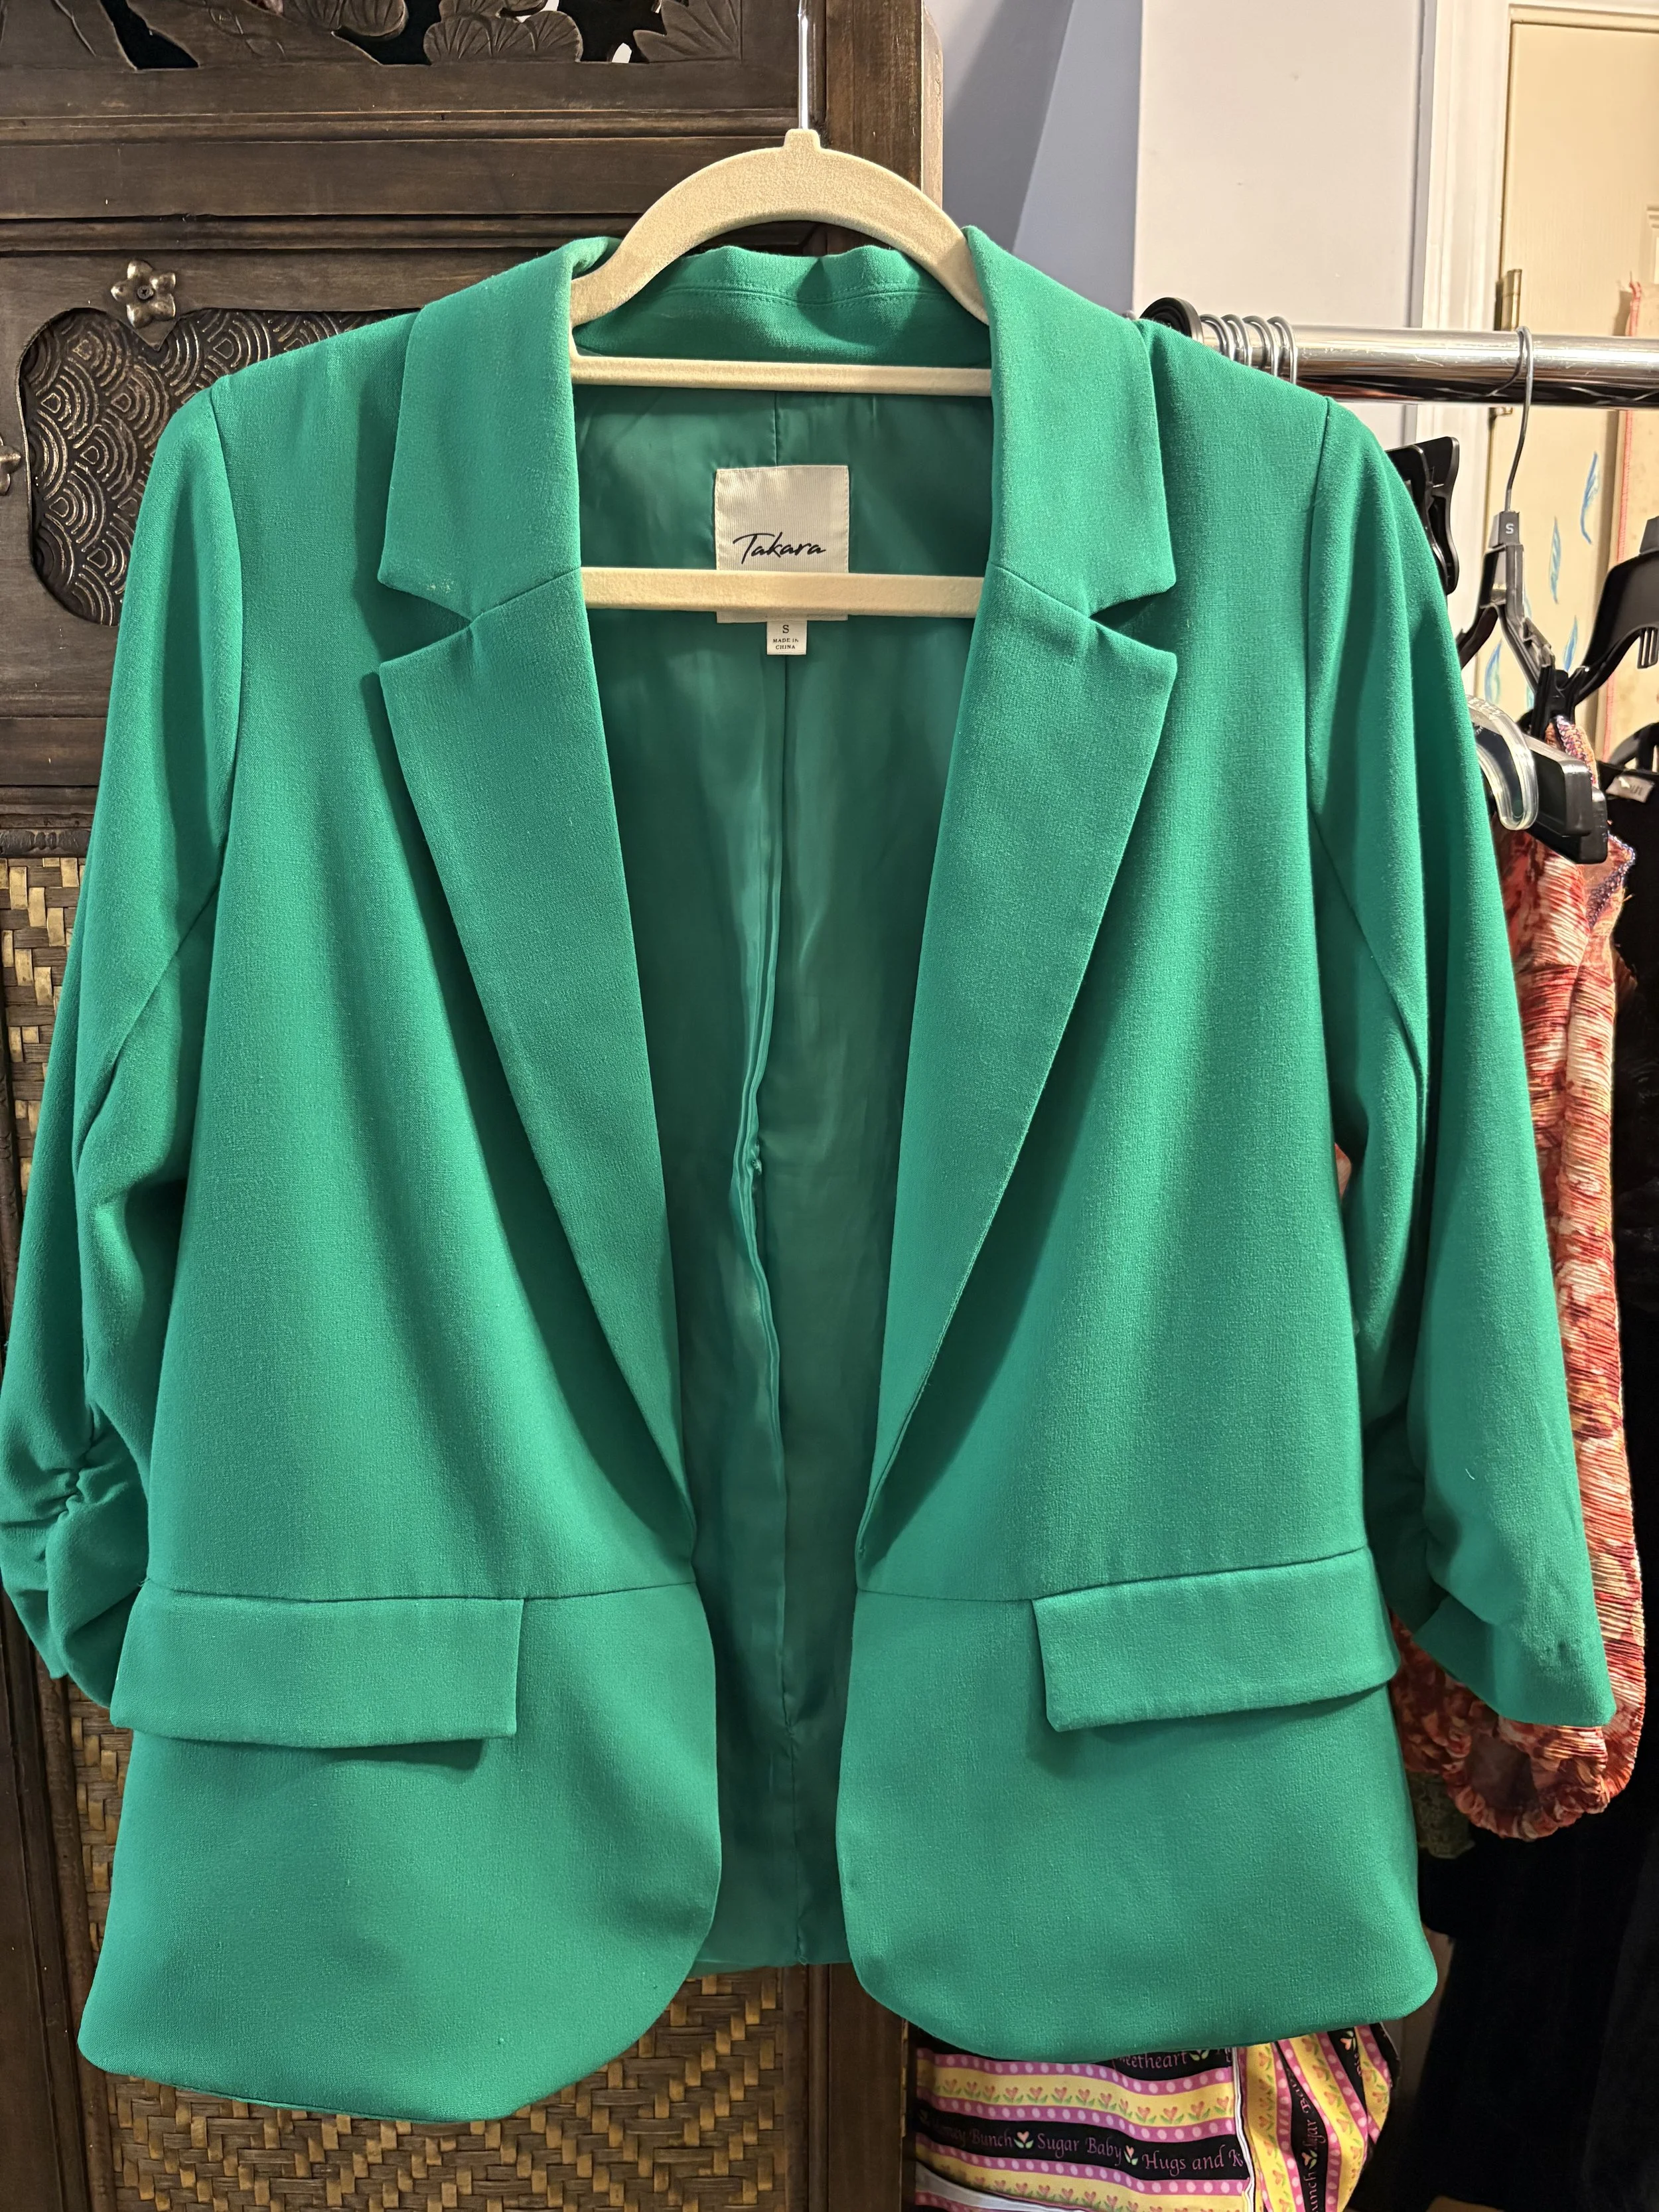
Altered Hem… because I forgot to take a before picture…
When I was first starting out in alterations, this was absolutely a doozey of a job. Honestly, I think it’s one of the reasons why many sewists don’t venture past their hobbist-phase and into professional work. It’s one of those alterations where, if you don’t know what you’re doing, you can really screw it up… BIG time!
But, as with all complex adjustments, just remember this little secret: no one knows what they’re gonna do at first glance.
Take thorough measurements, double-check your math, and keep lots of reference photos as you work - it’s just another piece of clothes that was made by human hands, so it can be fixed by human hands.
Just for my personal reference, however, here’s what I did for this one:
The adjustment:
So this jacket belongs to my friend, Sherri. She’s known my family for as long as I can remember and has been good friends with my parents for just as long. Being on the petite-side this jacket fit her perfectly, except for the length.
Fortunately, I didn’t need to touch the pockets; they were in just the right position so they didn’t need to be moved at all
(that's a whole different arena in and of itself!)
This adjustment was basically broken down into 4 sections:
Shorten the right lapel
Shorten the left lapel
Shorten the back panels
Shorten the lining
The actual sewing, even the under-stitching, is typically the easiest step of the process, so I filed that away under “the finishing” step in my mind.
The actual act of shortening the separate sections, however, that required a little more focus; their measures needed to match as close to perfectly as possible, because once those cuts were made there was no turning back.
For those who may be wondering, sadly no - there was simply no way to leave that much excess fabric in the jacket without everything going to hell. Three inches on the seam allowance is simply too much bulk, especially for a light-weight garment like this.
This is very much a “forever-adjustment” - you don’t make the alteration unless you are resolute that you will be keeping the garment forever…
The process:
So, first-thing-first: for a jacket like this, I needed to get inside and see what was really going on in there. I personally prefer to go into a garment through the lining and not the outer-shell; if there’s one part you do not want to mess up, it’s the material that will be front and center when worn.
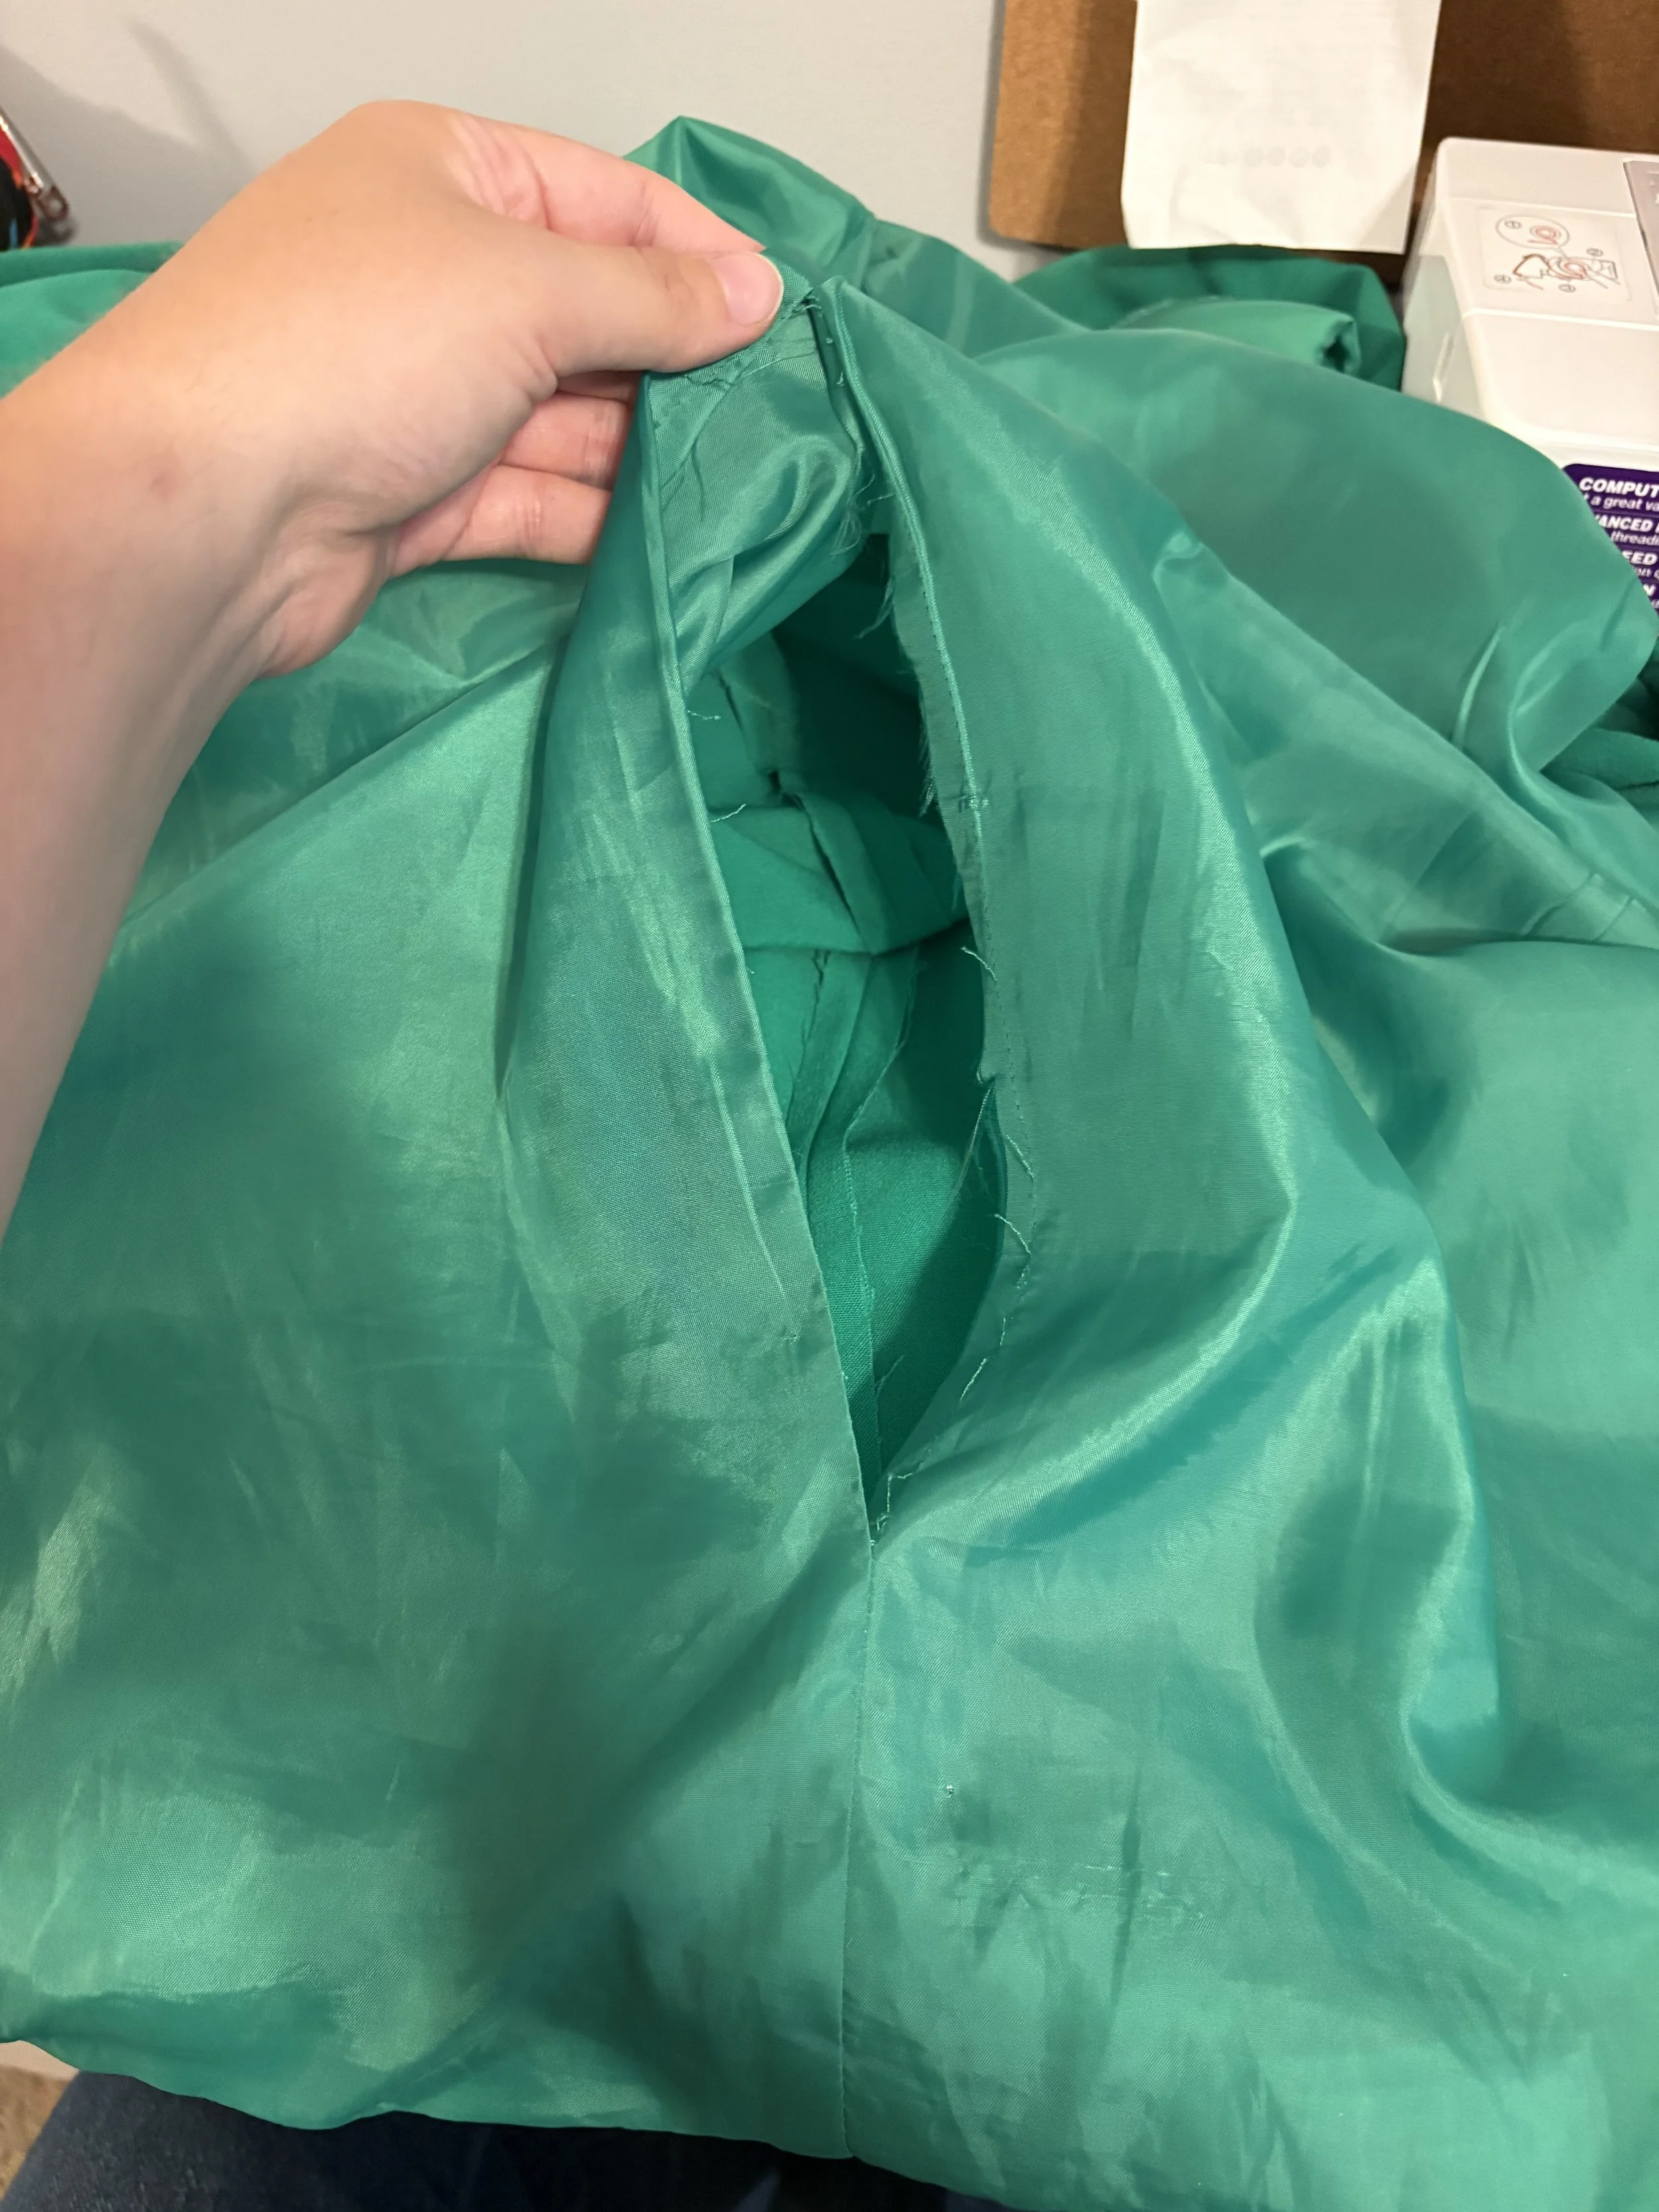
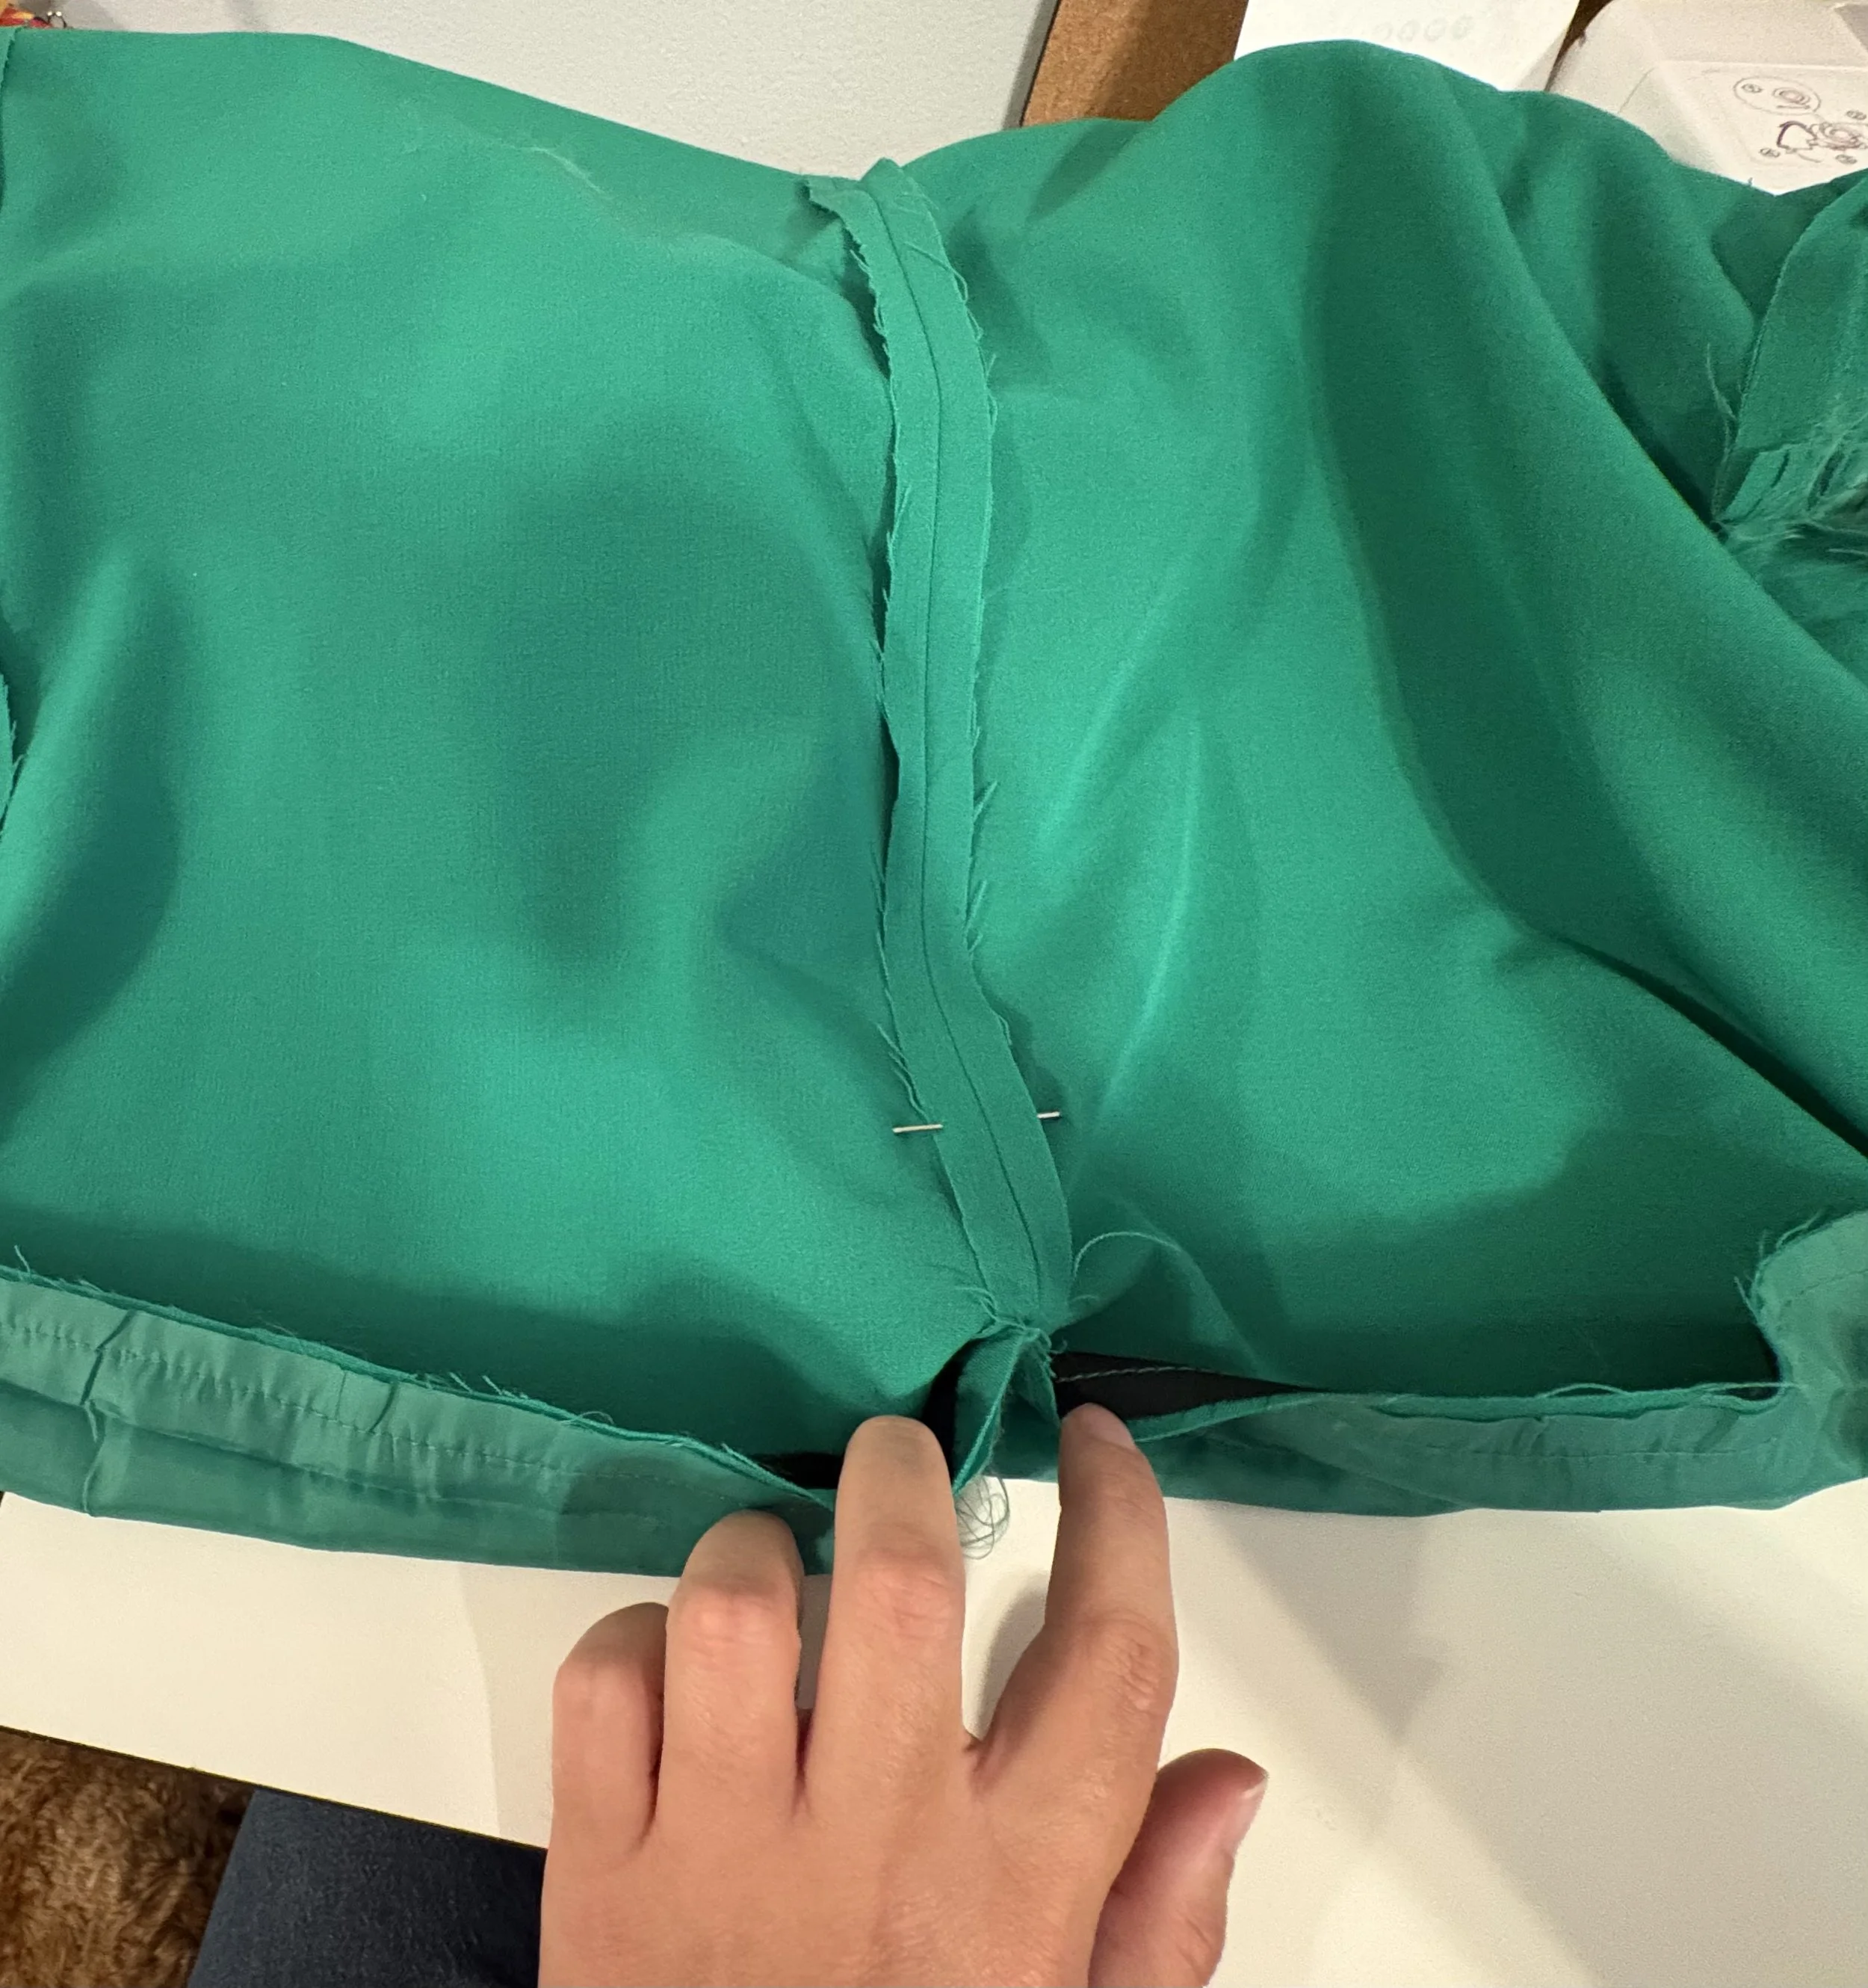
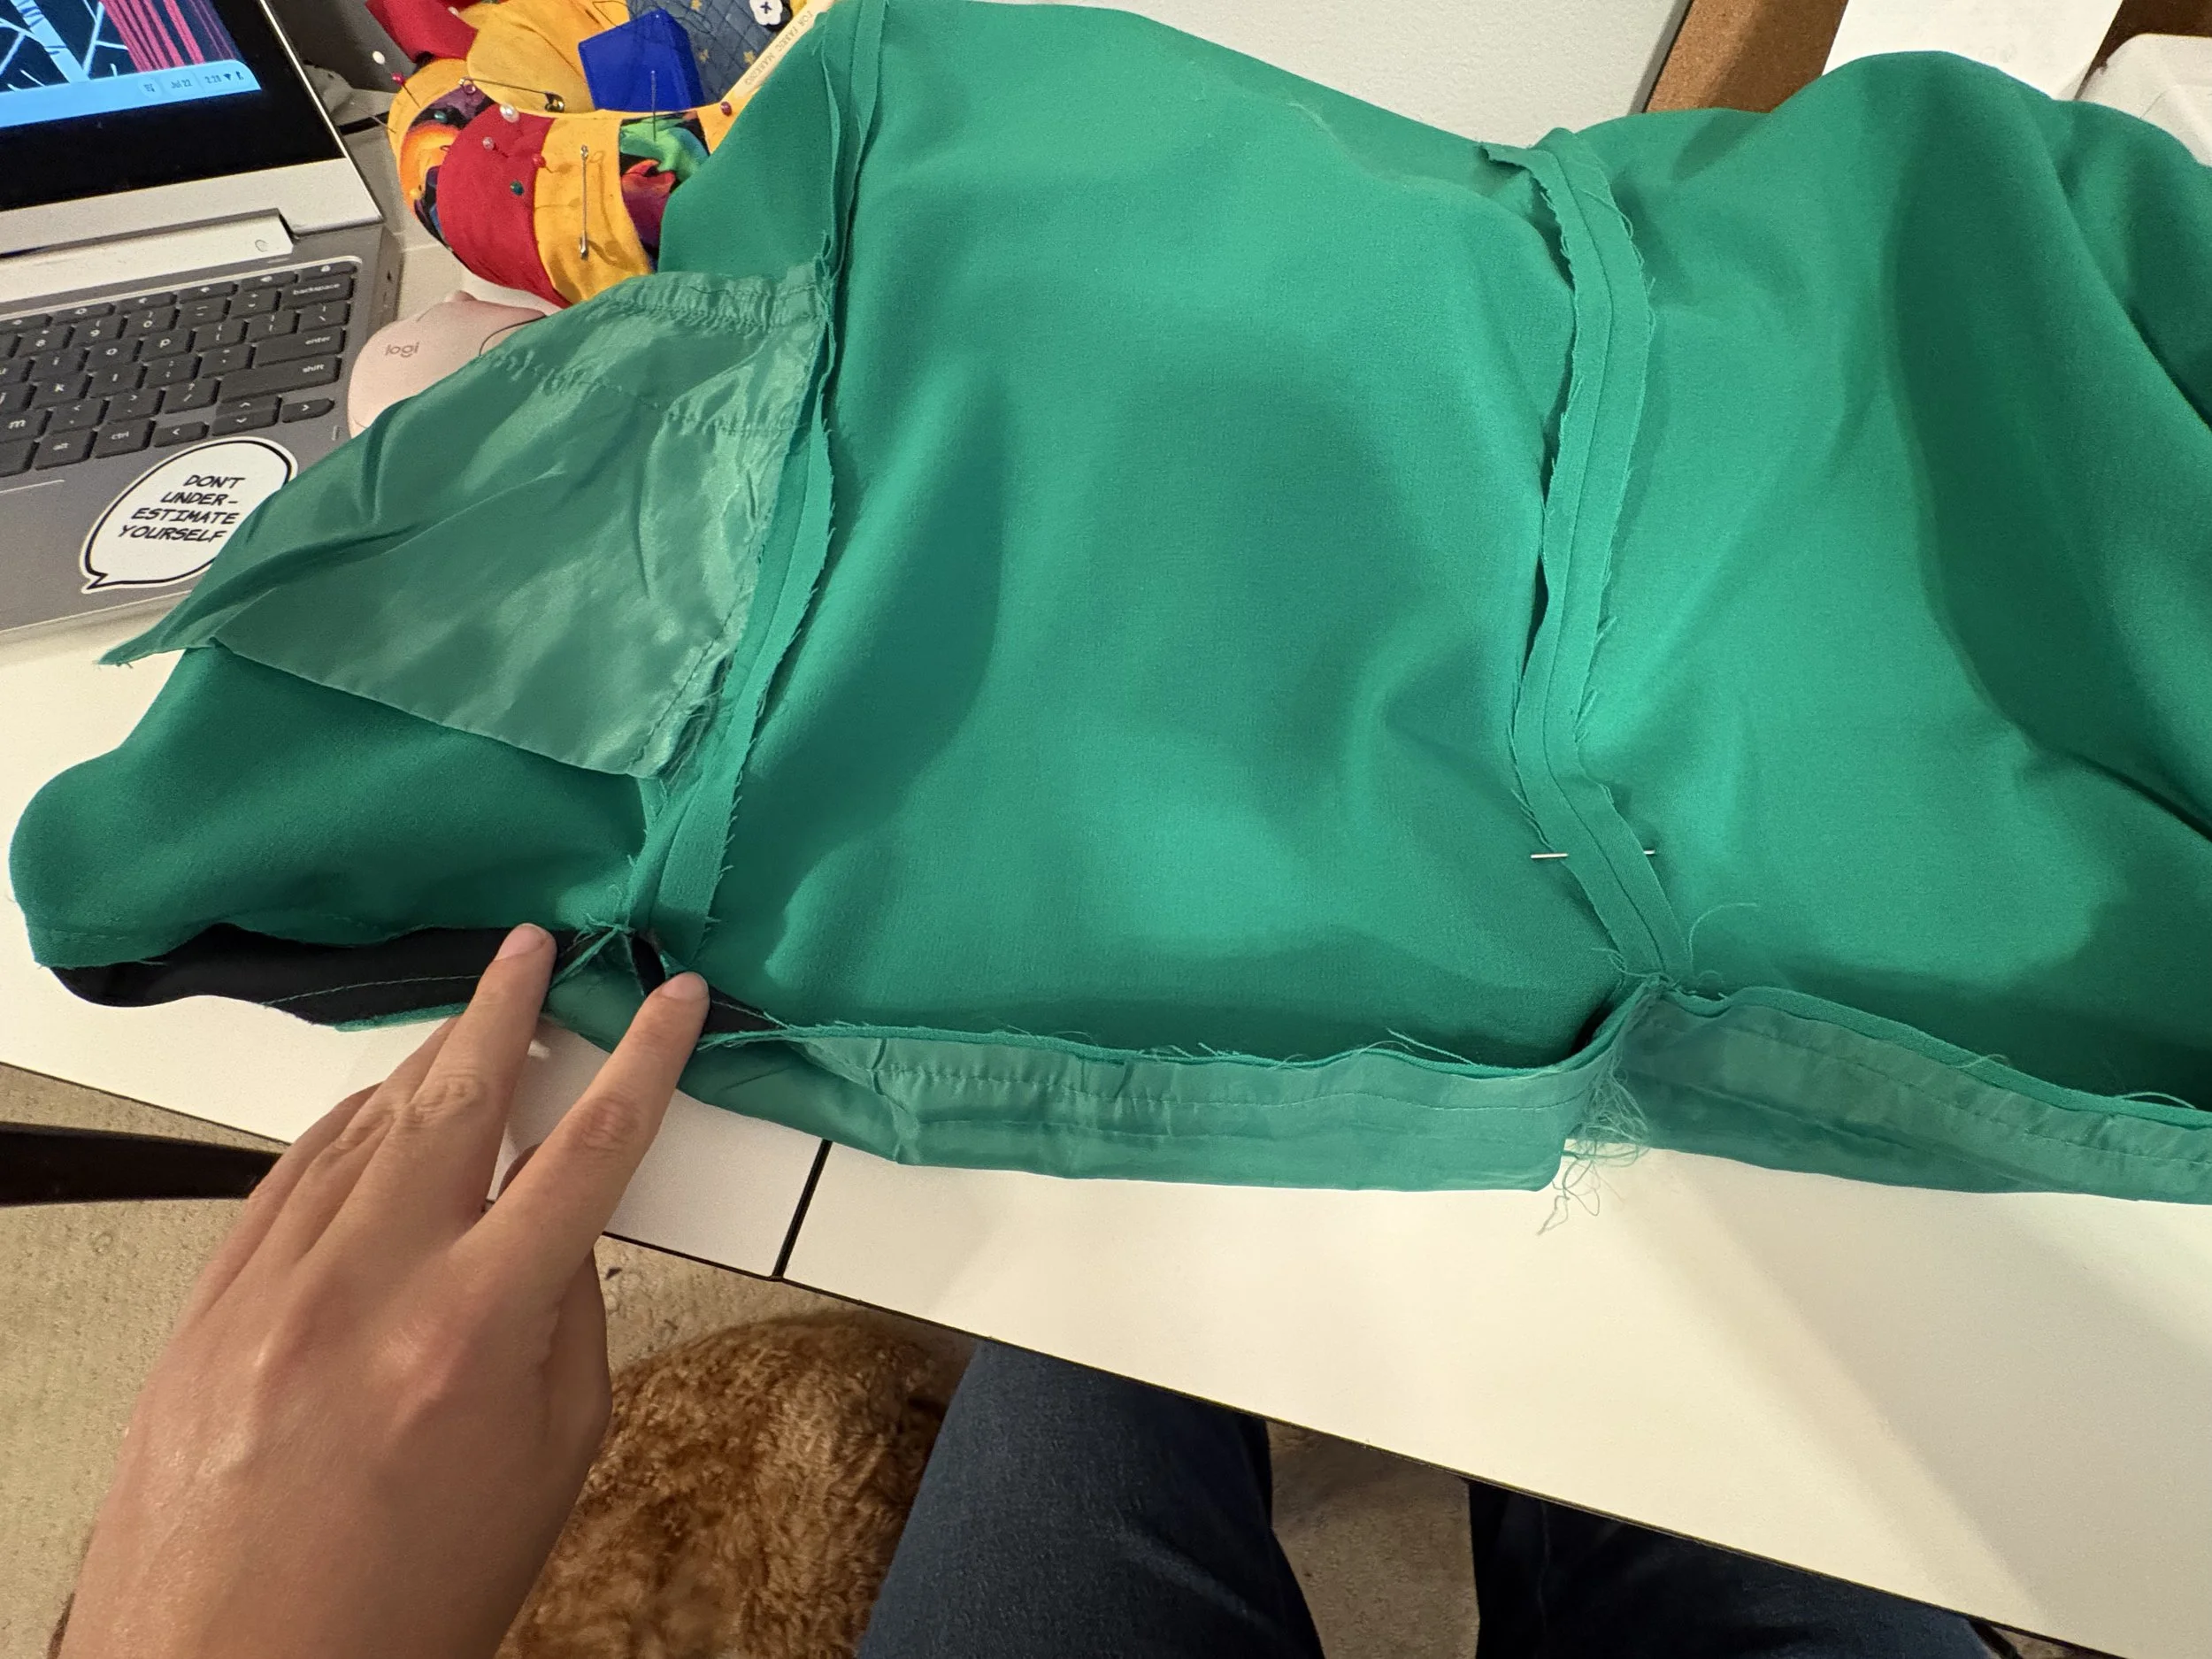
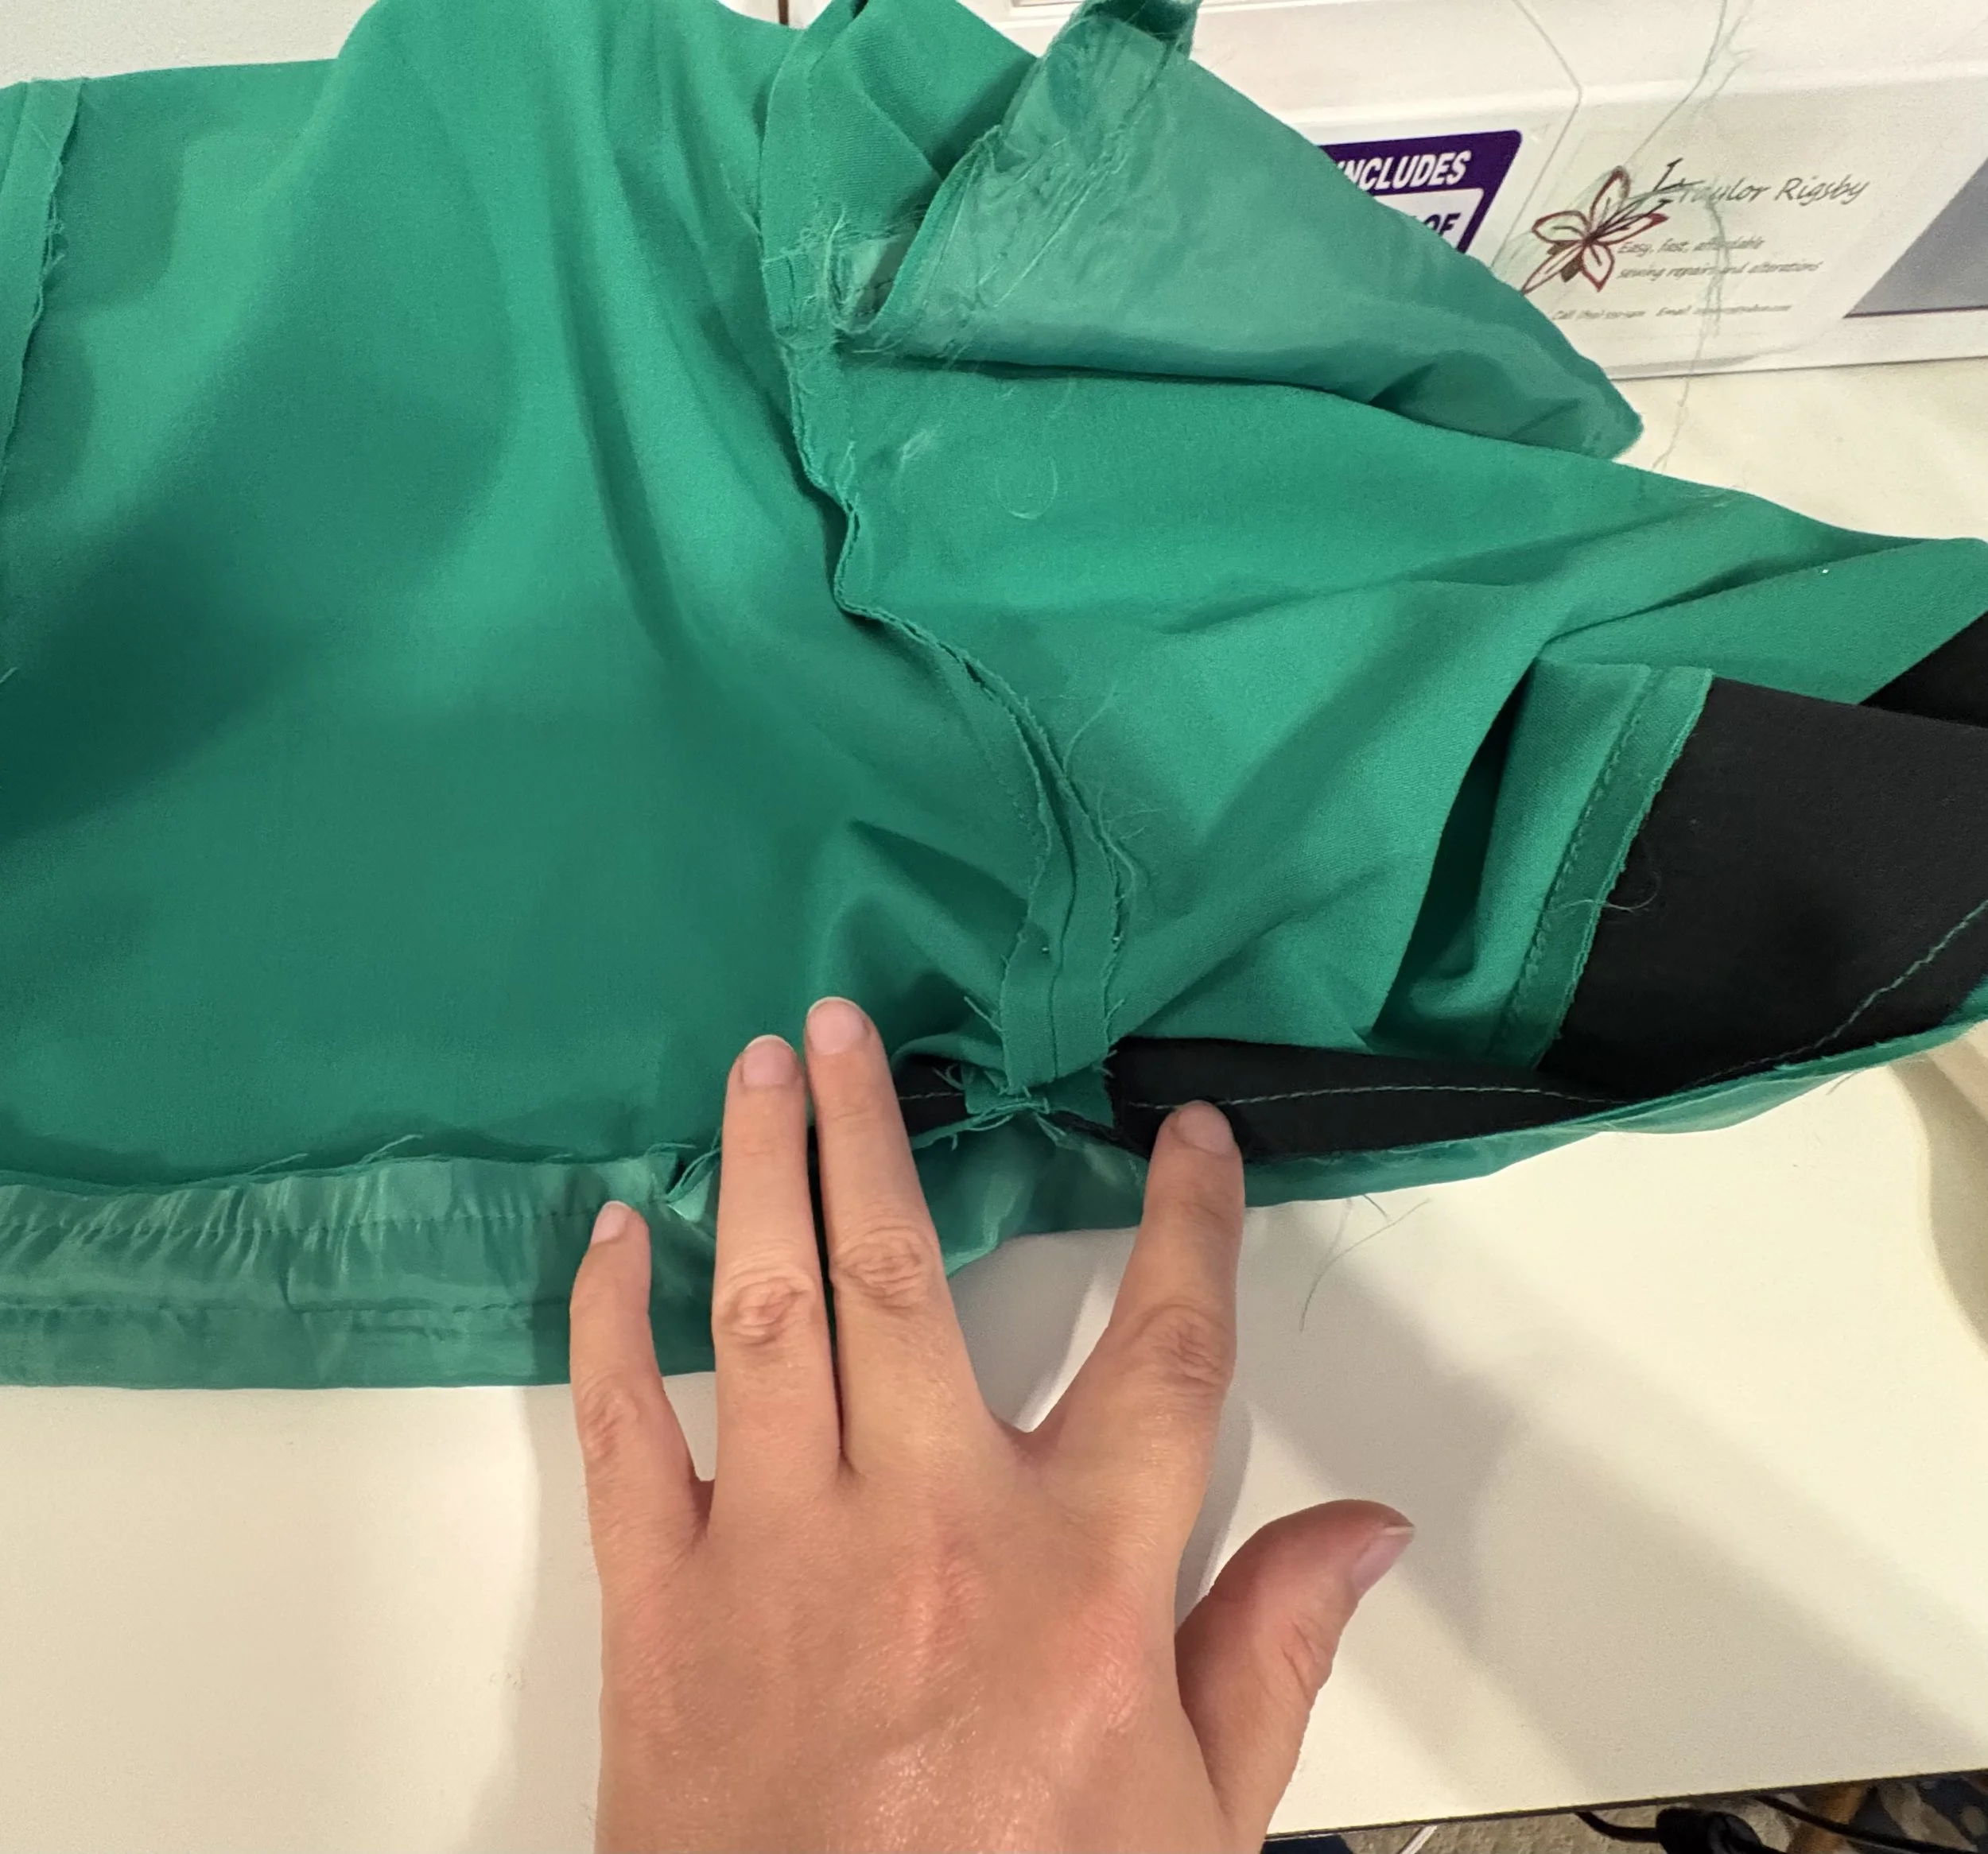
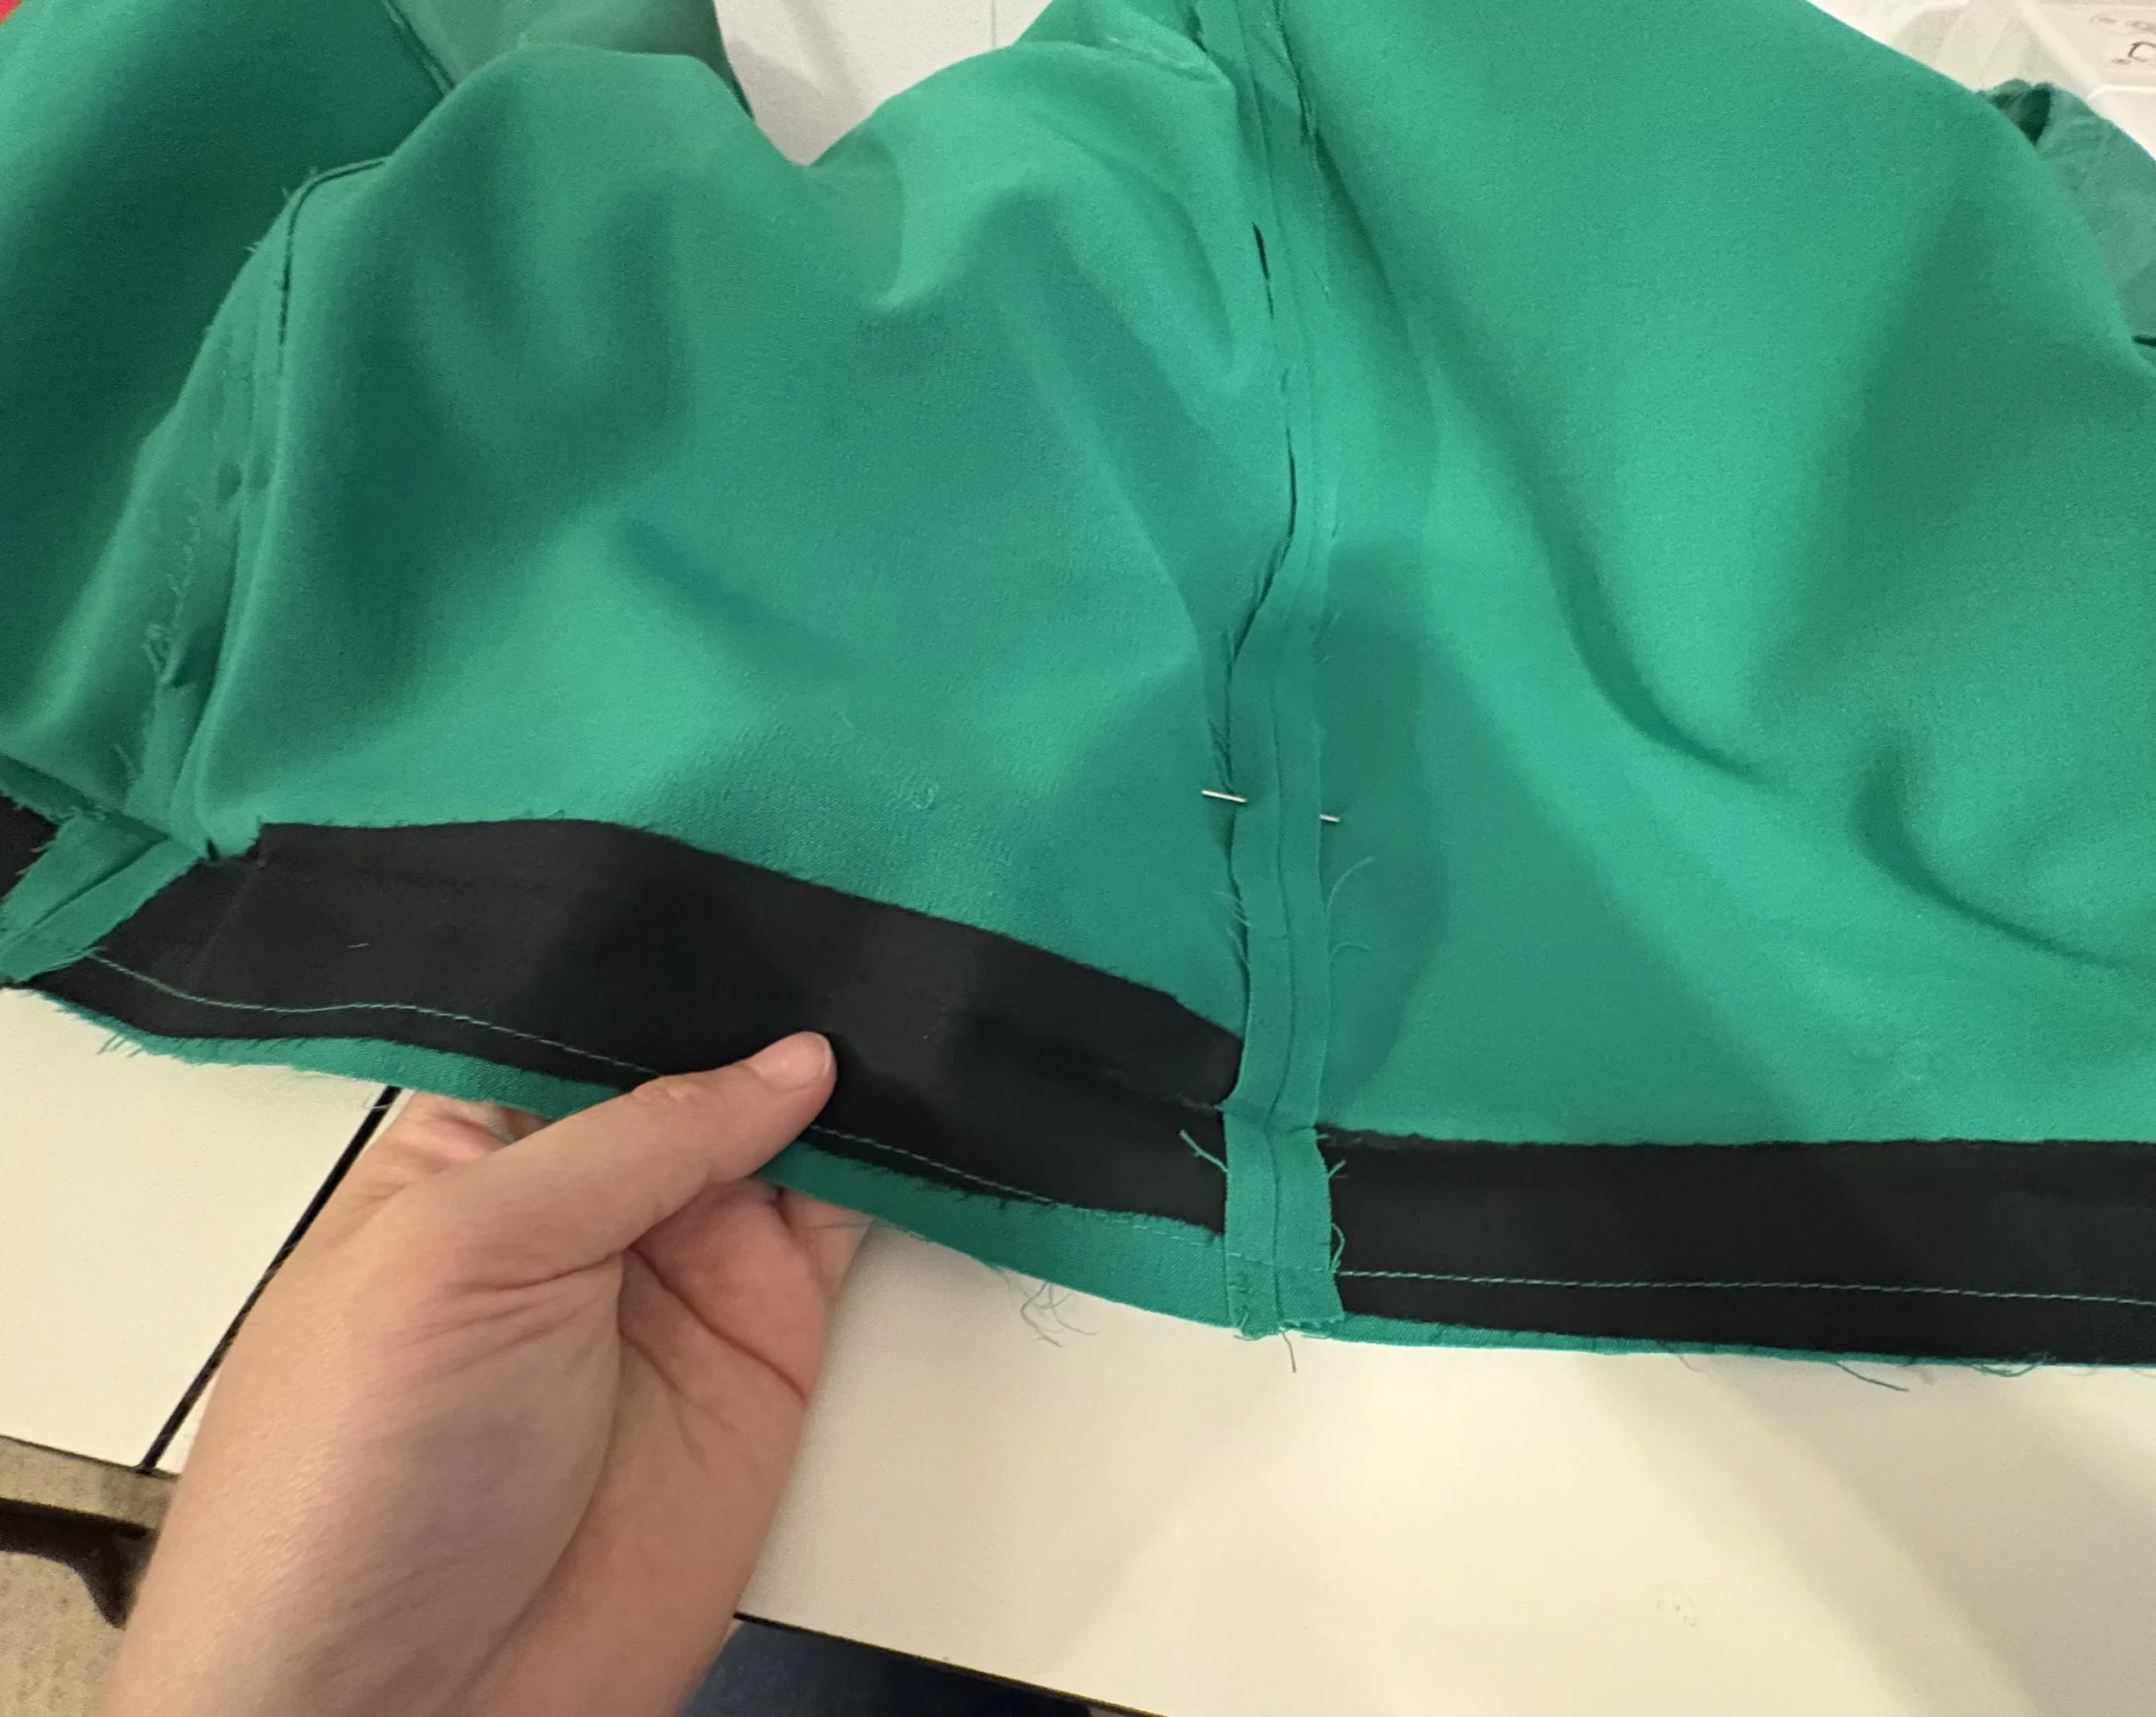
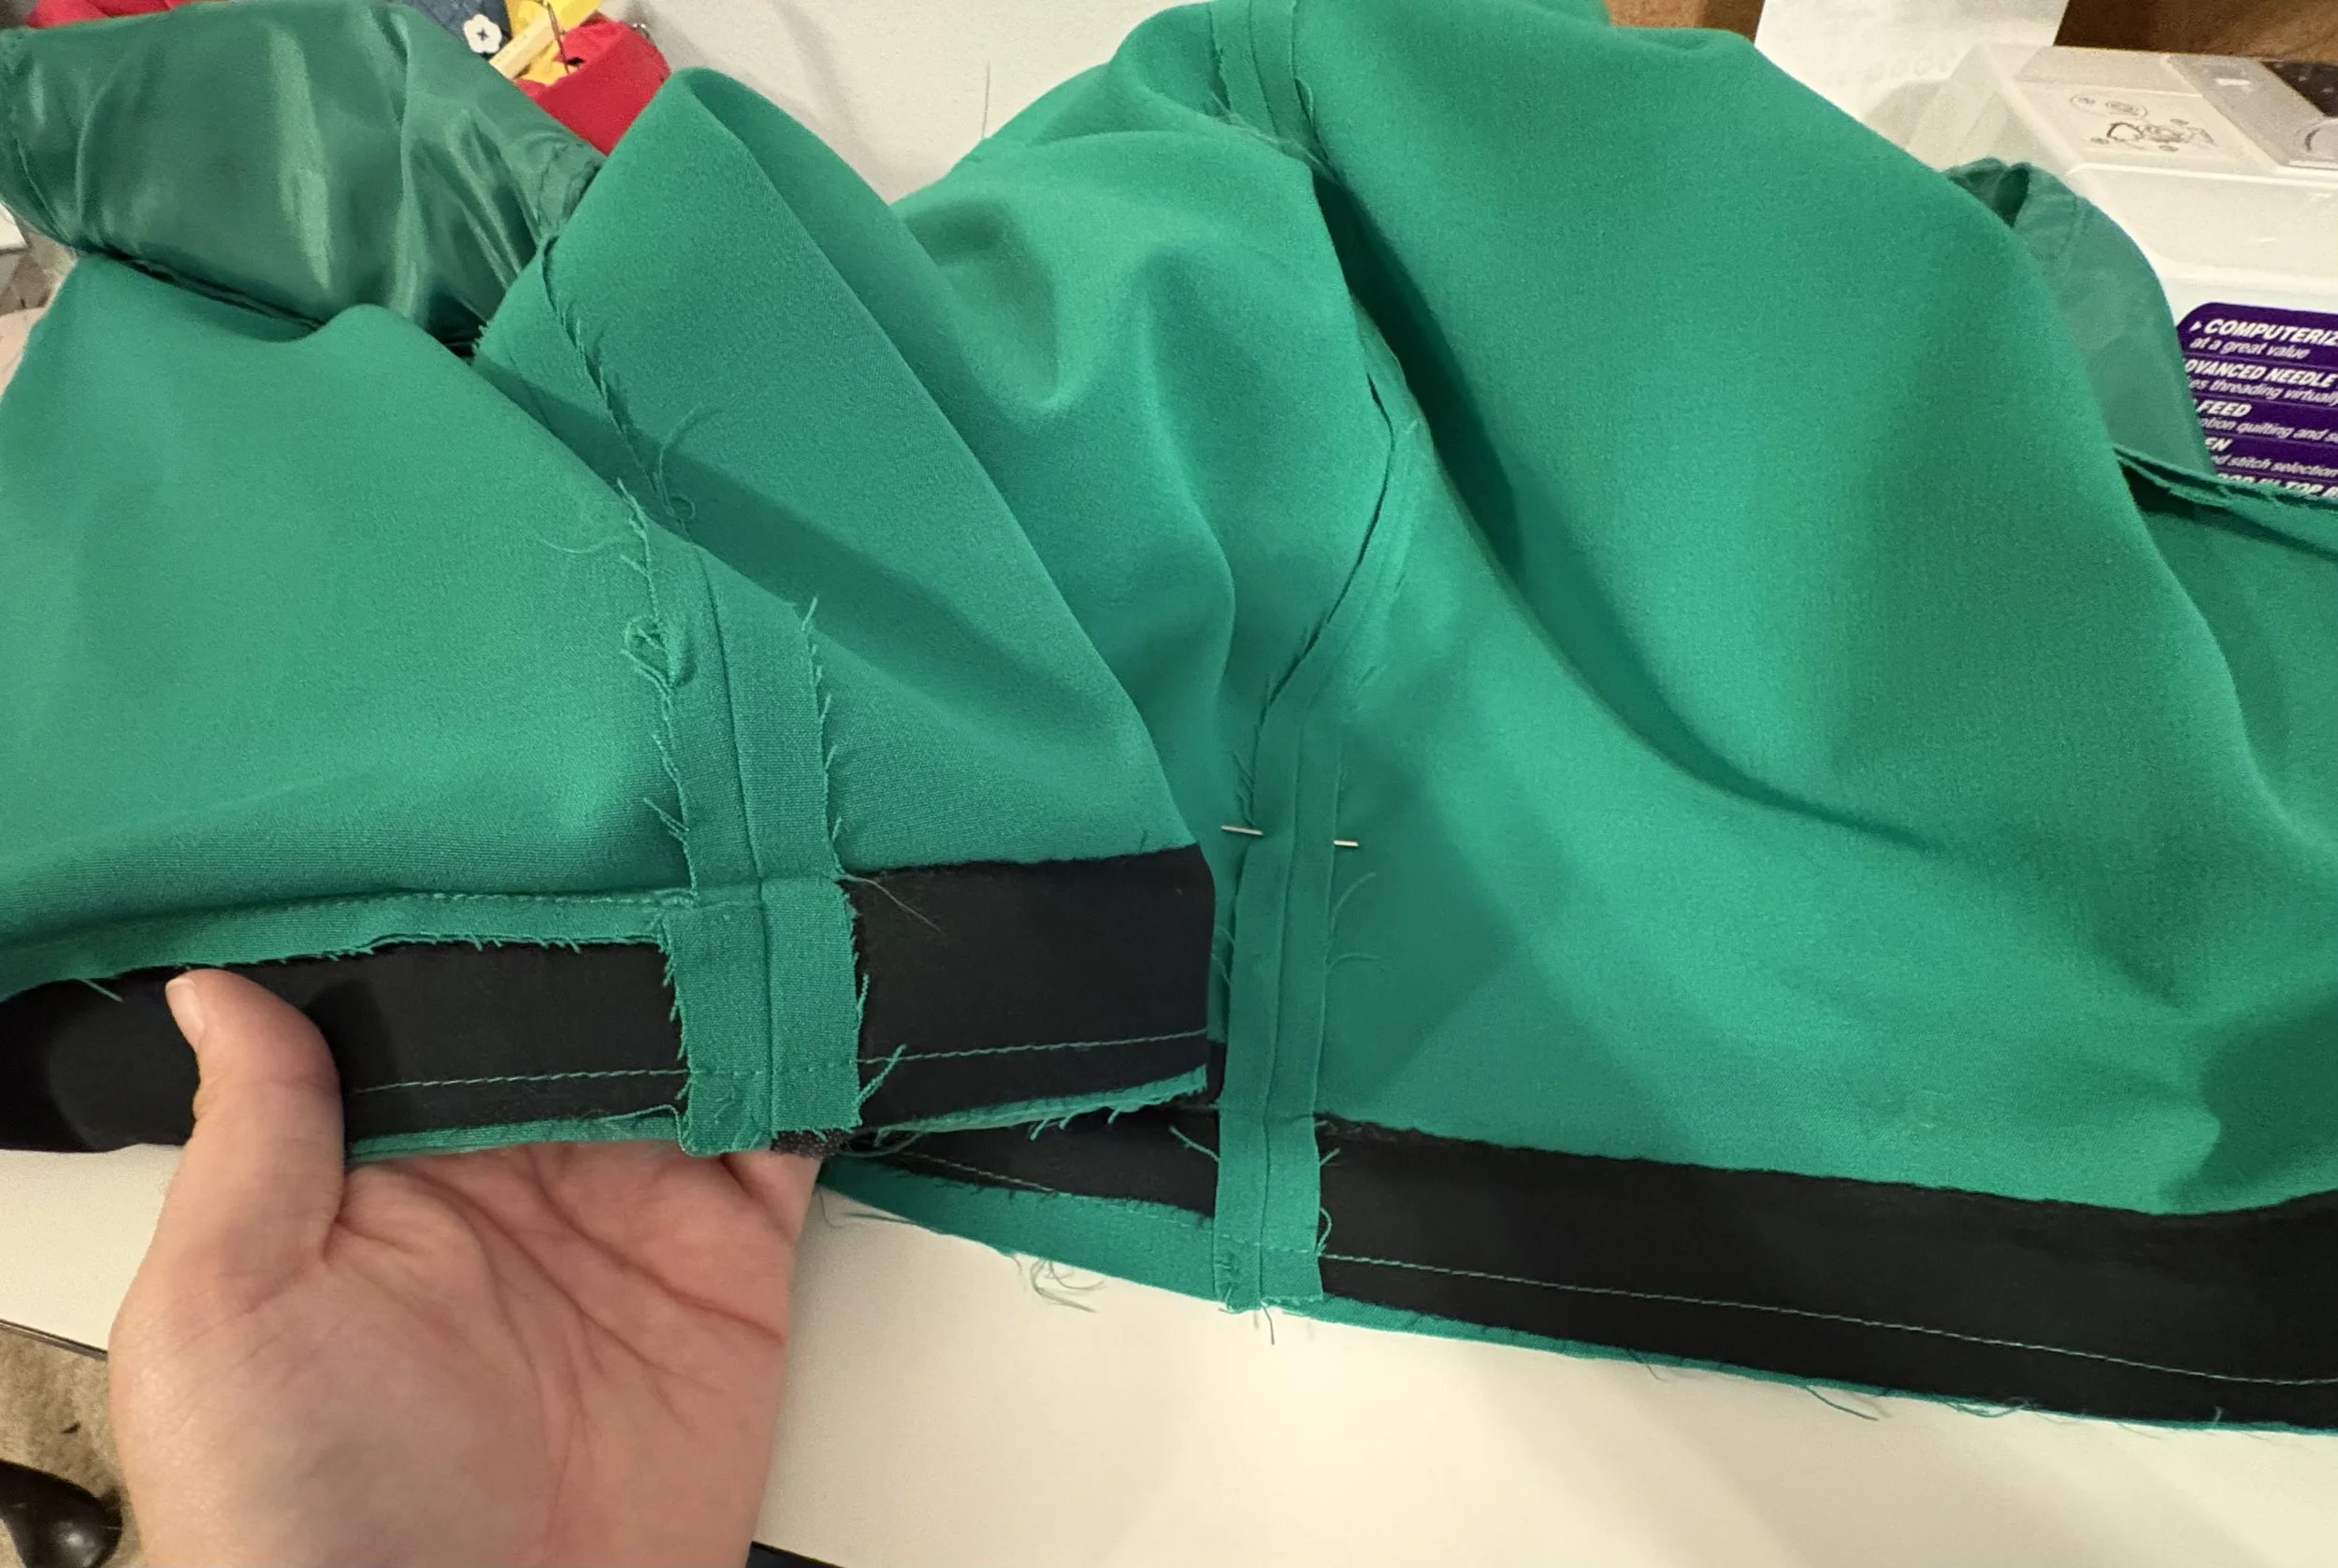
As expected there were sections of interfacing to help keep the hem nice and neat structurally, and drape the right way when being worn (friends, never skip out on the interfacing… trust me!)
Moving the interfacing on the lapels was actually the easier part, though I did end up re-sewing the under-stitching by hand.
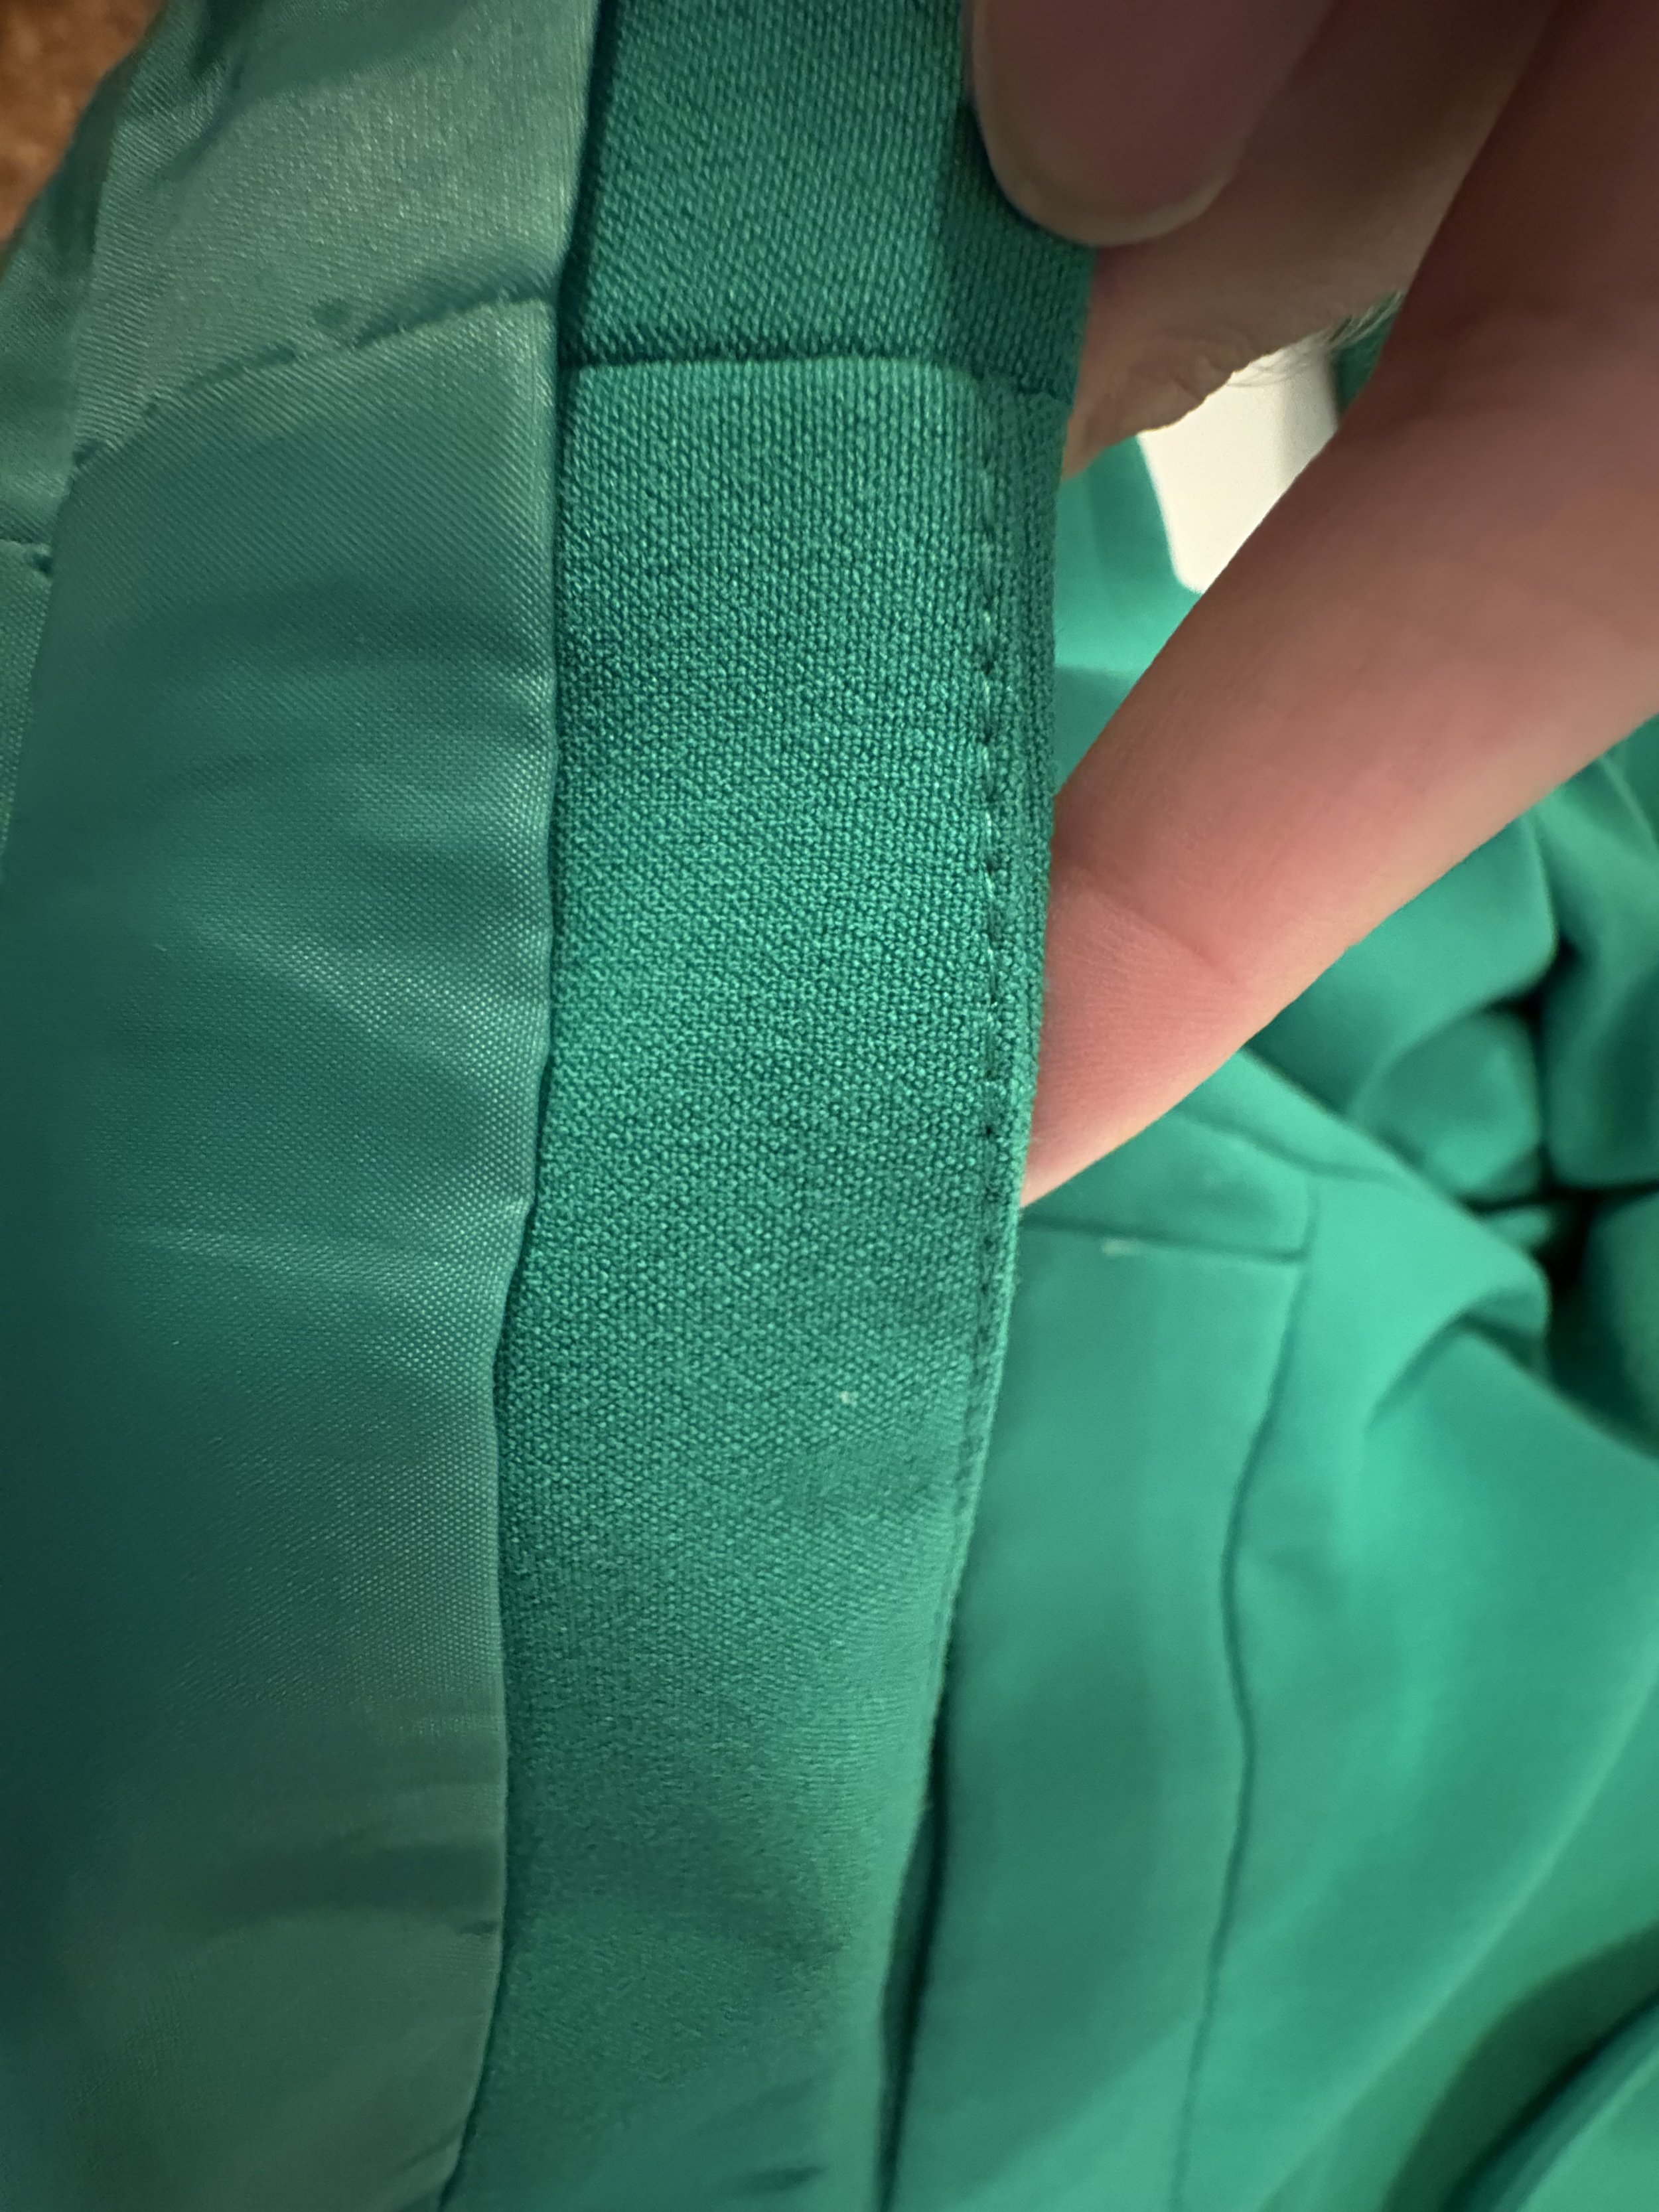
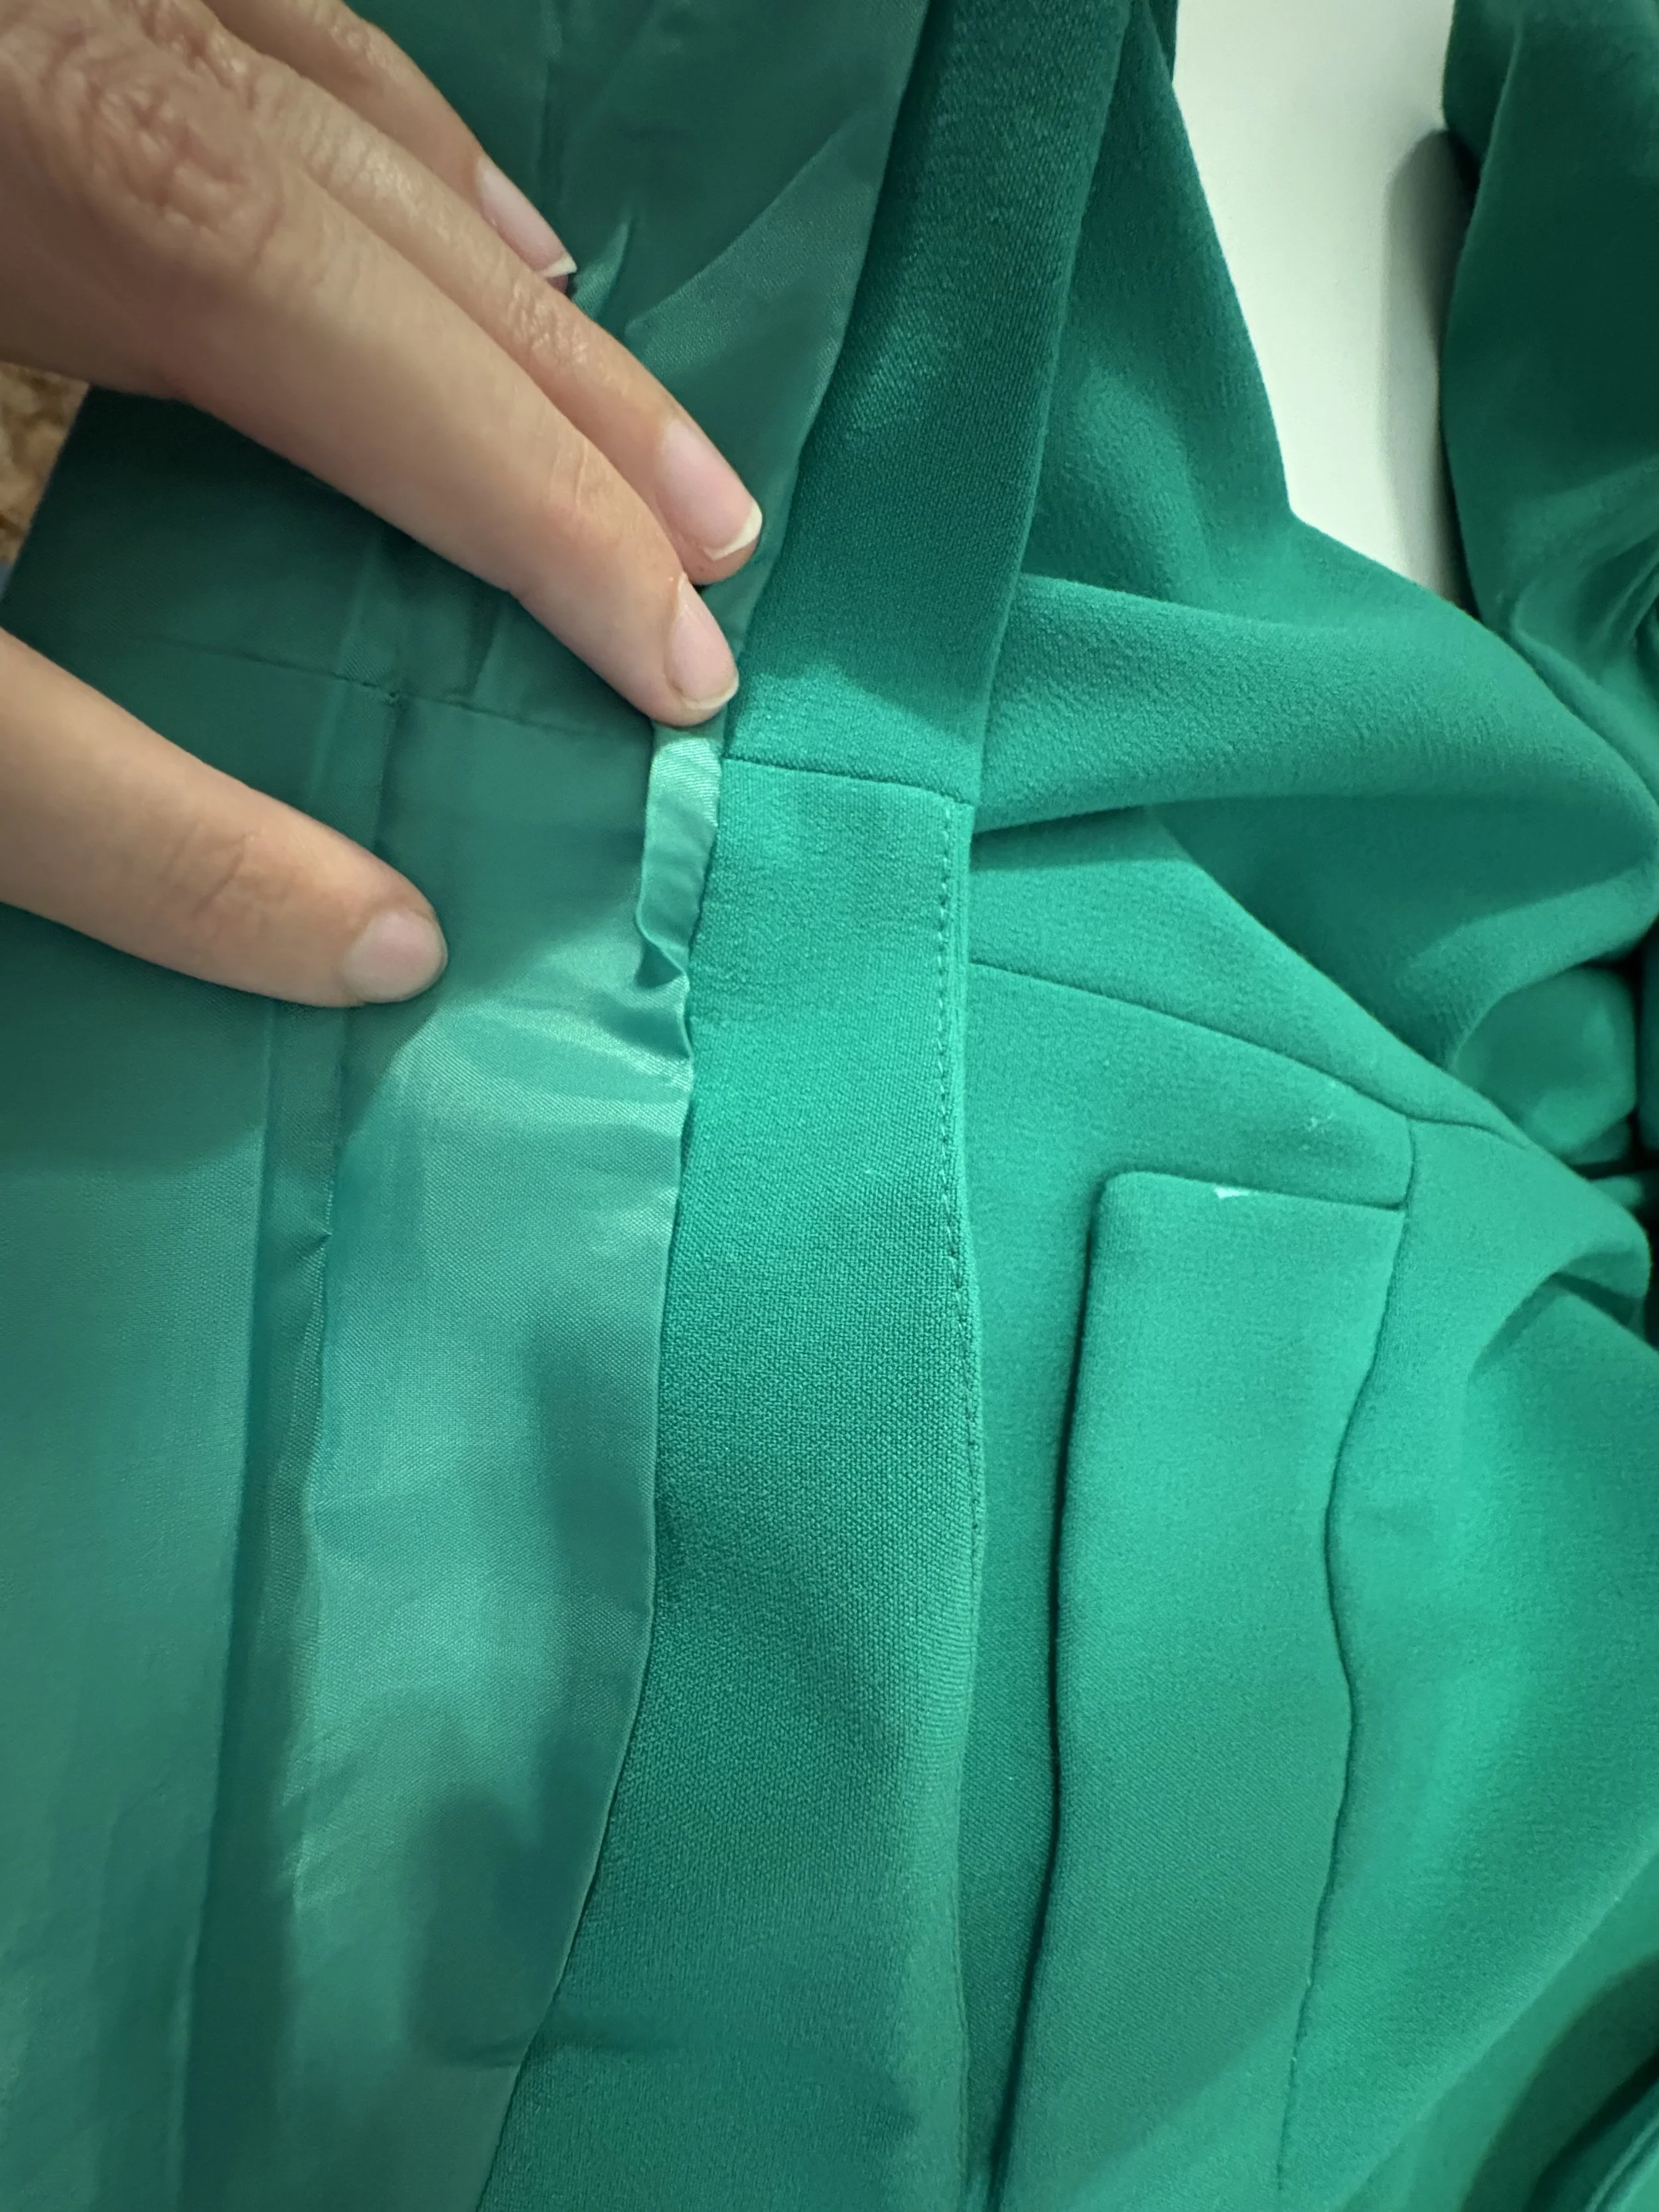
Above: NOT my sewing; this is the original stitching.
I like to take reference photos to help me keep track.
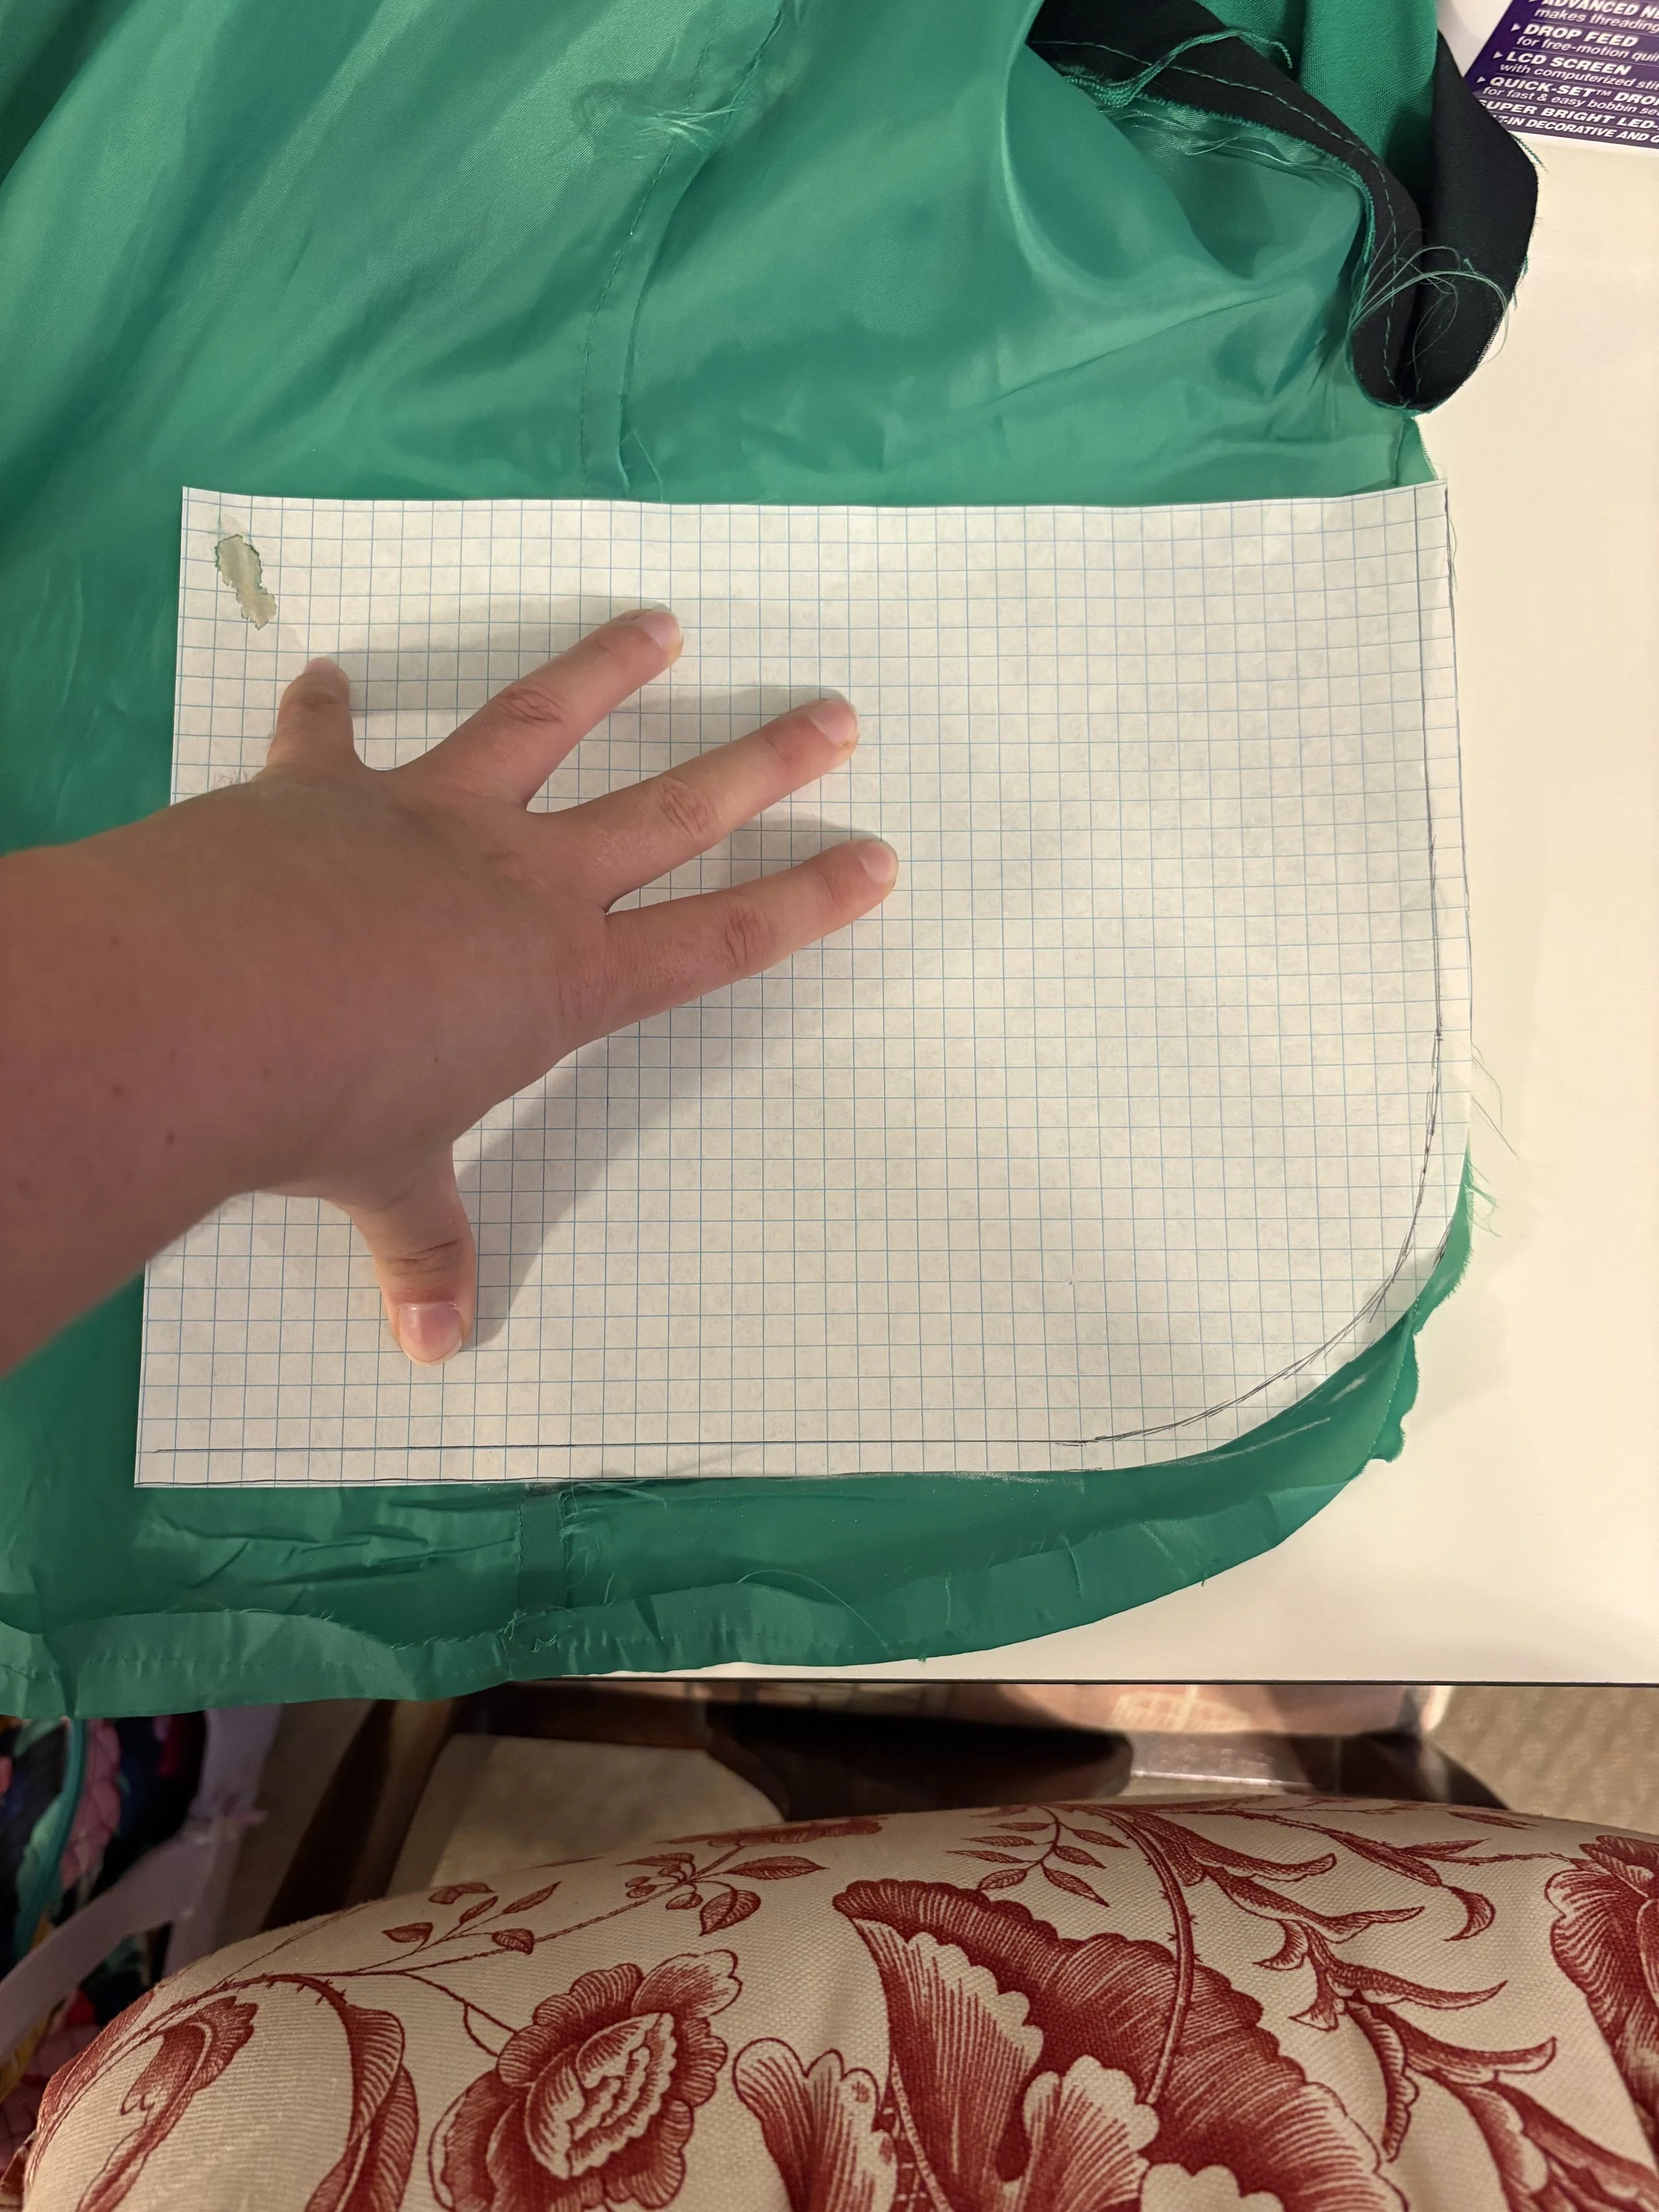
Before I started, I also cut out a paper copy of the curved hem-line along the lapels, just in case I needed it. I’m so glad I did, too: turns out I did need it, and it made reshaping the hem-line so much easier!
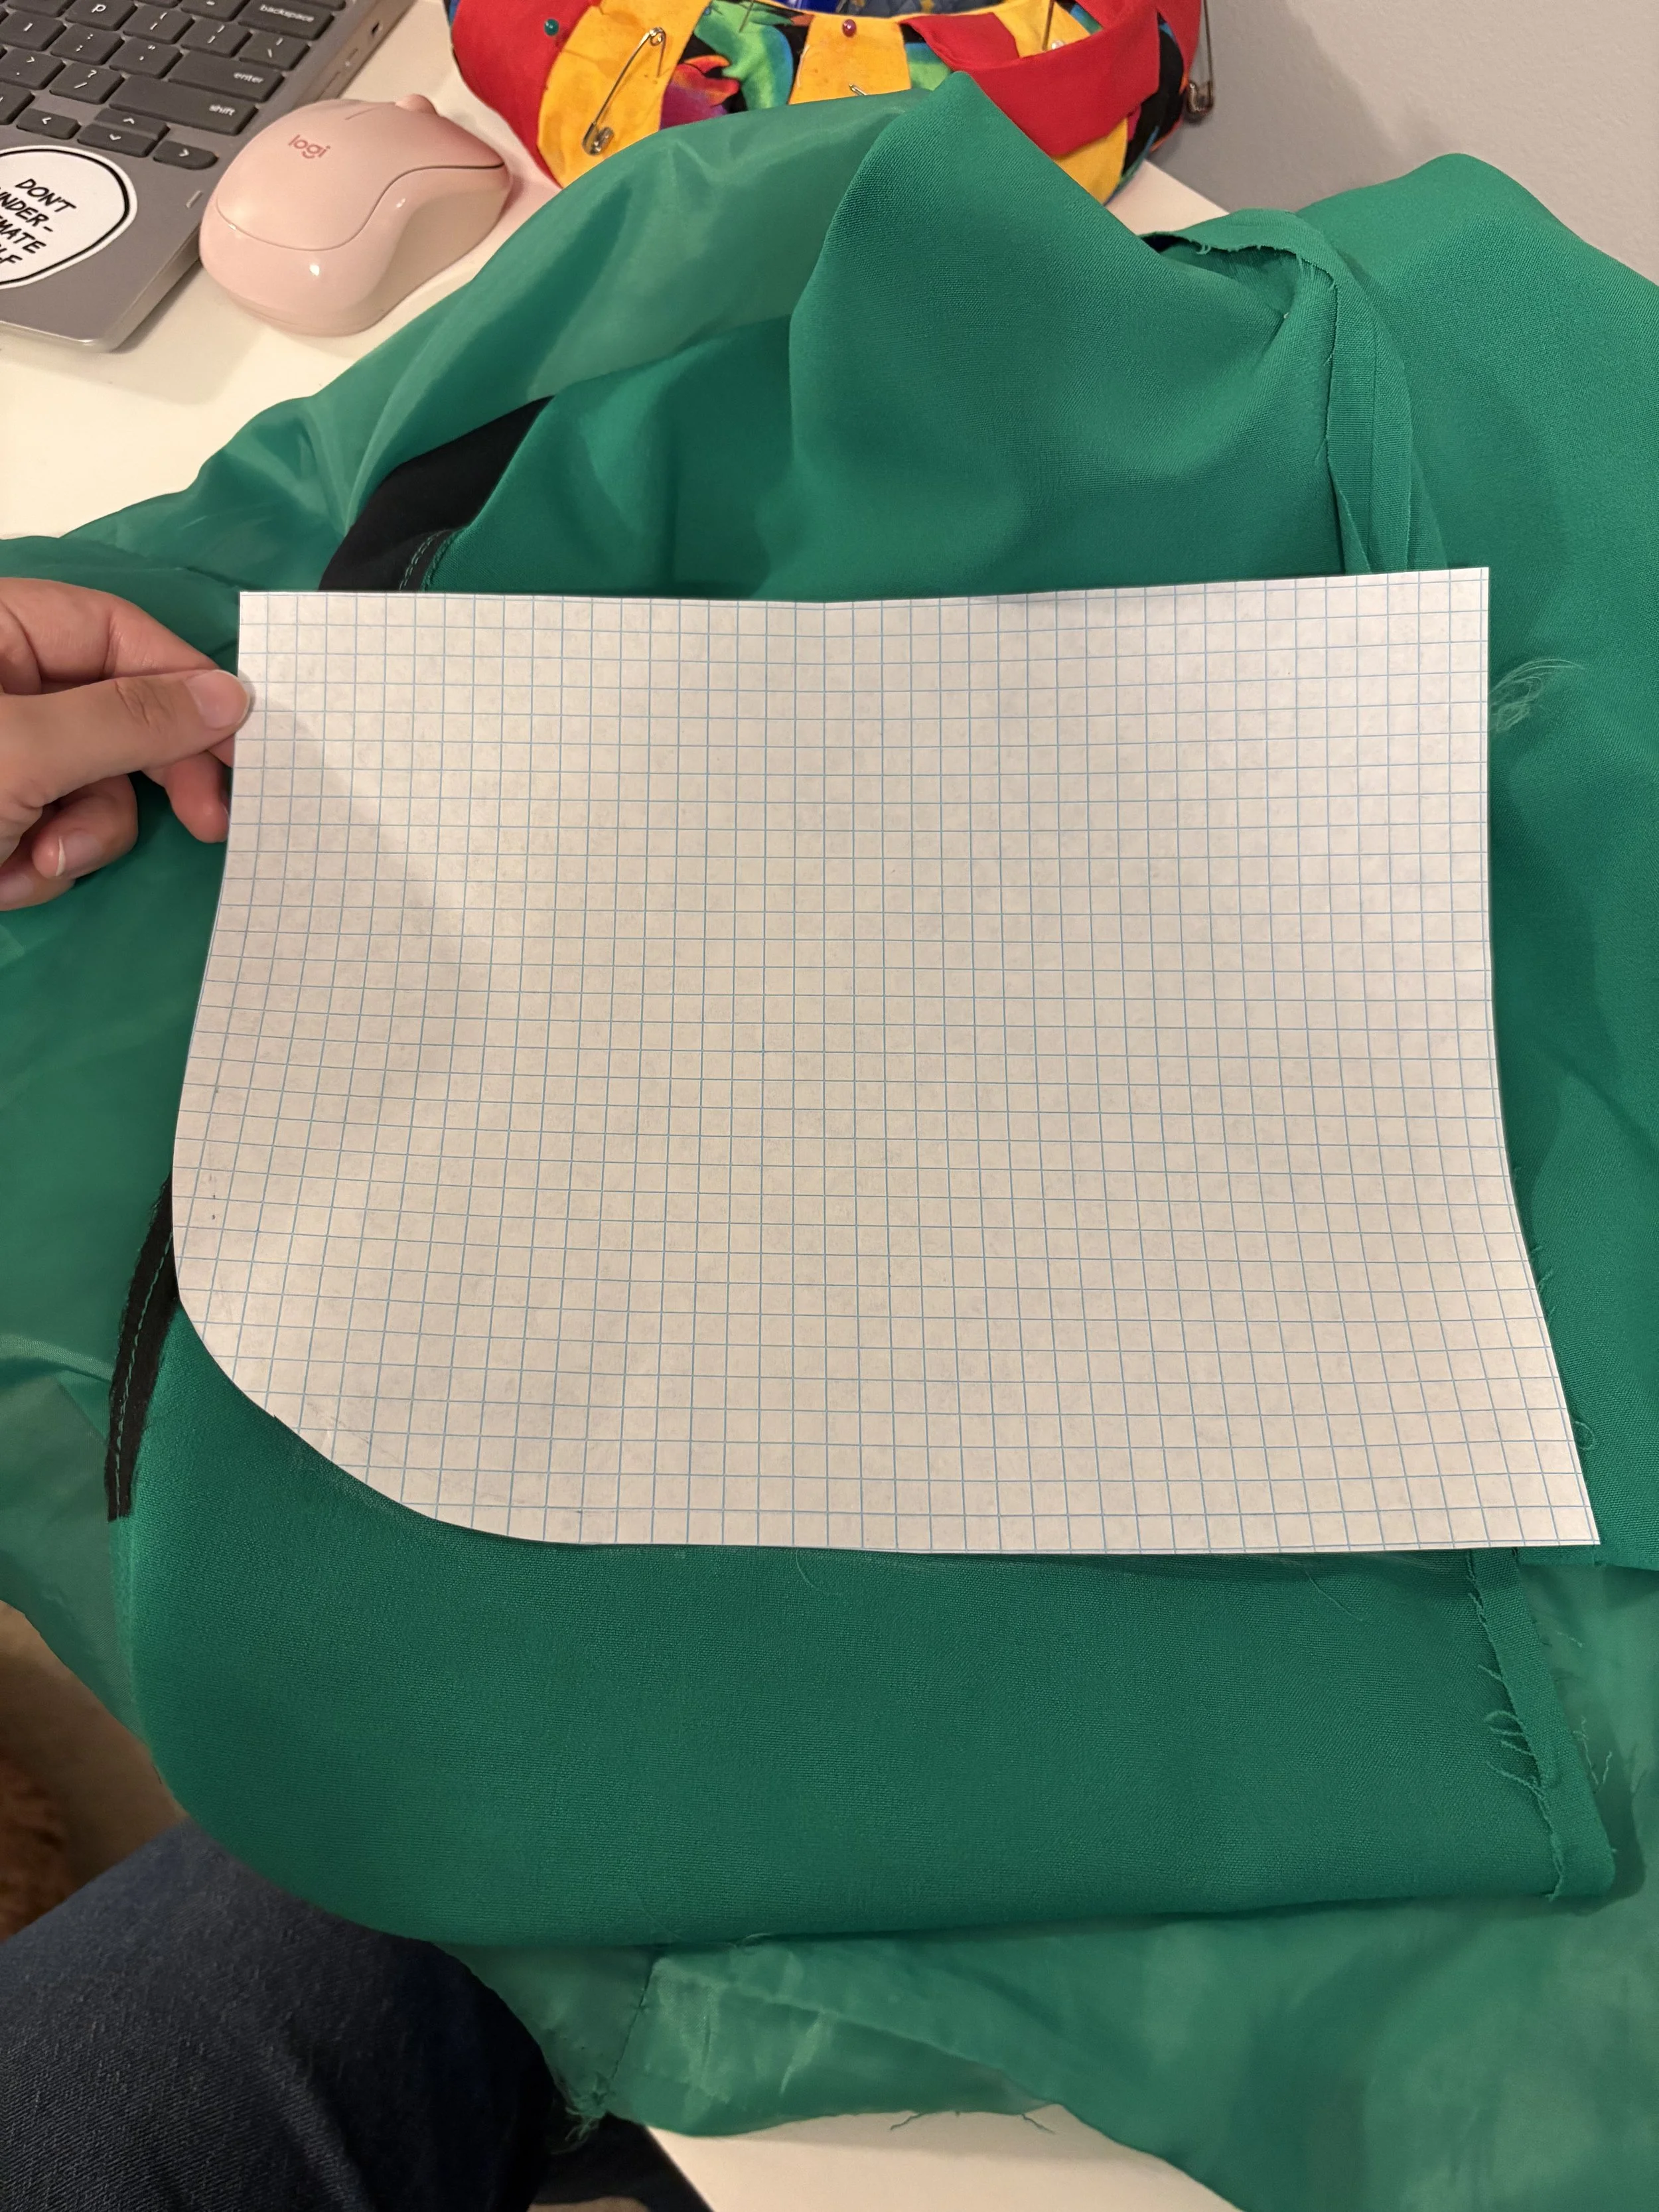
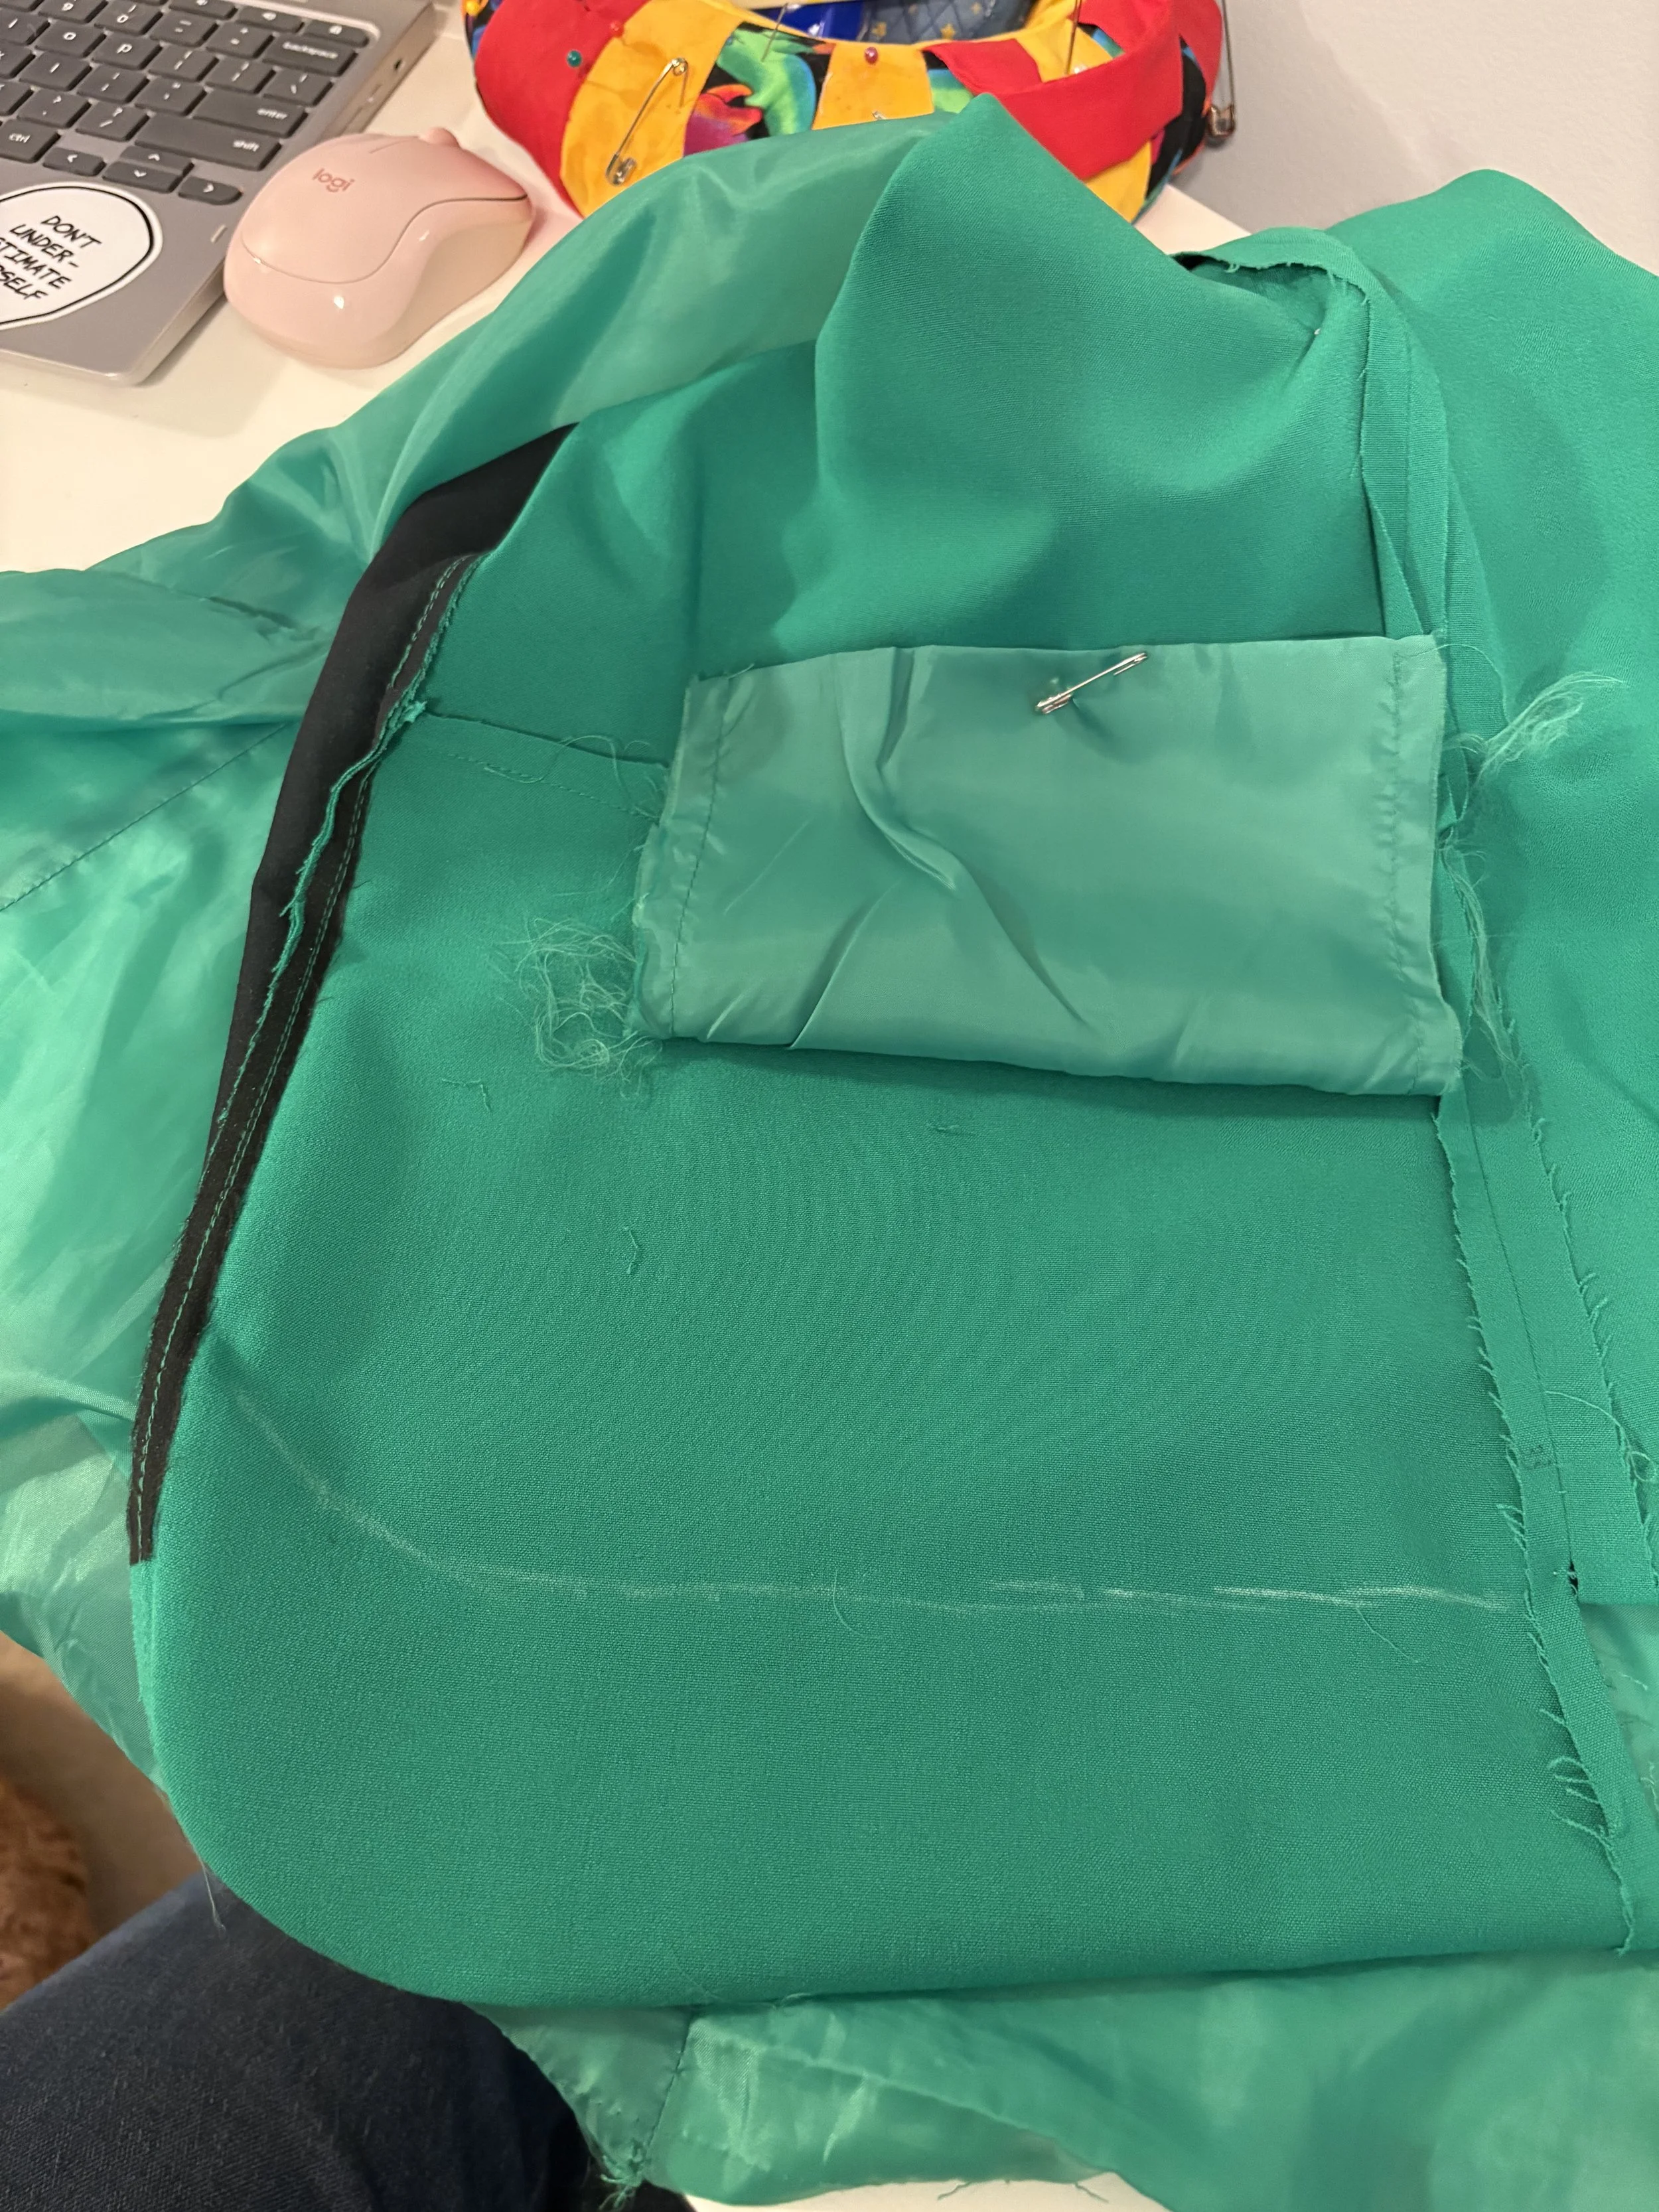
Remember, whenever you decide to use this technique make sure you account for the seam-allowance when you’re mirroring the shape onto the paper - it’s one less step to worry about, and ensures that you’ll have more allowance to work with in case you need to adjust.
So, remember how I said this was essentially a “forever-yours” adjustment? Well… there's a reason for that:
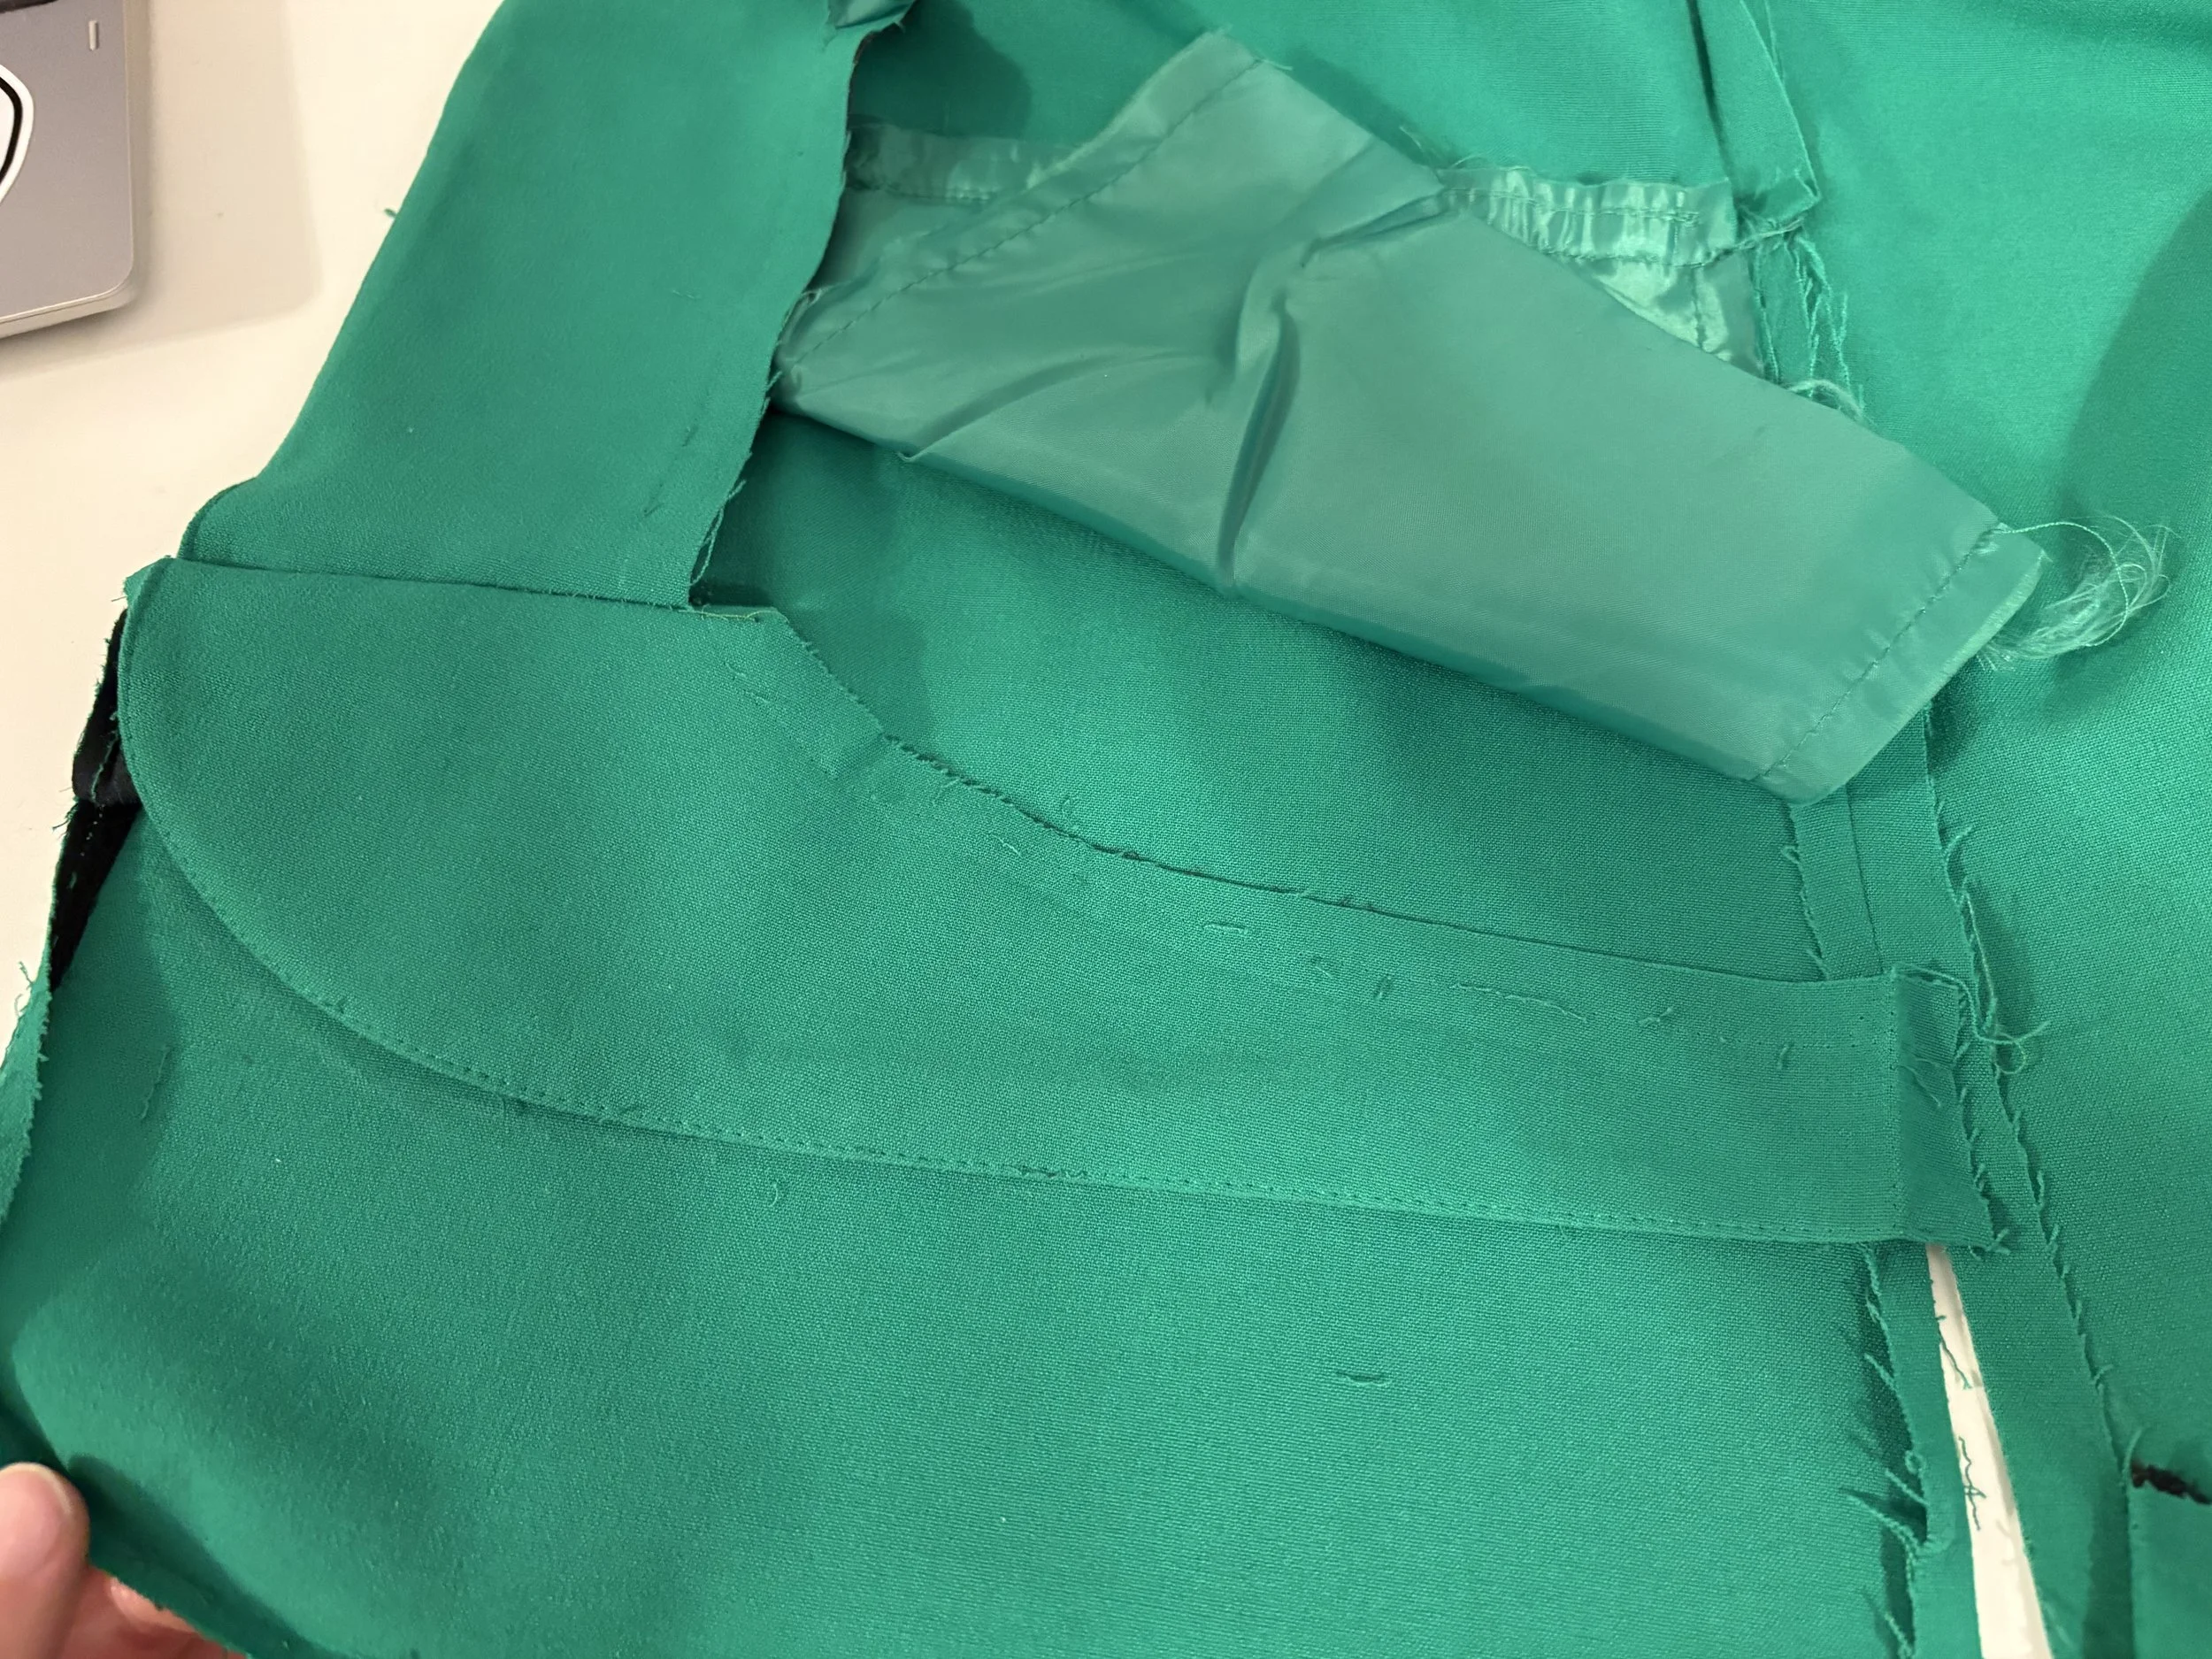
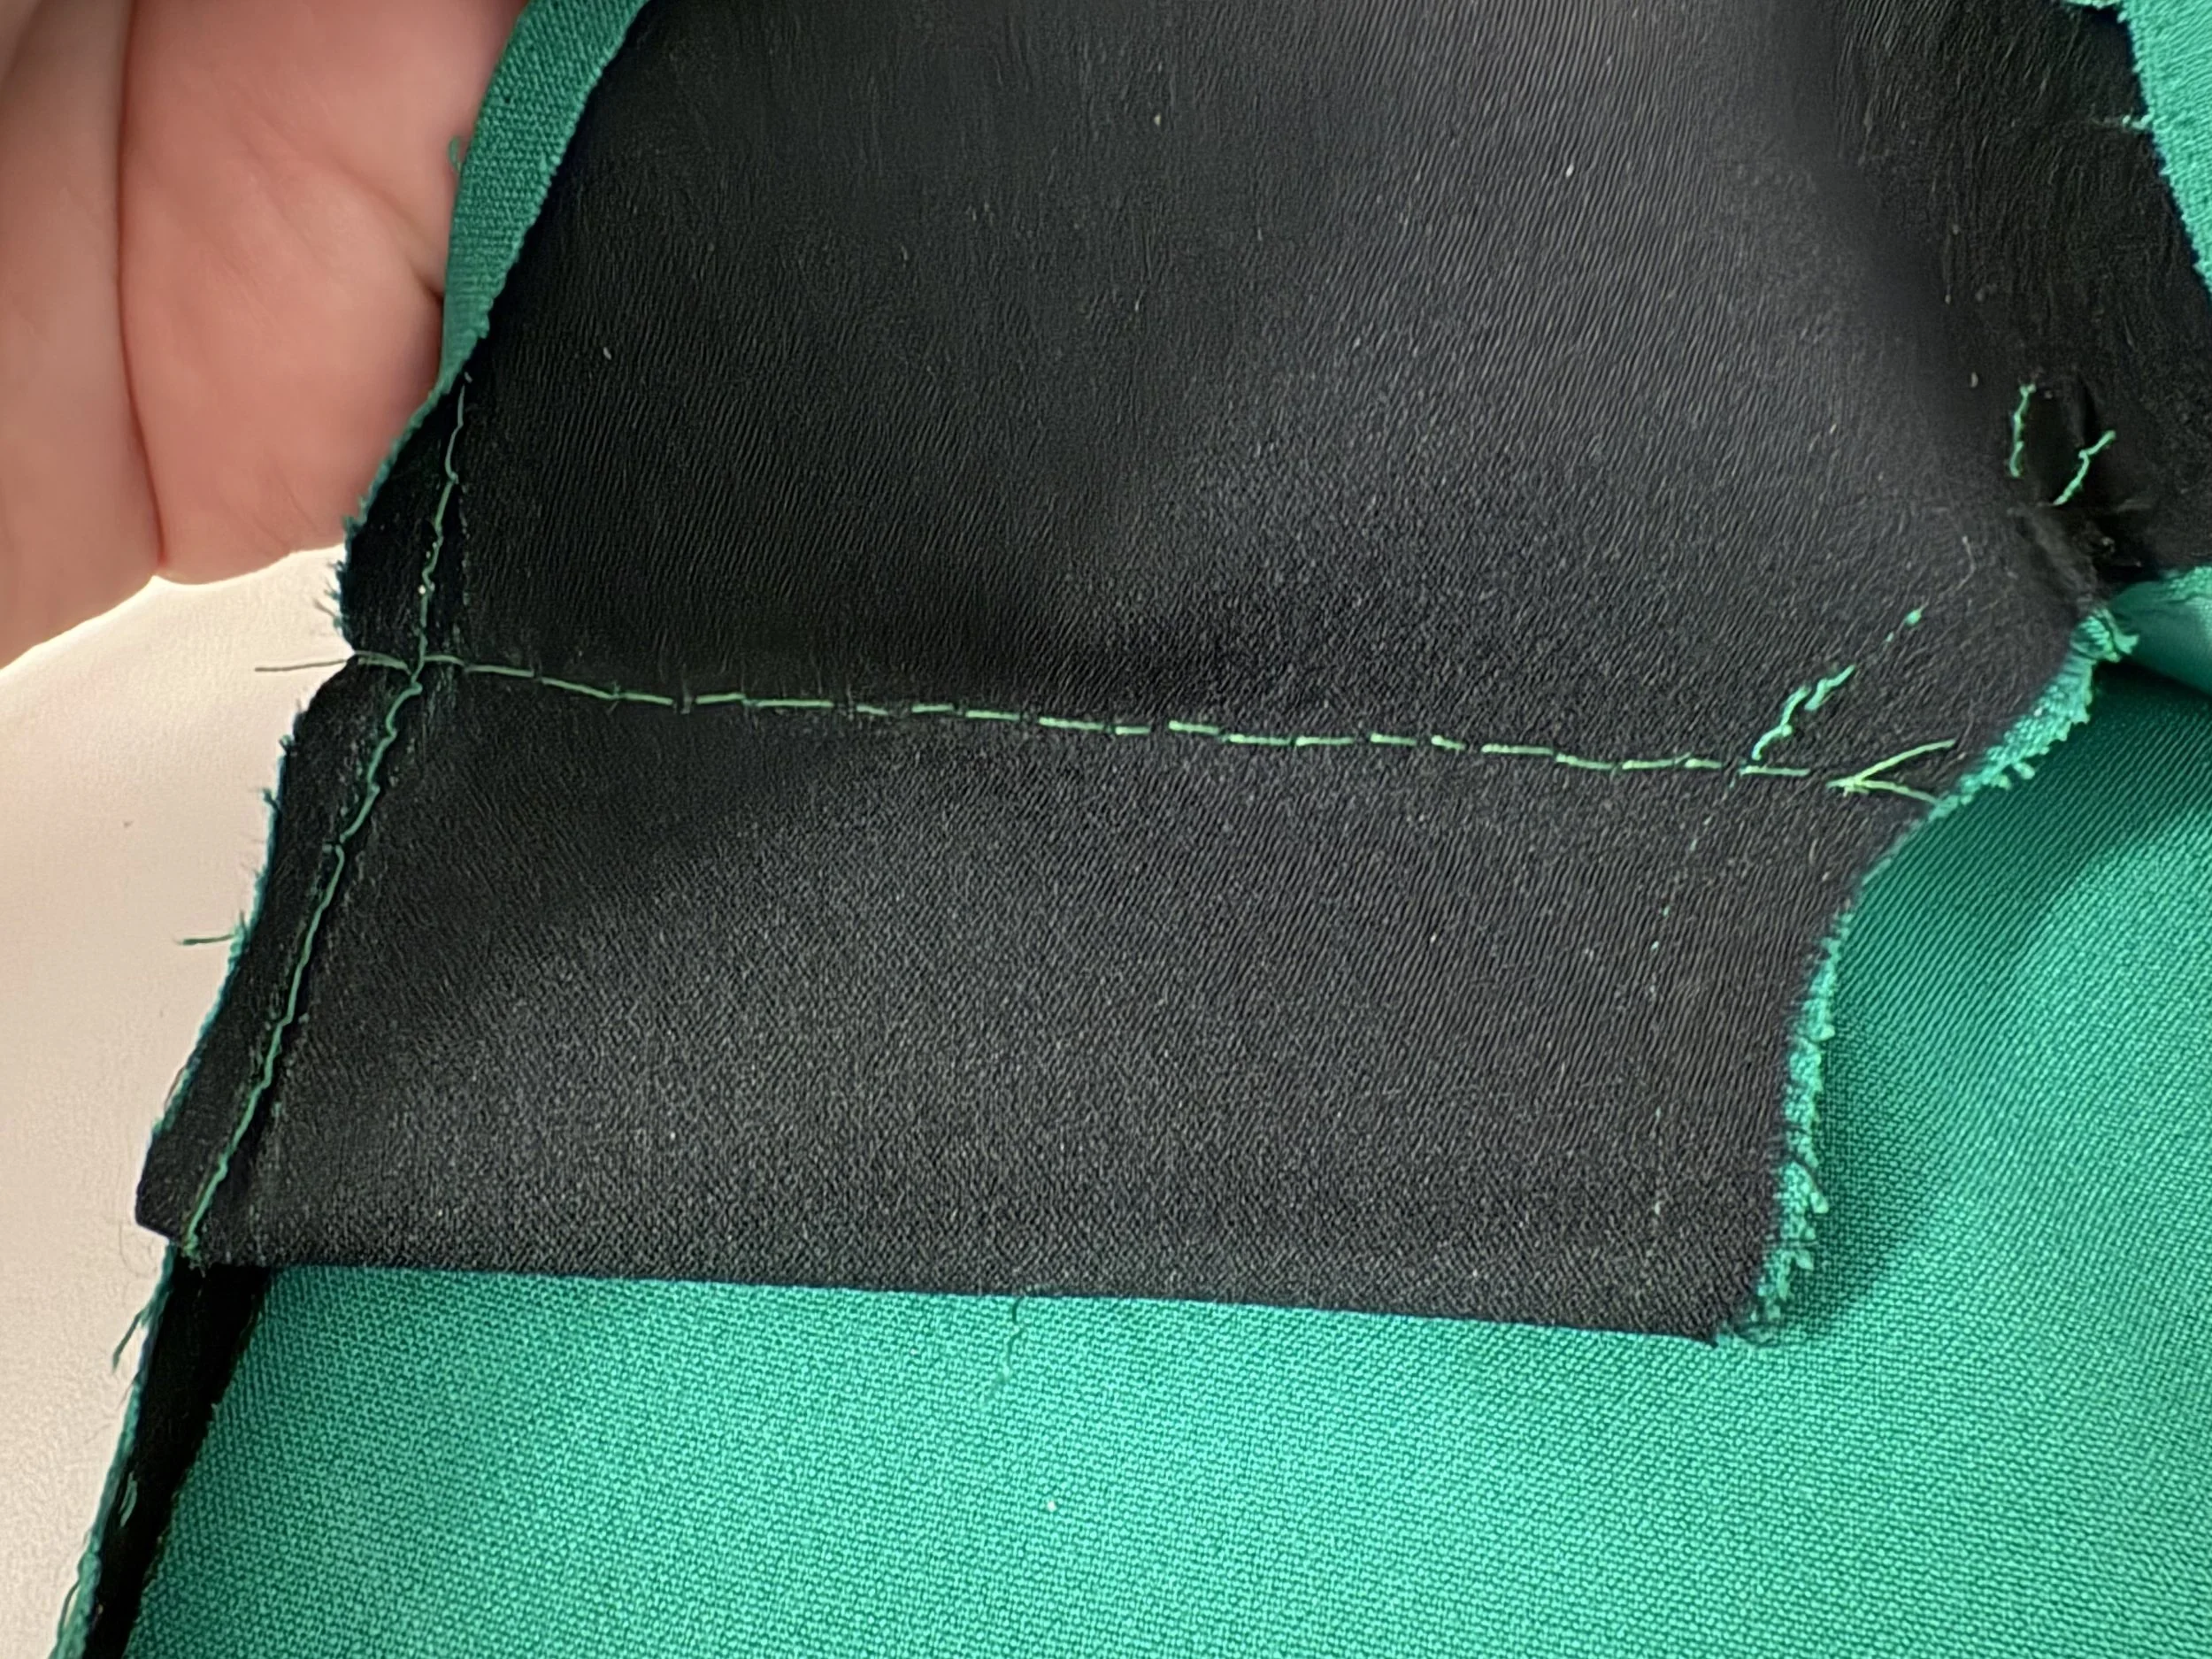
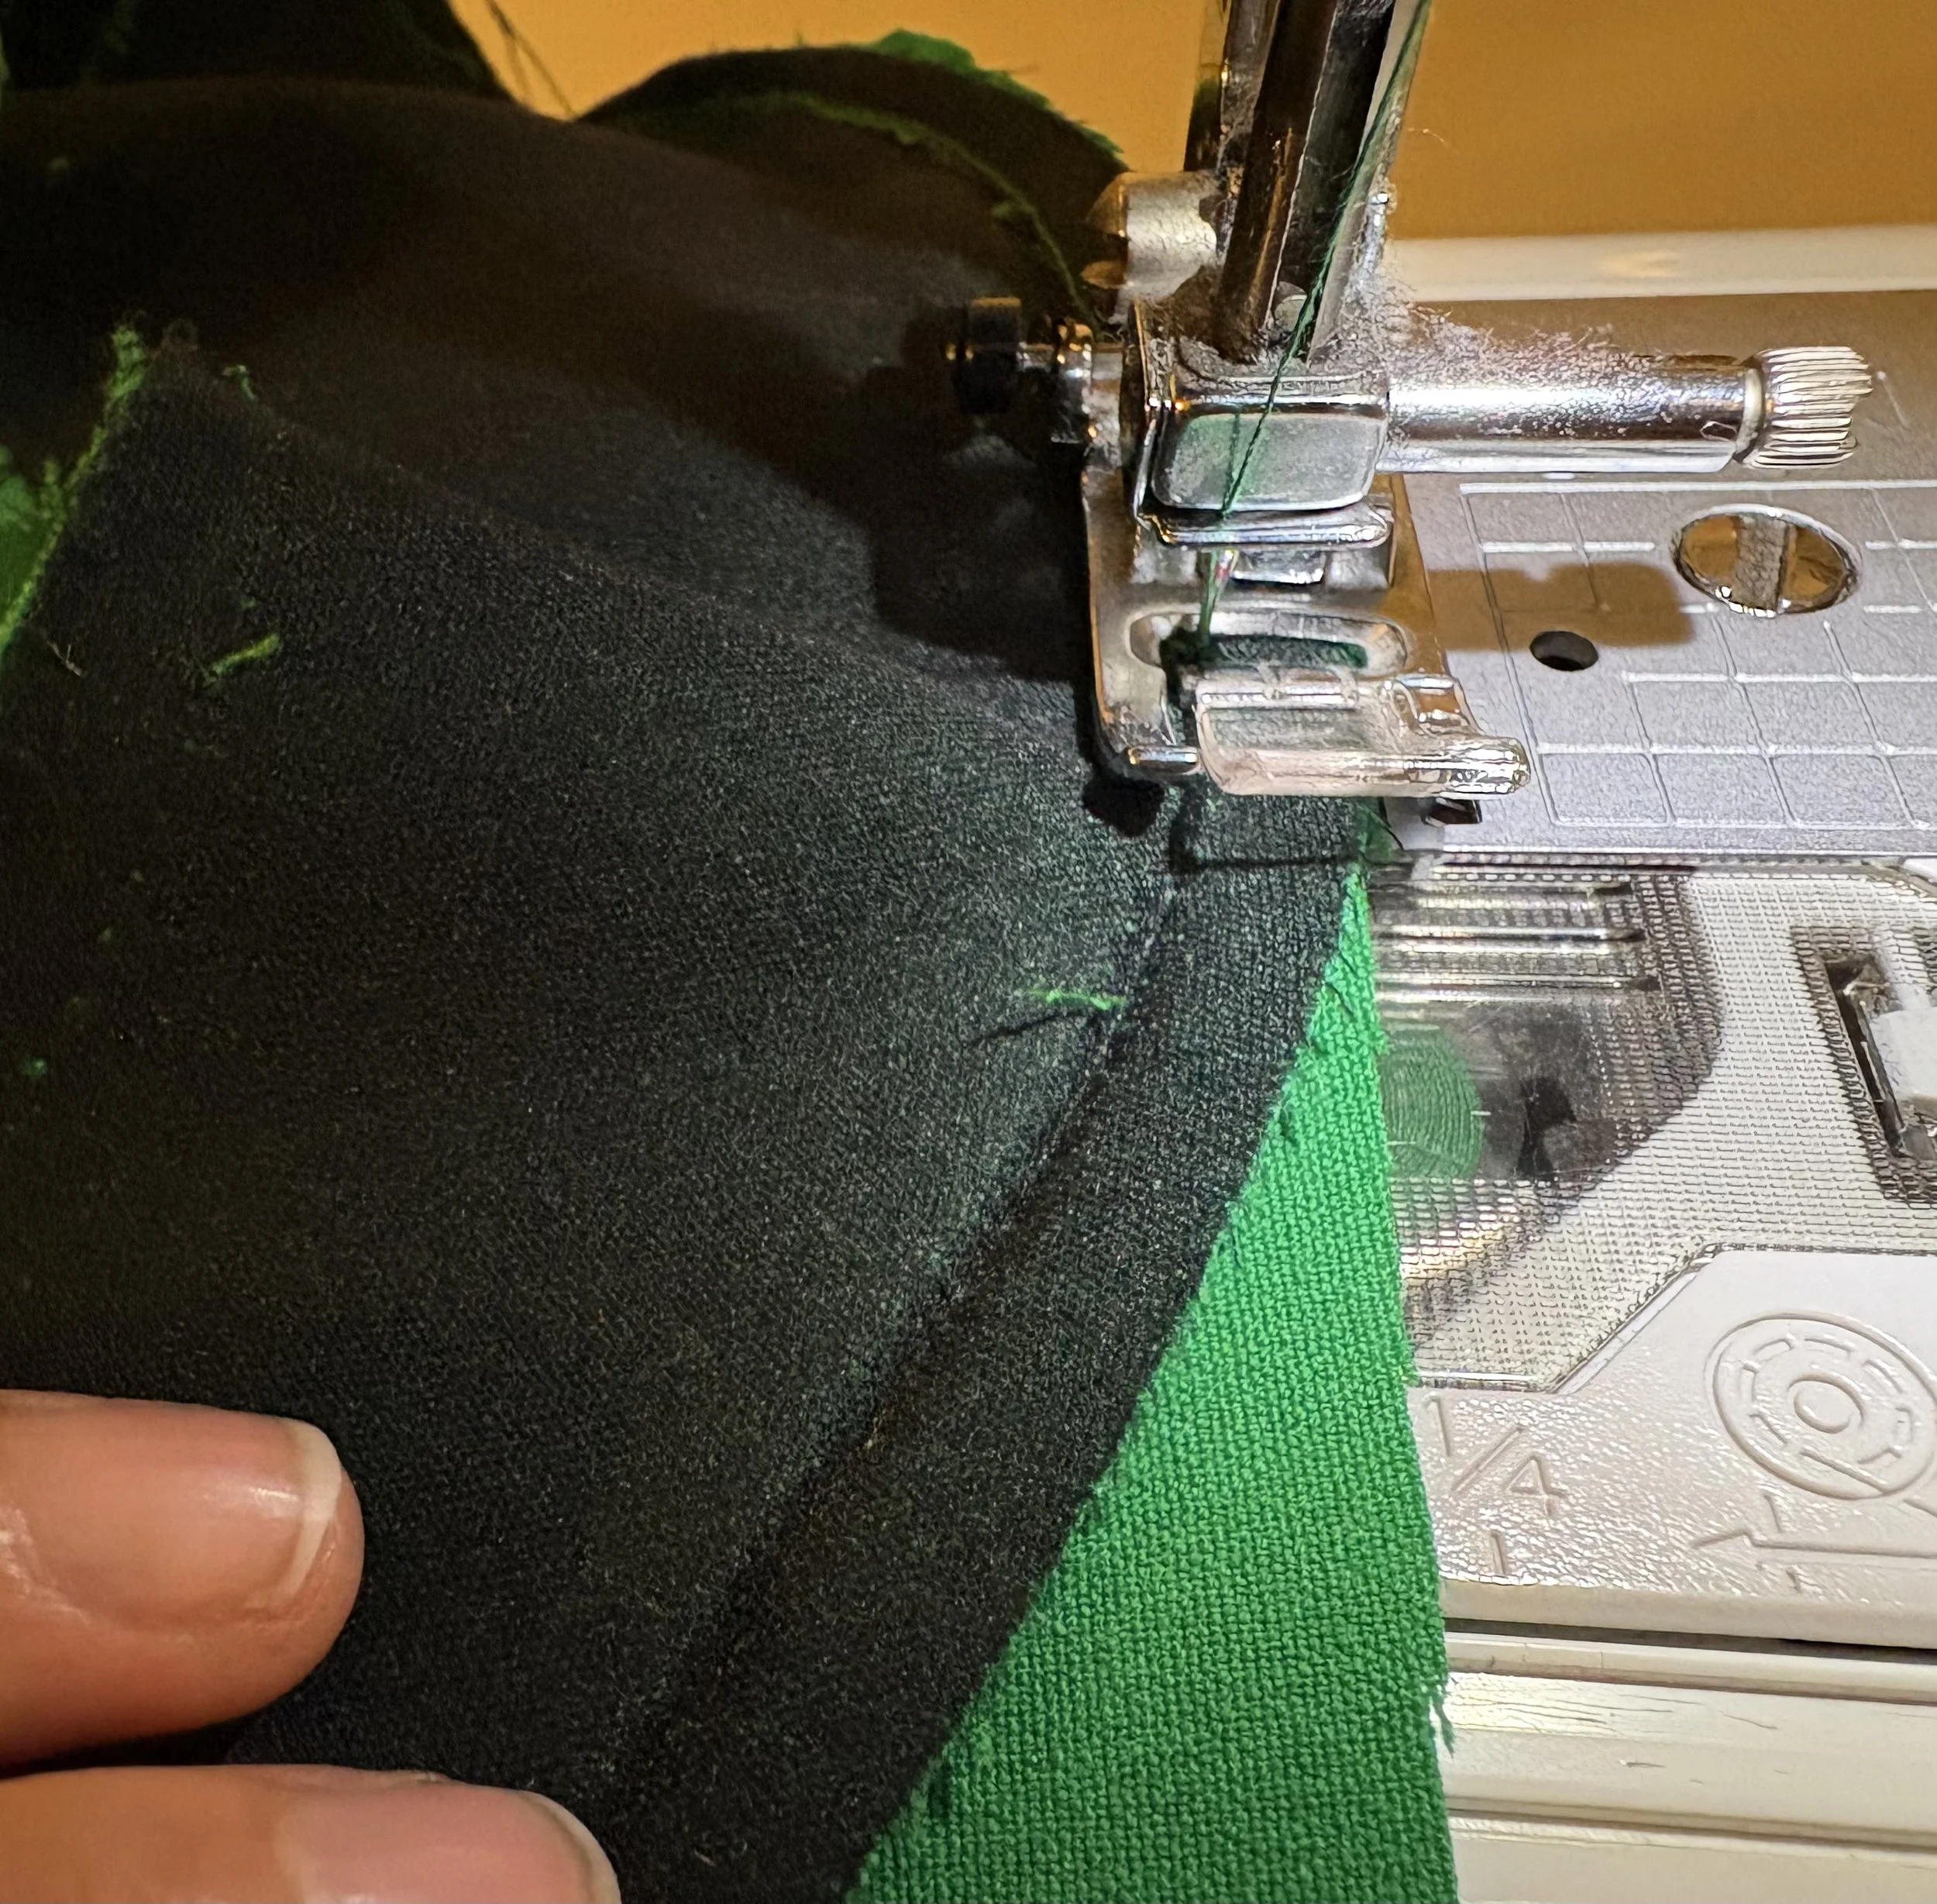
Back-stitching new seam to shorten lapel
In order to shorten the jacket to this new hemline, there was no other way except to cut away at least one inch from the lapel, the back panels, and the lining. That may not sound like a whole lot at first snuff, but trust me, it all adds up- especially once the hem is pressed into it’s new length.
In short (pun not intended), this kind of cut on the lapel pretty much means that no one else can ever where this jacket comfortably. At least, not one who isn’t the same height as Ms. Sherri.
The back panels were also relatively easy - in hindsight. There was a moment in the process when I completely scared myself by completely overthinking what my math was telling me. When, in reality all I had to do was follow the new length of the lapels… and the placement of my safety-pins I inserted long before the first cut!
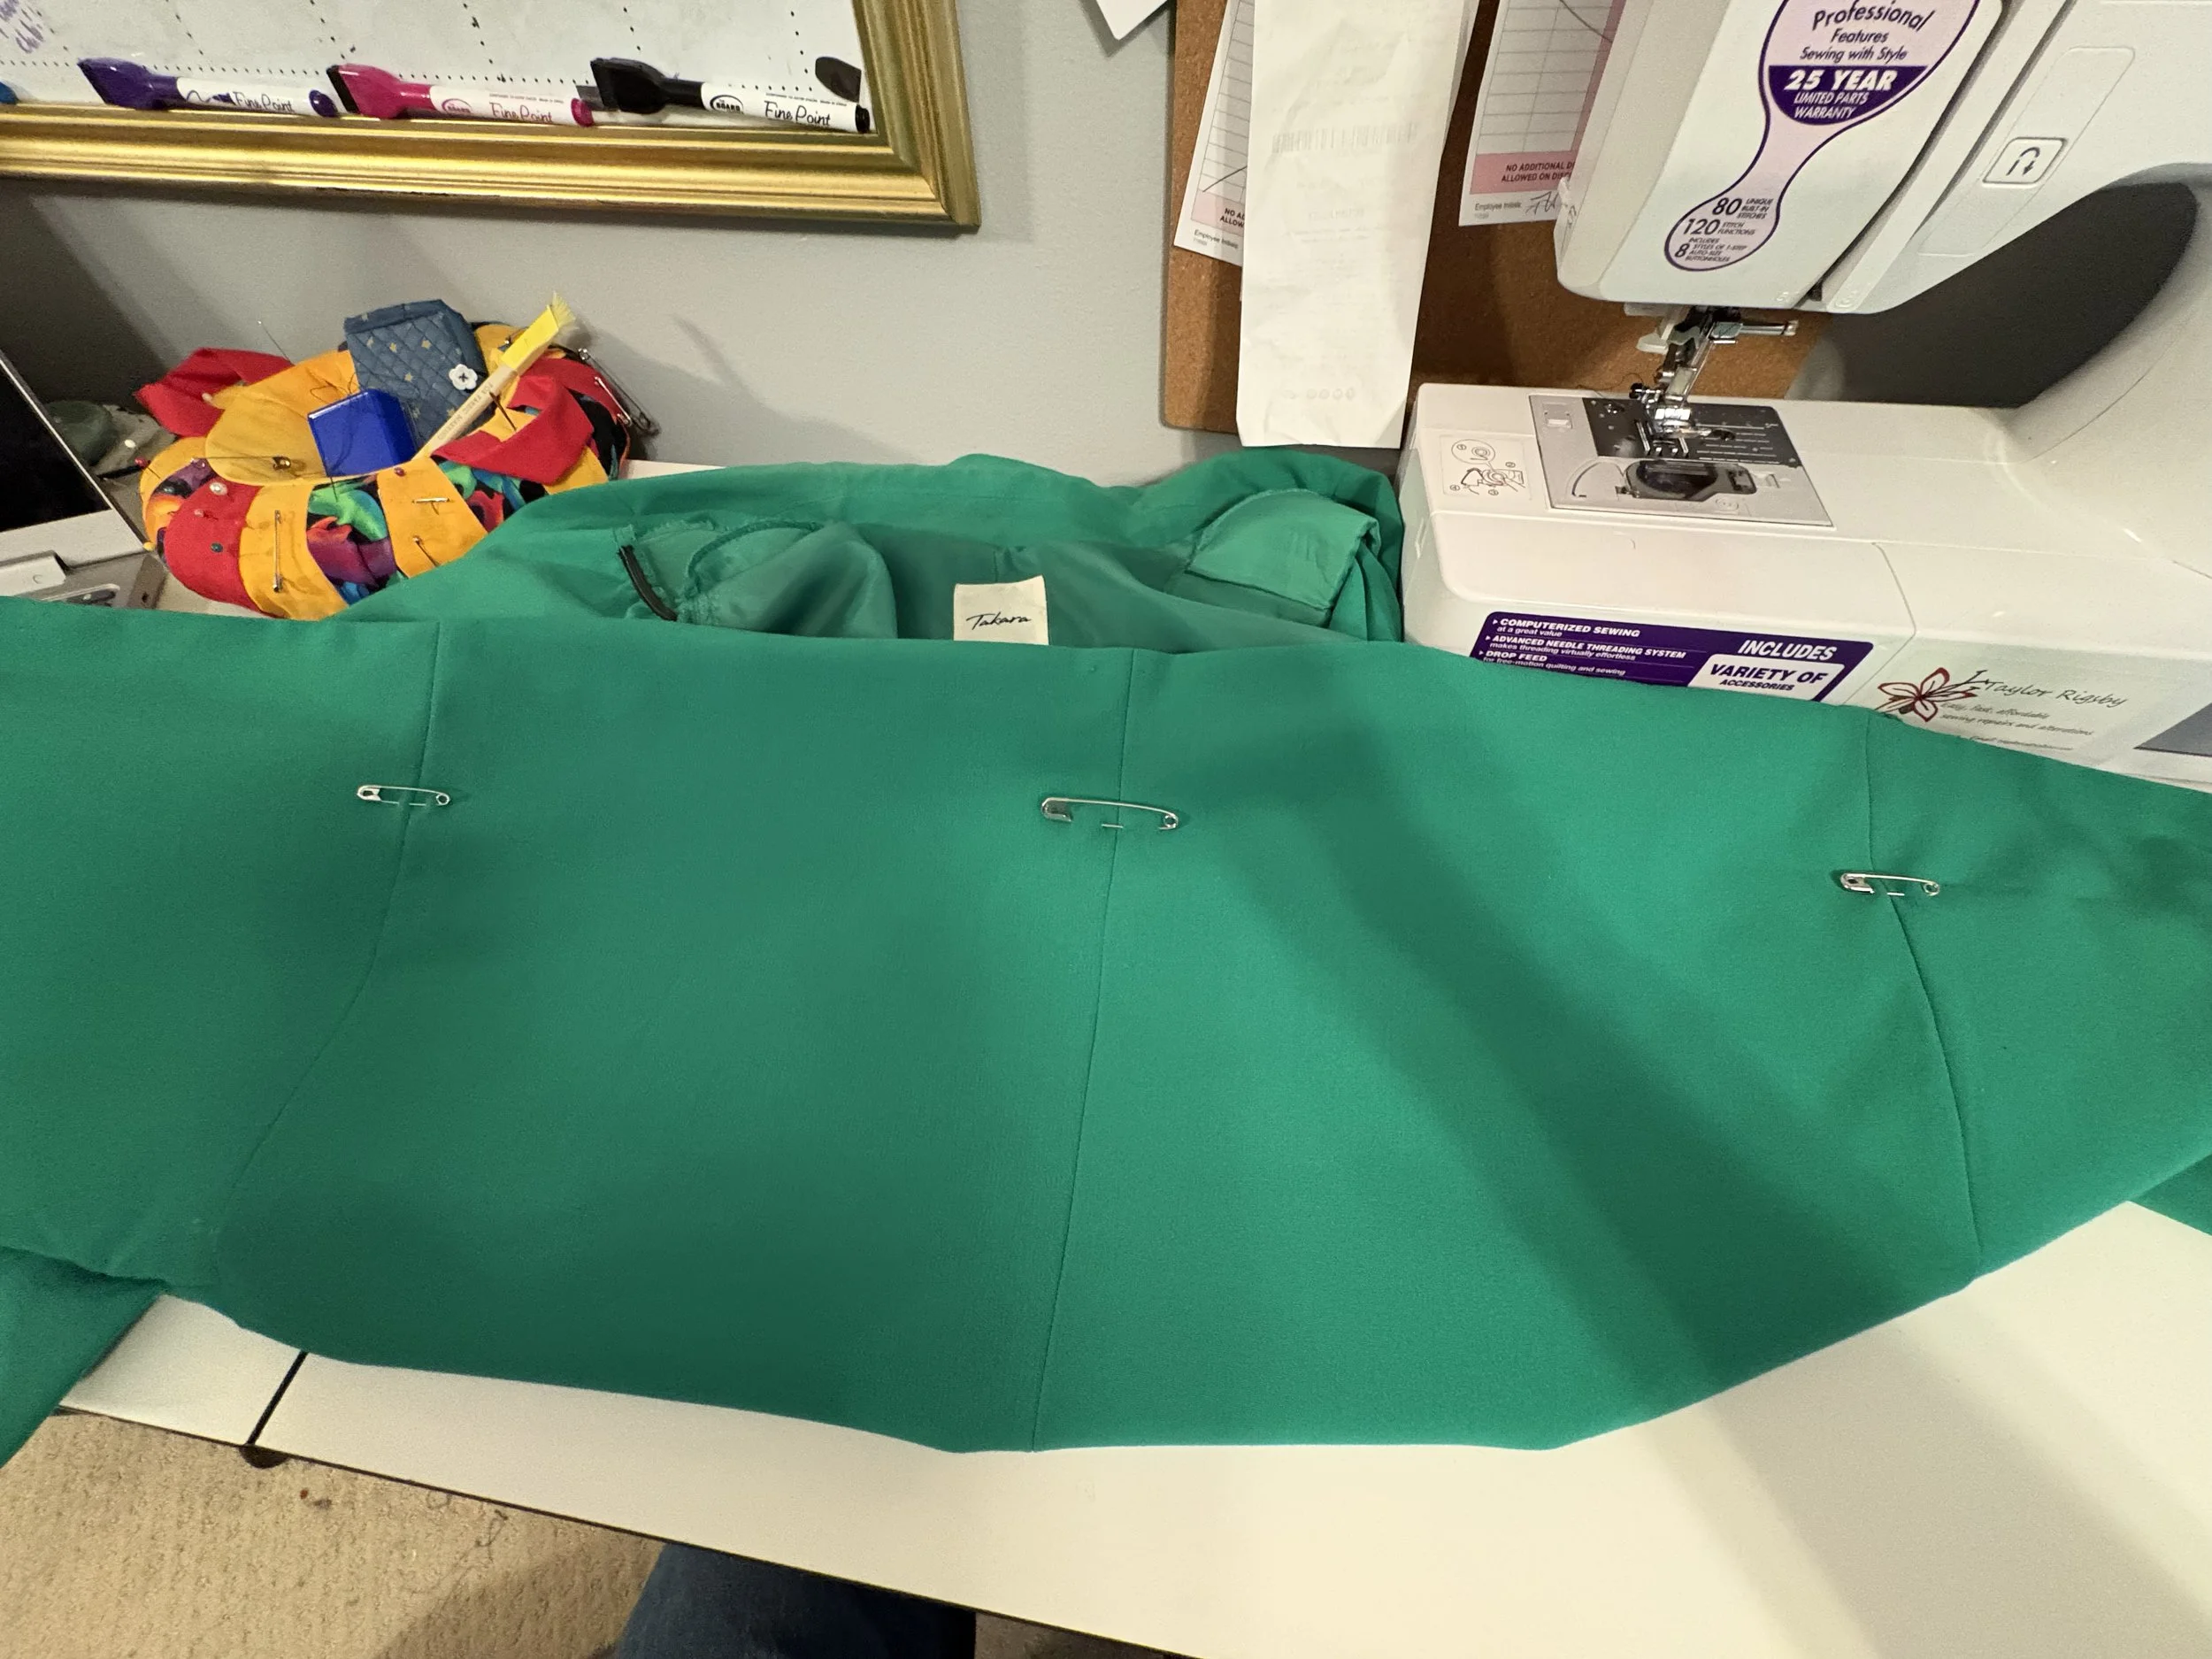
Preemptive placement of safety-pins… to help me keep track of the new hem-line…
I was even able to re-use the original interfacing from the hem, by old-fashioned means of literally sewing it to the inner-section of the back.
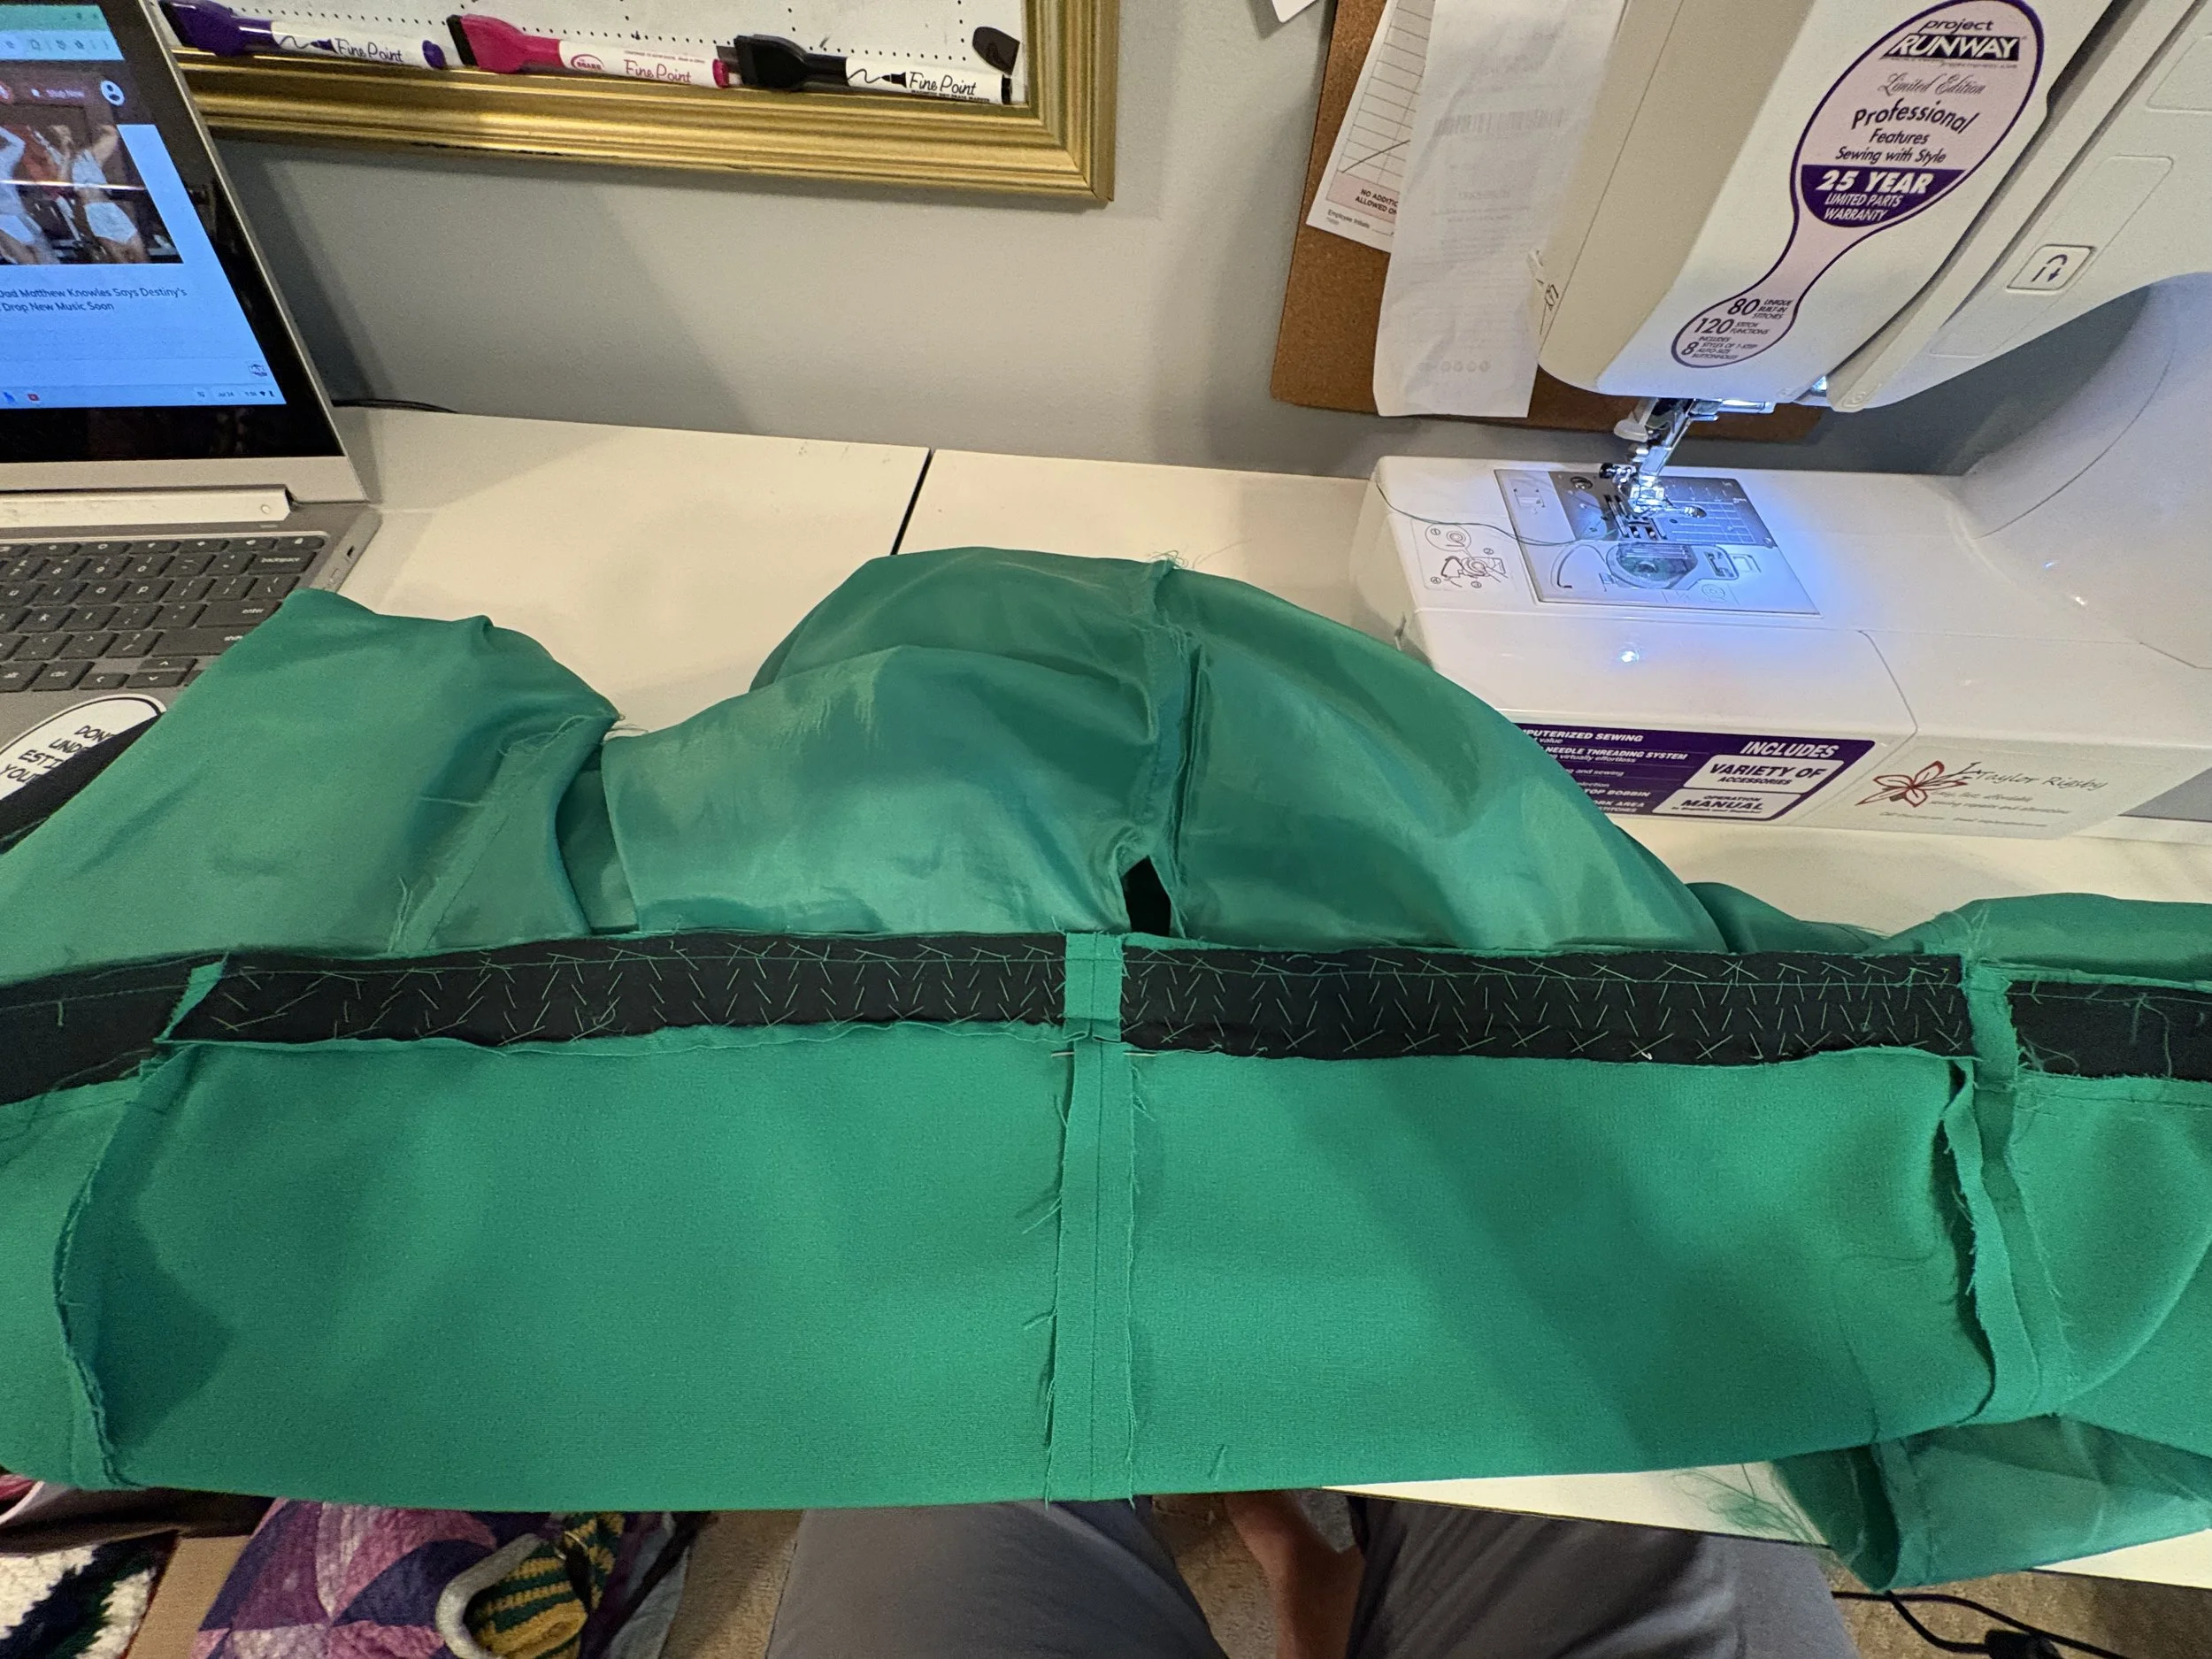
I will display my rusty technique purely for educational purposes…
Once the inner-lining was marked and cut to it’s own new length, and the under-stitching on the lapels was set, it was time to piece it back together as slowly but quickly as possible - mainly because the seams were not finished and they were starting to fray like the dickens.
In the end, I ended up taking out less material than I initially anticipated - though I chalk that up to the nature of the hem-line itself. An inch and half are needed to create a cleanly pressed hem, and hide the lining inside while it’s being worn.
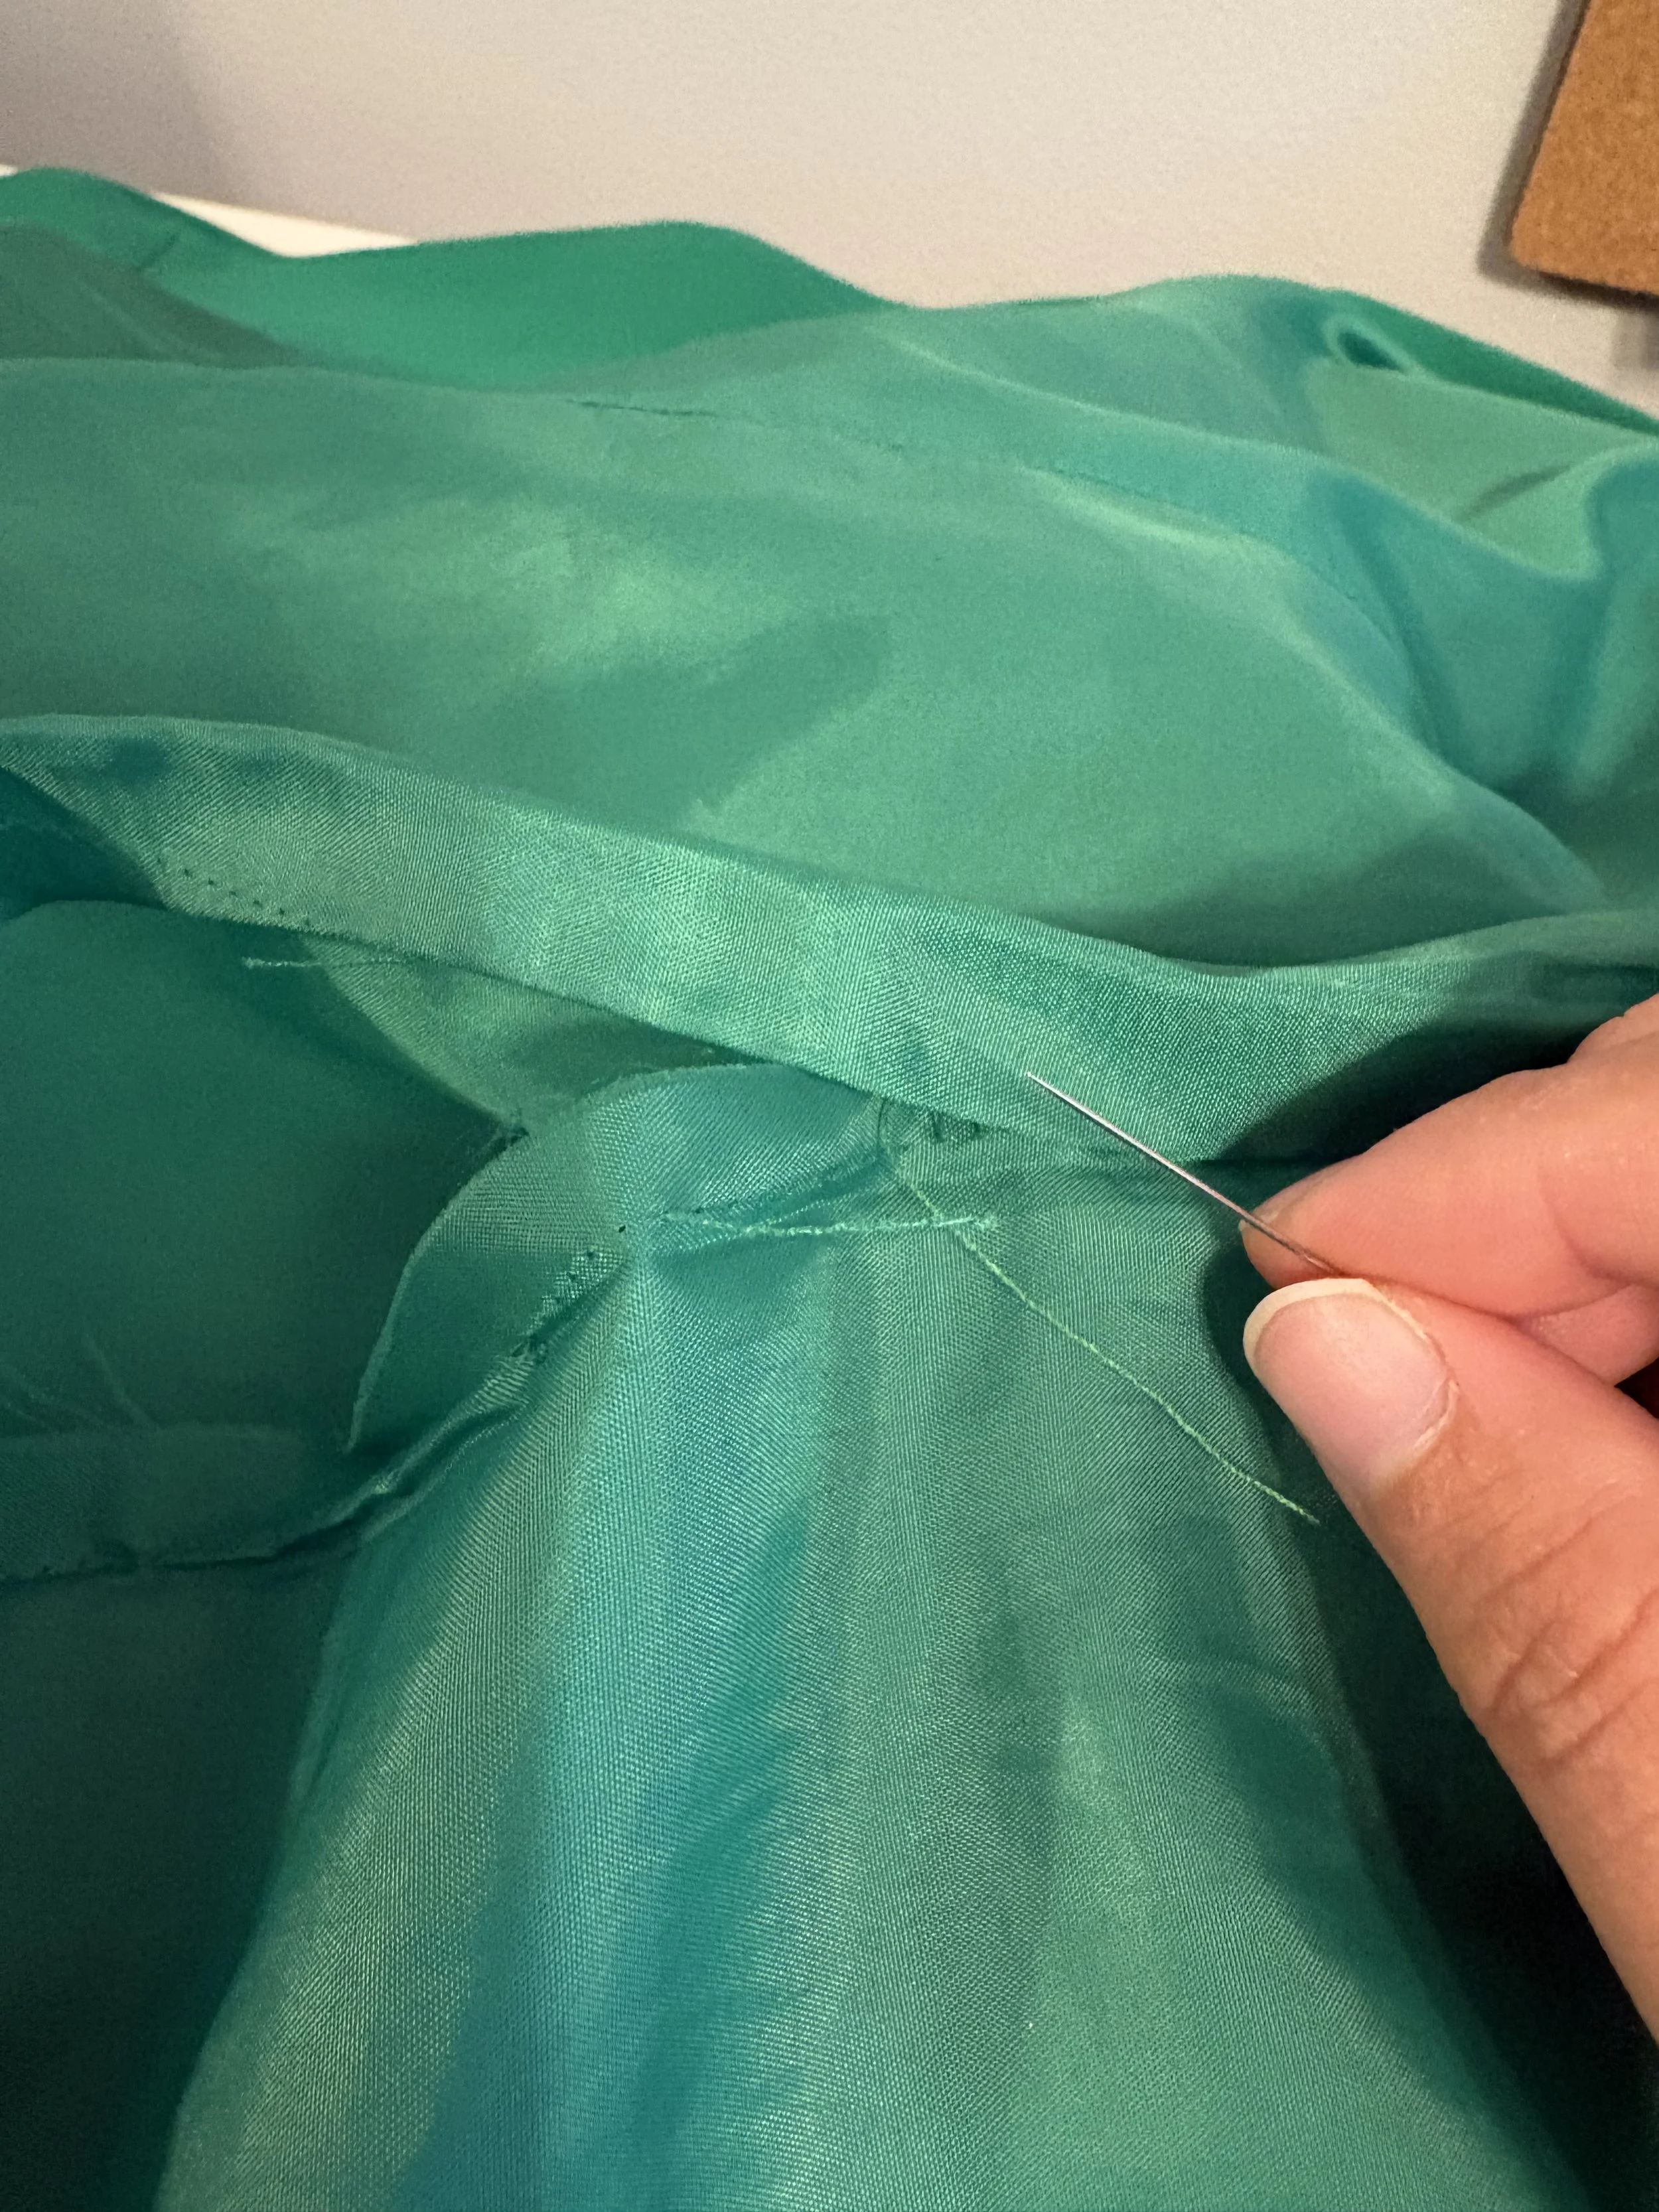
Don’t even get me started on tacking the hems in between the lining and the shell! That was a saga in and of itself (not just because there was abject chaos running around the house at the same time).
But I got there in the end, and now the new hem is nice and neat!
Final Thoughts:
While this alteration is not nearly as daunting as a it first looks, it is time-consuming. Shoot, this one took me almost the entire month of July! I had so many other projects going on at the time, I didn’t want to rush the process because of how much extra surgery it takes to do it right. It requires a little more precision in your measurements, preparations, and sewing; while it may be impossible to mimic the original “straight from the factory” quality, it must still look as clean and polished as possible… so that my client can dazzle when out and about.